|
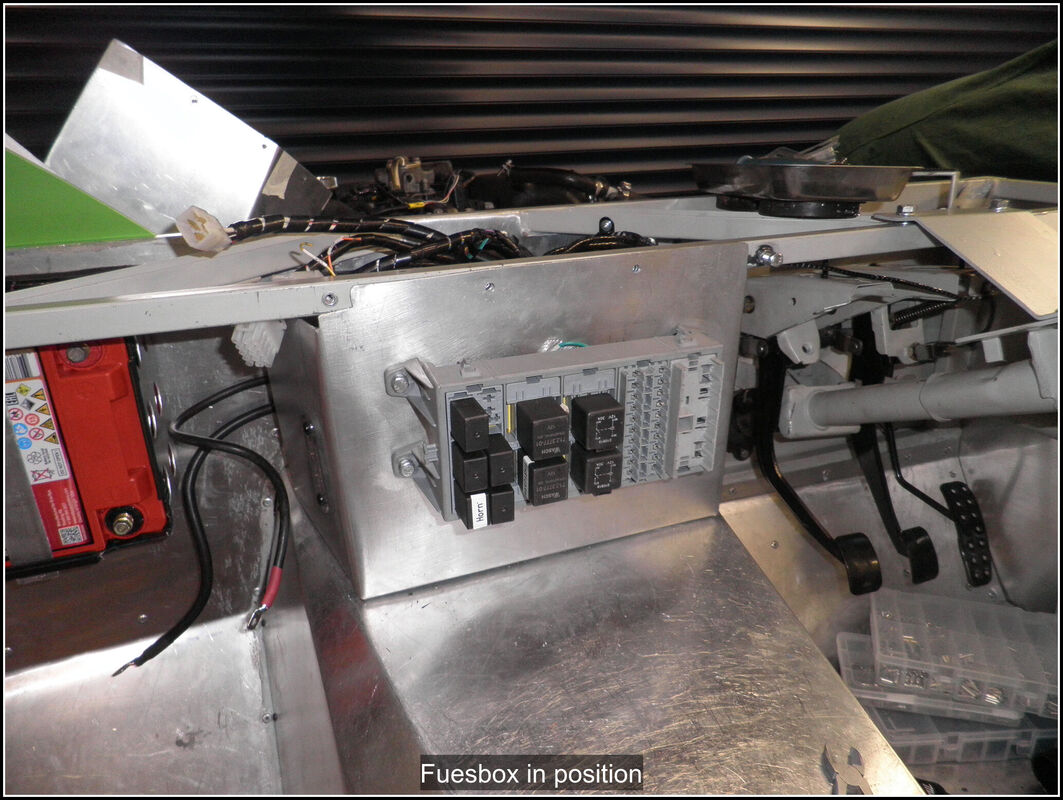
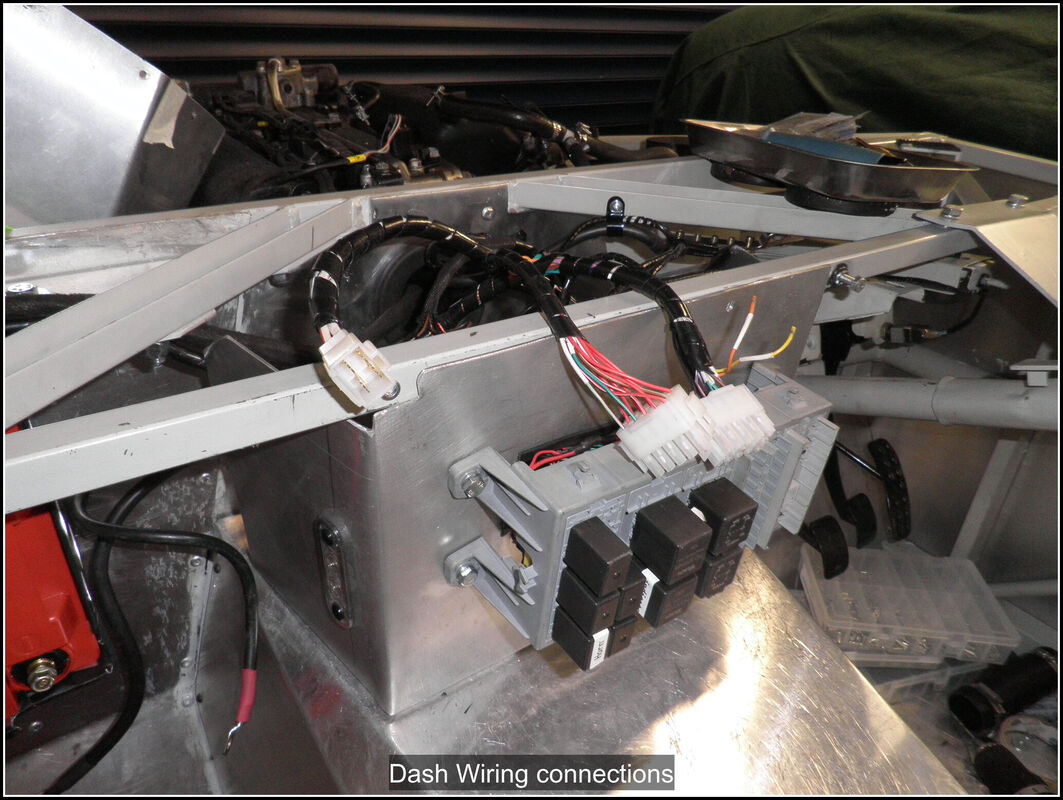
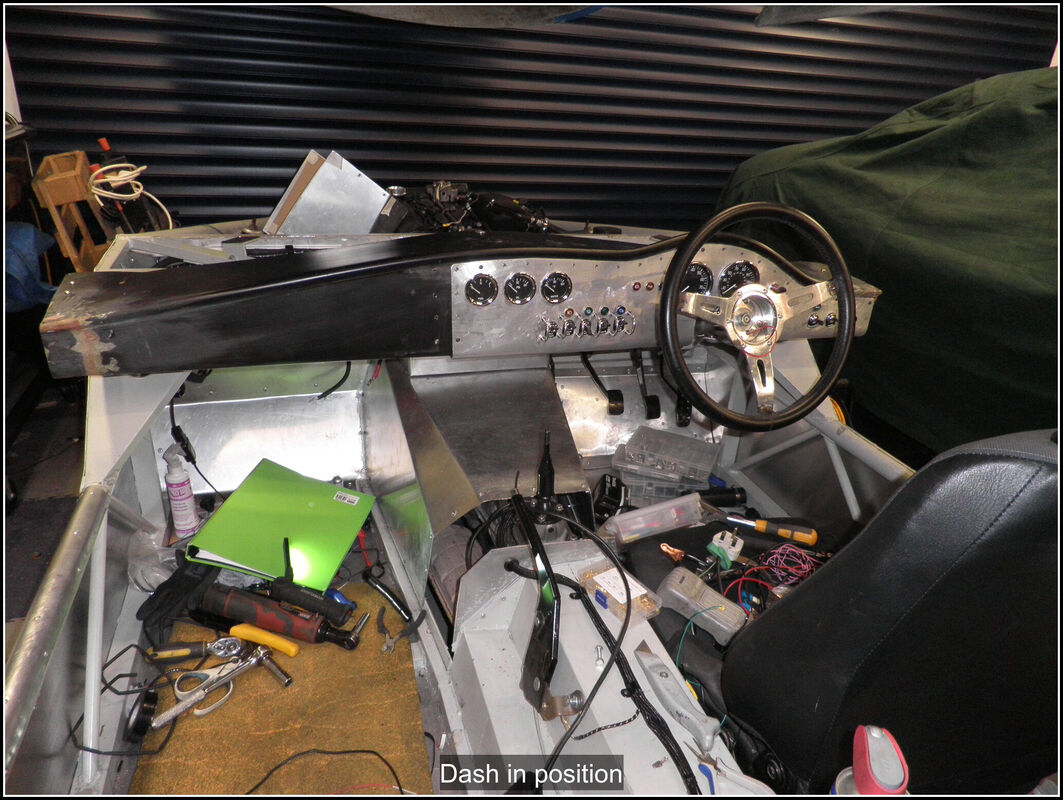
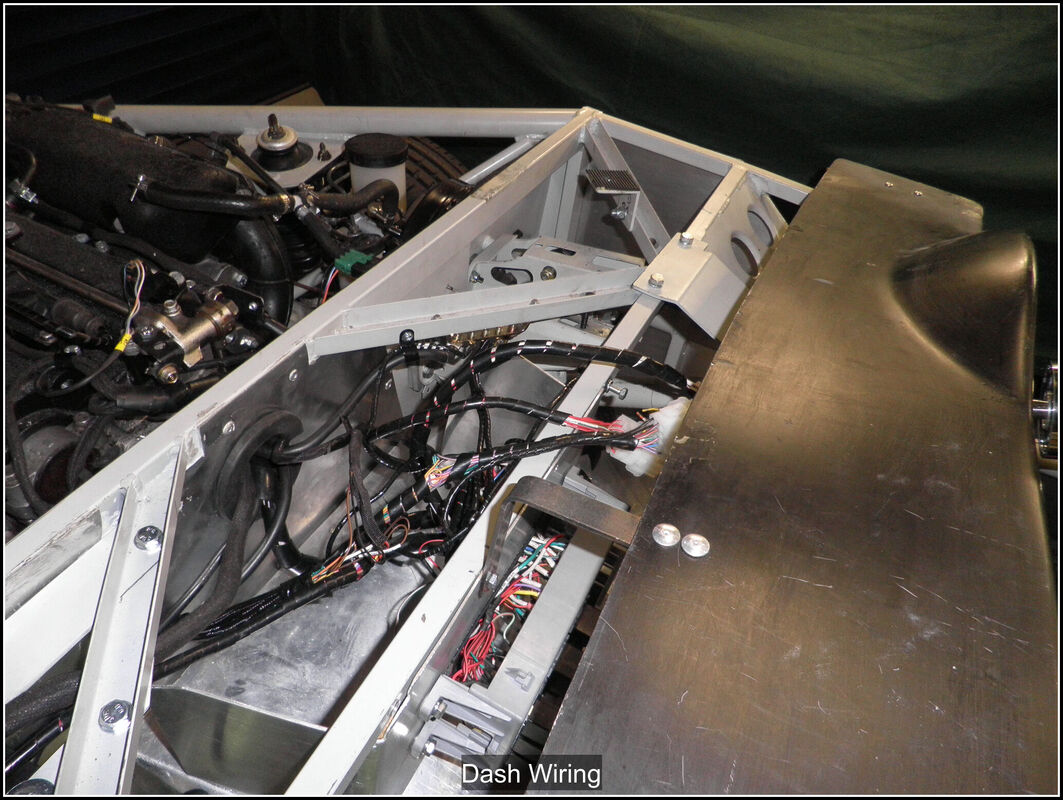
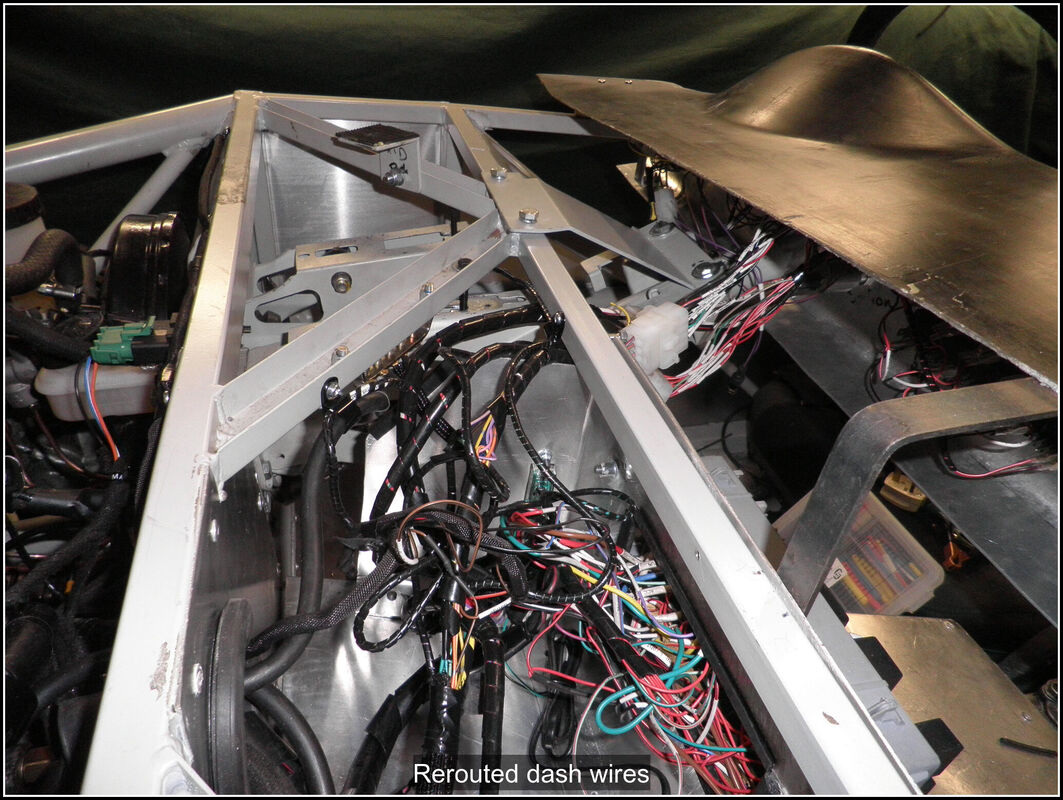
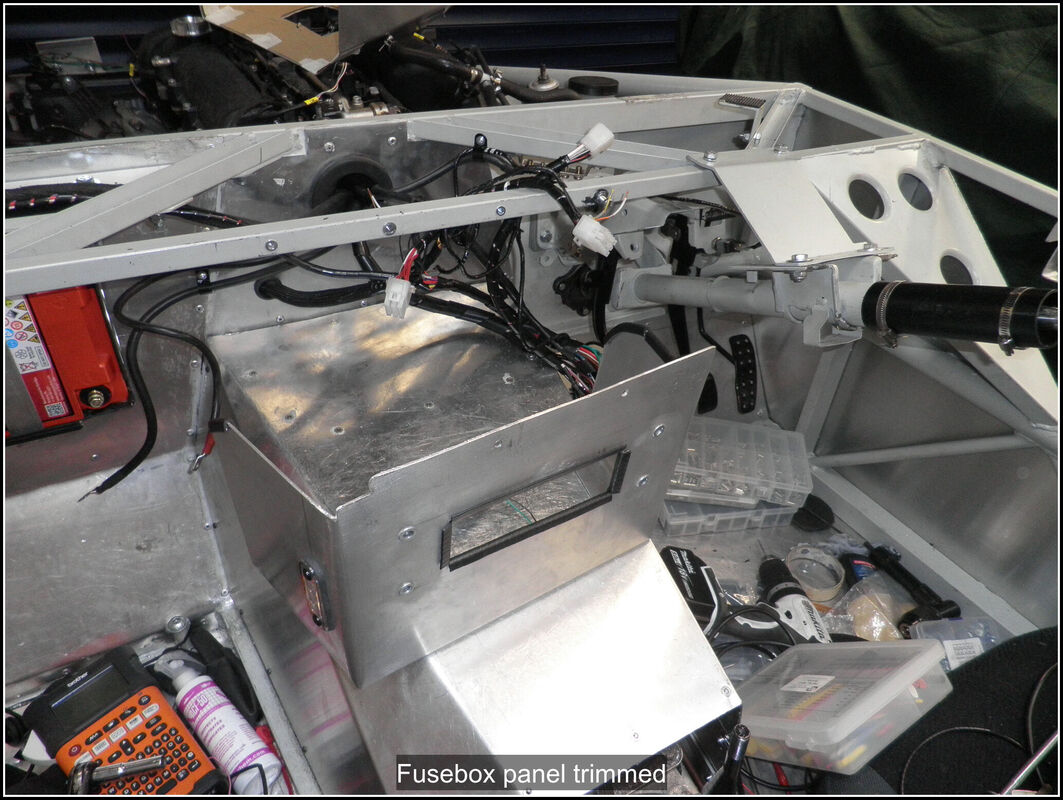
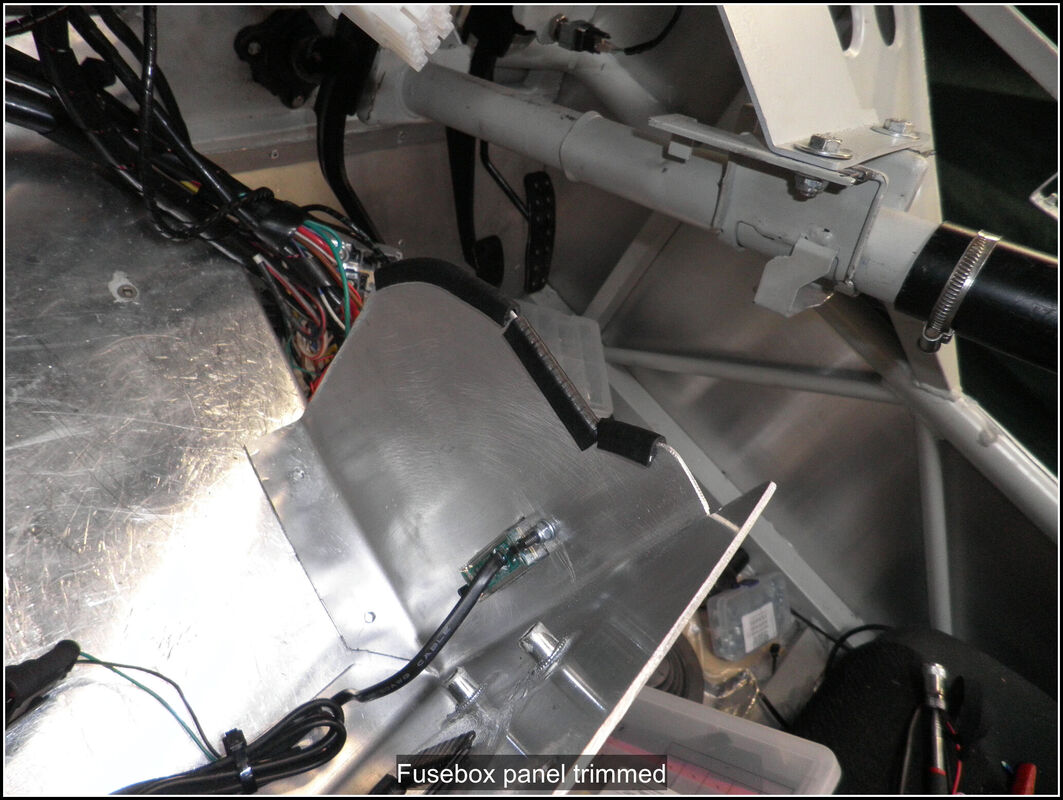
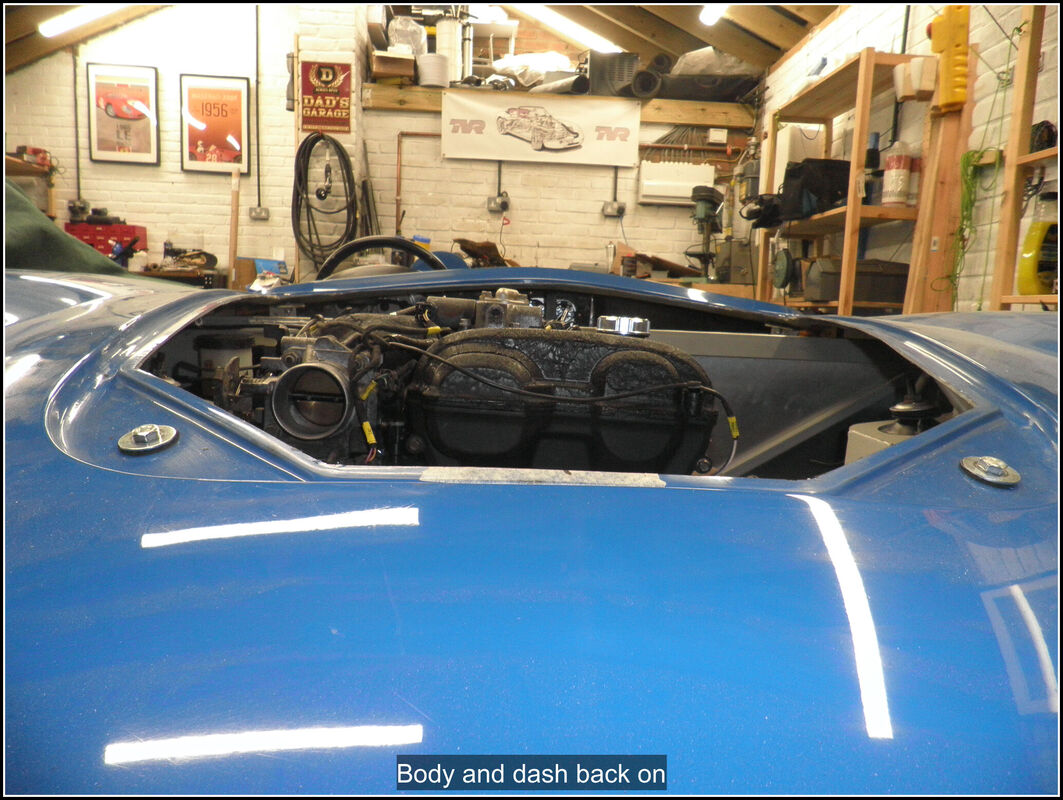
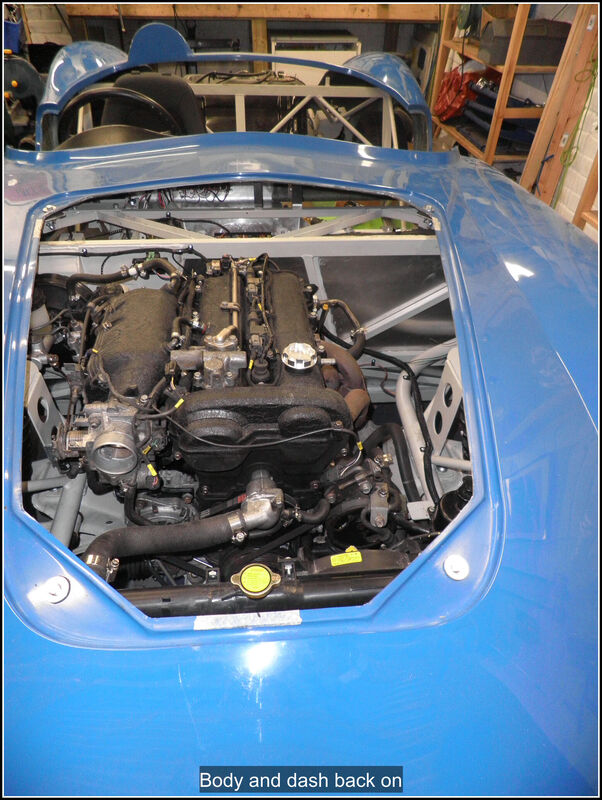
26 February 2021 Started with making the loom up for the Gauge Wizard, I extended the wires provided with the kit (power, ground, sender, gauge) then decided where to mount the unit, I'm planning to mount it to the inside the the fusebox panel with double sided tape. However the loom needs to be long enough that I can reach it to program it. I spliced the power for the gauge wizard into the feed for the gauges. I then cut the fuel gauge/sender wire and joined that to the two connections on the Gauge Wizard. I then spent some time depinning and rewiring some of the connections to untangle some of the wires on the back of the fuesbox. It's not a work of art but it's about as tidy as I can make it. Once I've hada chance to test the circuits I'll add more loom tape and p-clips. Made some updates to the fuesbox layout to accommodate the rerouted wires and add the one I forgot for the ECU ignition switch feed. I made up the connections to the brake lamp switch on the brake pedal and ran the feed wire back to the fusebox. I then cut the remaining wires to length and terminated them on the fusebox. I added some clips for the wiring to the brake lamp switch and connected the earth wires to the earth bar behind the dash. I then reassembled the fusebox panel and screwed it in place then mounted the dash and instrument panel to check how it all fitted together. I had planned to route the dash wires over the bulkhead but then realised that I was also going to panel that over eventually so re-routed the dash connections round the side of the fusebox panel. I will need to cut out a bit more of fusebox panel to allow the cables route more easily. 29 February 2021 Not much 'action' but I've been thinking a lot about the dash and body position. Previously I've worked to align the body and allow the bonnet to clear the VVT. This has meant it currently sits higher at the rear than I want which will make joining the body sides and rear to the chassis more difficult. My chassis is sitting with a nice rake between the front and rear (relative to the ground), the wheels are central within the arches and even left to right. I'm going to trim the rear body supports to drop the body so it rest on the rear outrigger as it should. Then I'll check to see how parallel the body side is with the chassis floor and adjust the front mounts if I need to. Finally I will look at the bonnet clearance over the engine. If it's a problem, I will have a couple of choices; I can put a spacer between the chassis and the subframe to raise the chassis (and body) slightly or I can get one of Andy's new bonnets that has a bulge in it. 6 March 2021 Refitted the body and trimmed the rear mounts, the rear body work now sits about 5mm above the rear sill panel, I may trim it a bit more but it doesn't need much. Had a bit of a look around and I'm pretty happy with how the body sites, nothing looks obviously out of line. The TVR is going off to be serviced tomorrow so I will pull the Replicar out and have a look in the daylight at it. The garage needs a big clean up and sort out which I plan to do while the TVR is away this week. The Replicar is going to go on the lift so I can work on the connections for the lights, fit the horns, the second pair of headlights, the side and front indicators. Then it will be time to test the electrics. While it is on the lift I will also fit my new centre exhaust pipe and test the rear silencer fit.
0 Comments
|
AuthorThis is my first kit car although I've messed about with cars all my life. Archives
November 2023
Categories |


 RSS Feed
