|
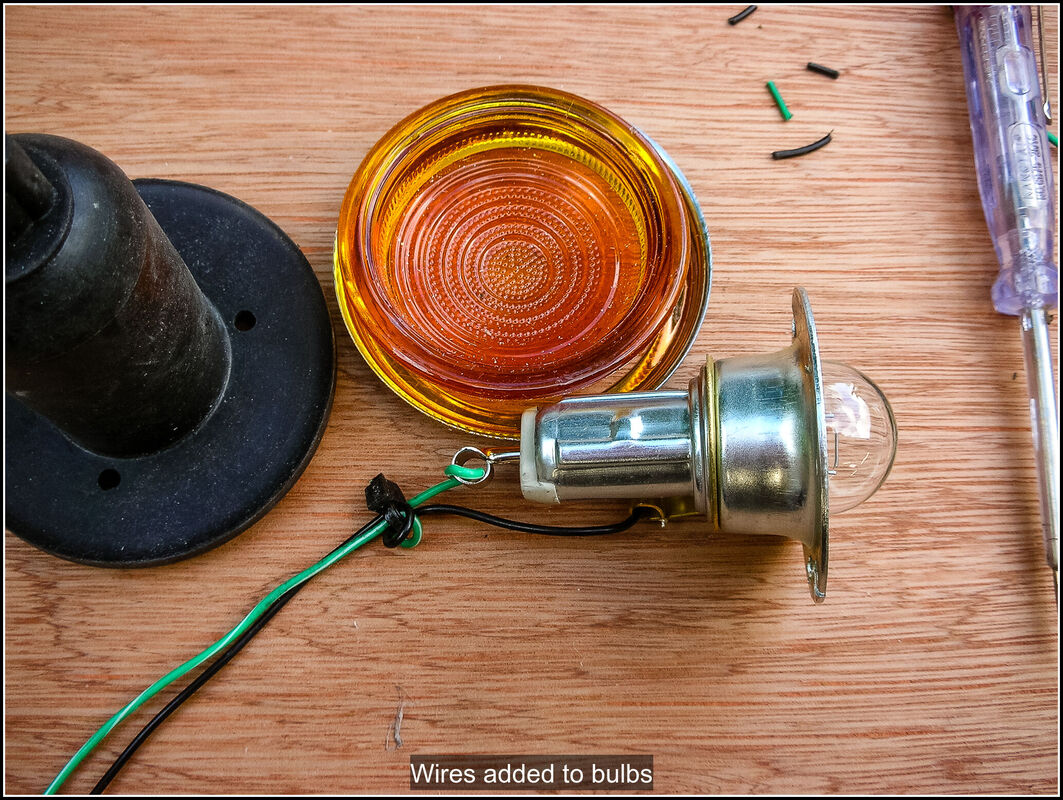
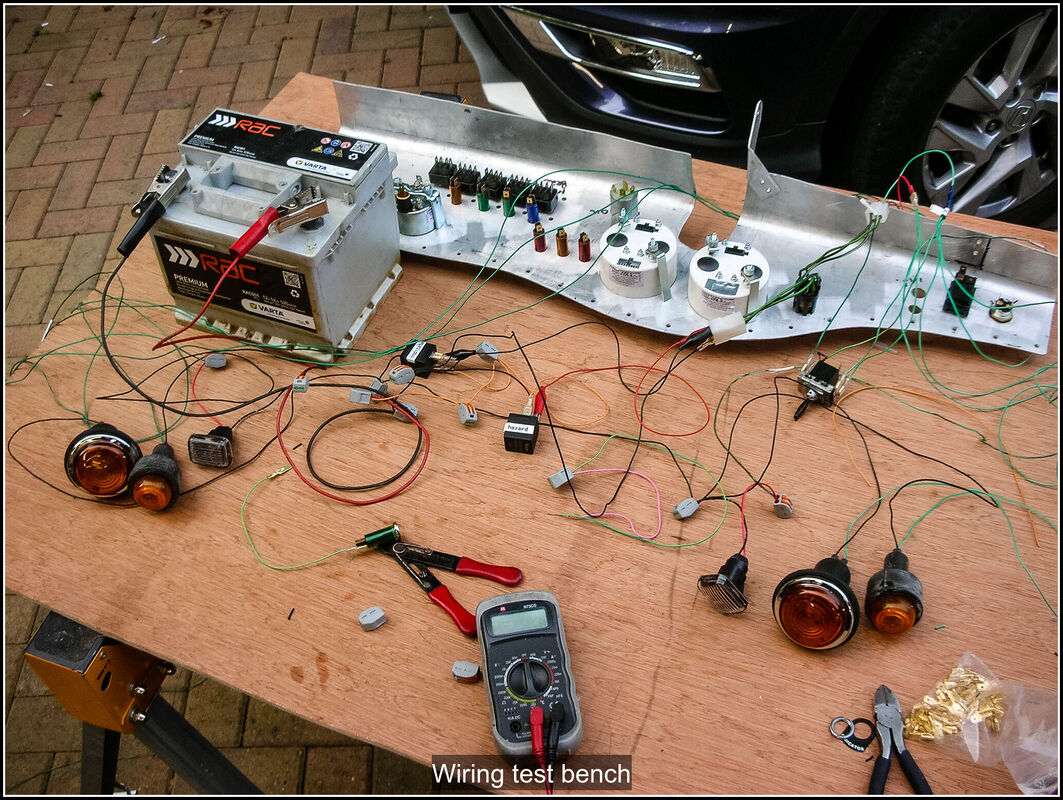
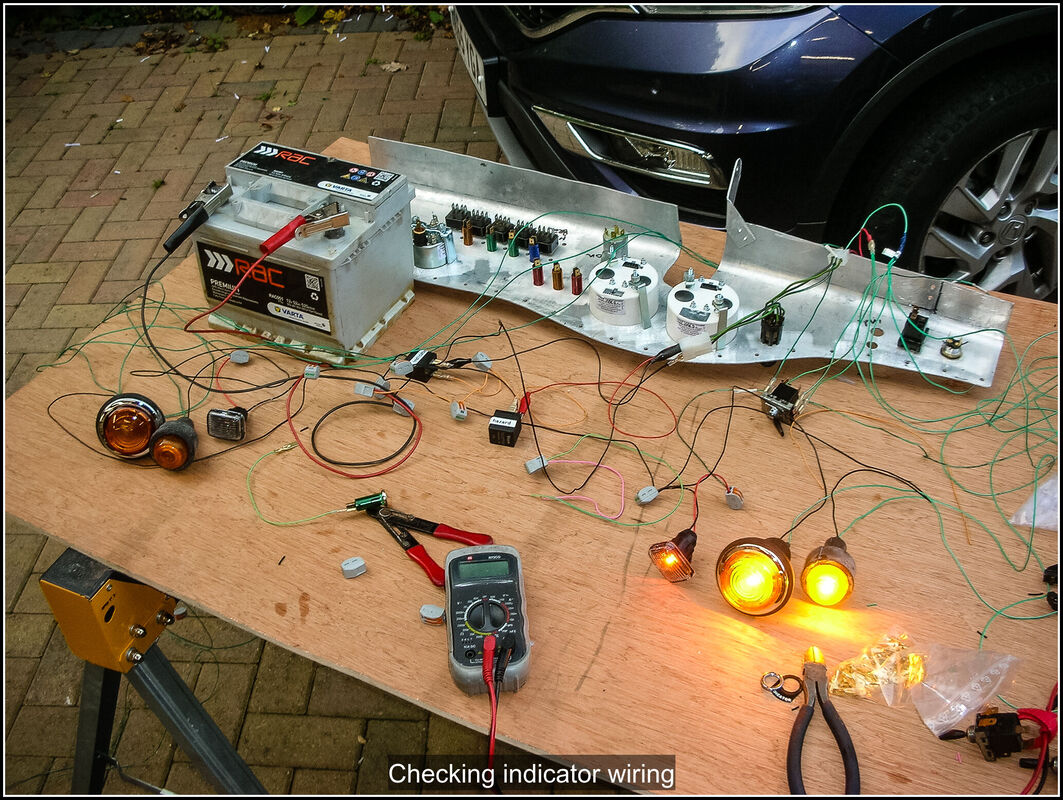
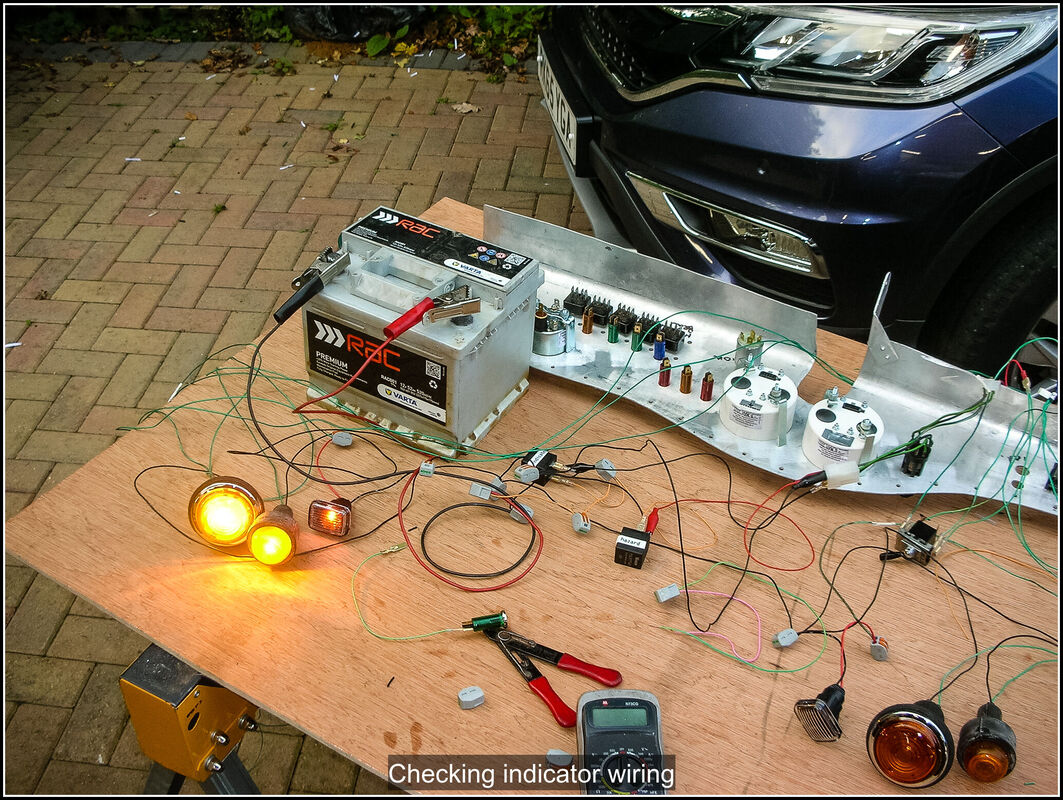
22 October 2021 Progress has slowed as I am working again. Spent today bench testing the indicator and hazard wiring I designed. I buzzed out the terminals on the indicator switch to work out which ones I needed to use for the left and right circuits. Had a problem as it was an old switch it had some dirt or corrosion in it there was a high resistance short between a couple of terminals. I cleaned it up by popping it in the ultrasonic cleaner, blowing it dry then giving it a good squirt of WD40 and then a contact cleaner. Once it was dry it worked correctly. The good thing with these old switches is that they can be serviced. The indicator warning light caused me some grief, my plan to have it in series with the other lights didn't work. I could have changed the flasher unit for one that would also drive a warning light but that would mean running another wire up from the fusebox and I really wanted to have it all contained in the dash. I did a bit of searching online and figured I could make it work by adding a couple of diodes into the circuit. Other than the warning light my indicator and hazard light switches all worked as I wanted. 24 October 2021 The diodes arrived yesterday and after rebuilding the circuit on the bench it all worked as expected. The hazard indicator circuit is probably the most complicated circuit so I am pleased that is all working. I need to now figure out where I am going to add the multiway connectors on the back and how many I want to have. 25th October 2021 Did some planning on the wiring and a pair of 15 pin connectors and a 6 pin connector should be enough to accommodate everything. The 6-way connector will handle the ignition switch connections, One of the 15 way connectors will go to link to the fusebox and the other will link to the lights etc. Ordered the multi-pin connectors and a few other bits from CBS. Back in the garage I remade the diode pack slightly tidier and covered the joins with heat-shrink. Soldered and remade all the joints for the indicator circuit on the dash so the wires were the correct length. I left tails for the wires that will go to the bulkhead connector that I have ordered. I added wires to all the light units, so that they can be connected to the loom with waterproof connectors when I am ready to install it in the car. The wires have been labelled with heat-shrink tubing that I can print in my label printer and shrink on to the wires. I started making up the wires for the gauge illumination but had to call it a day before I could finish that off.
0 Comments
Leave a Reply. |
AuthorThis is my first kit car although I've messed about with cars all my life. Archives
November 2023
Categories |

 RSS Feed
