|
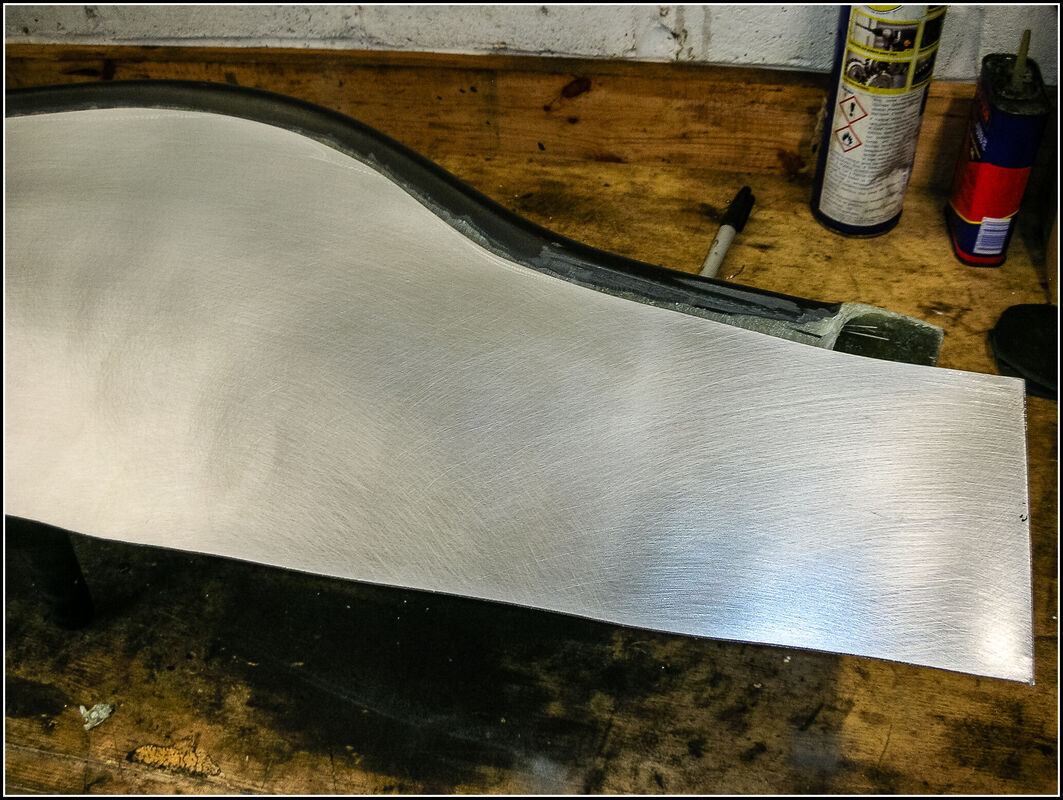
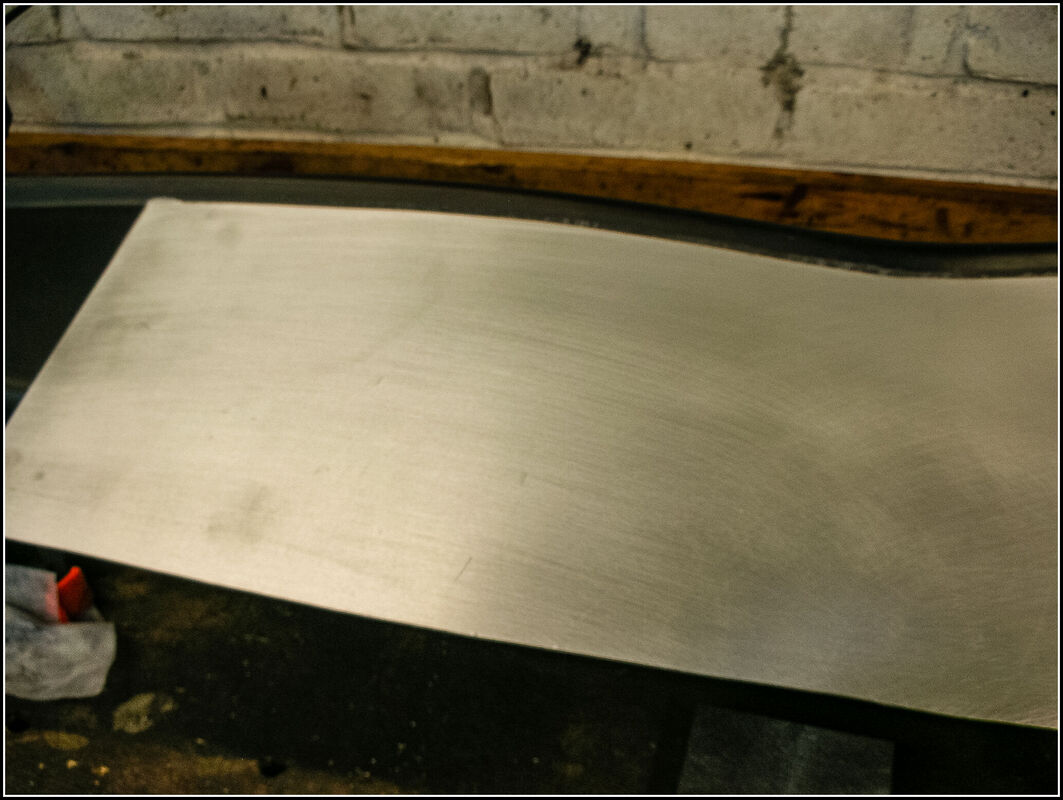
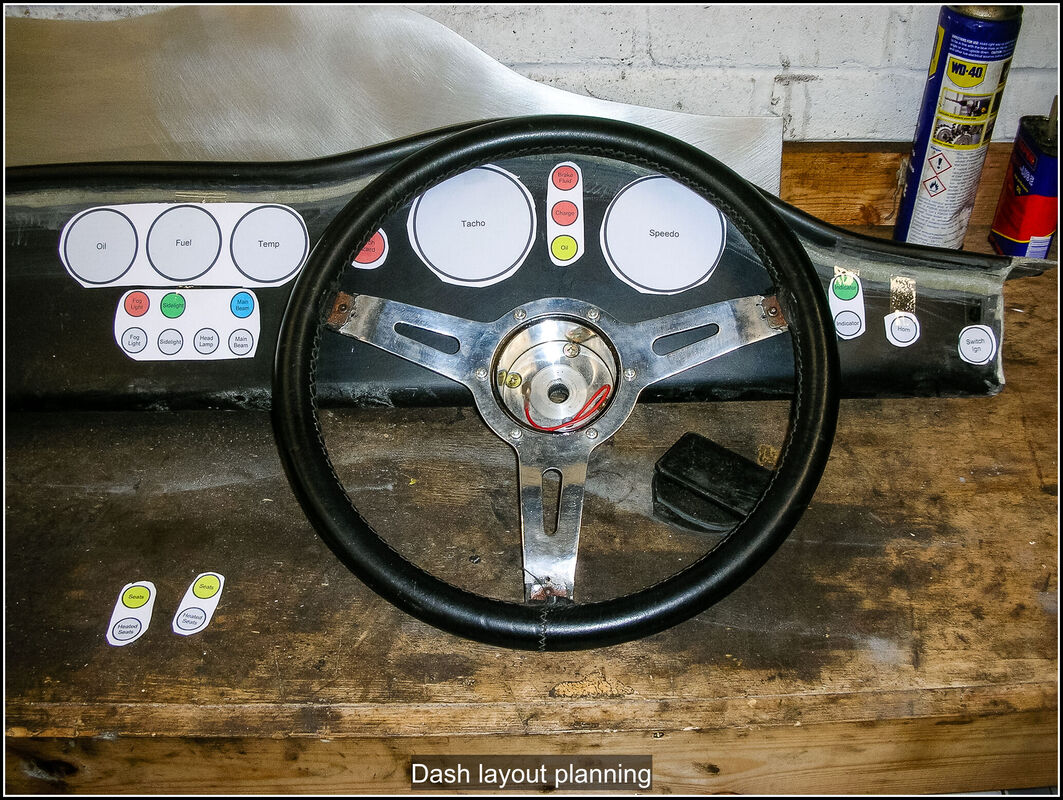
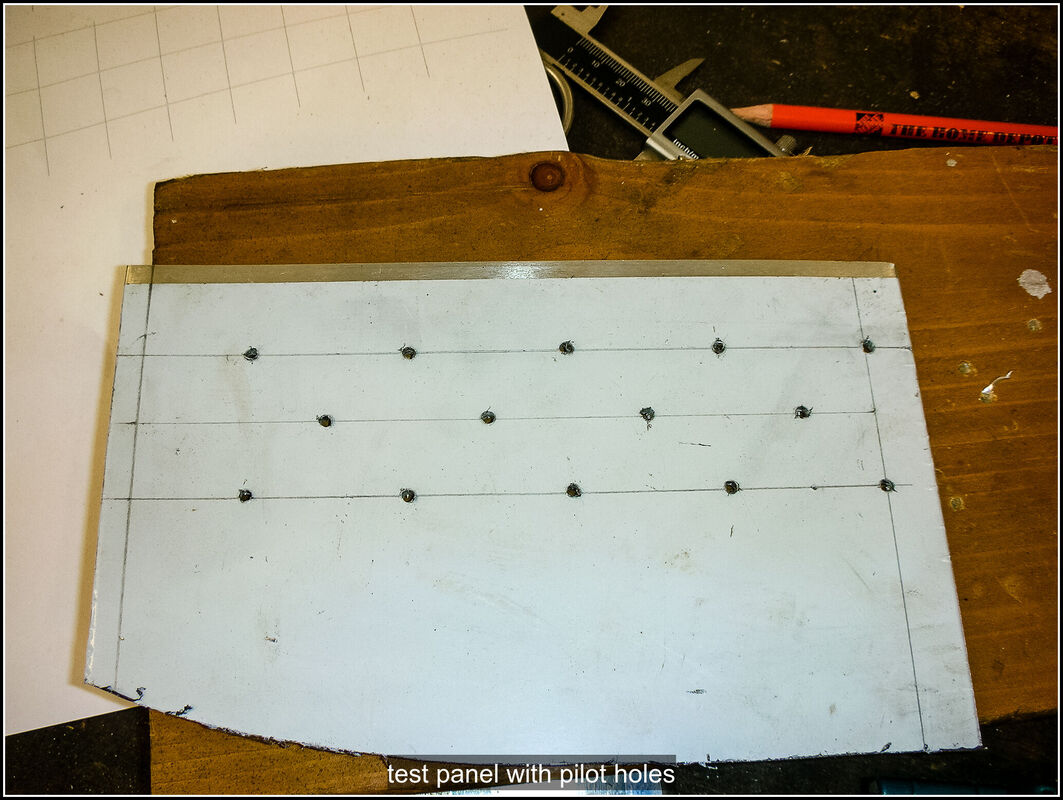
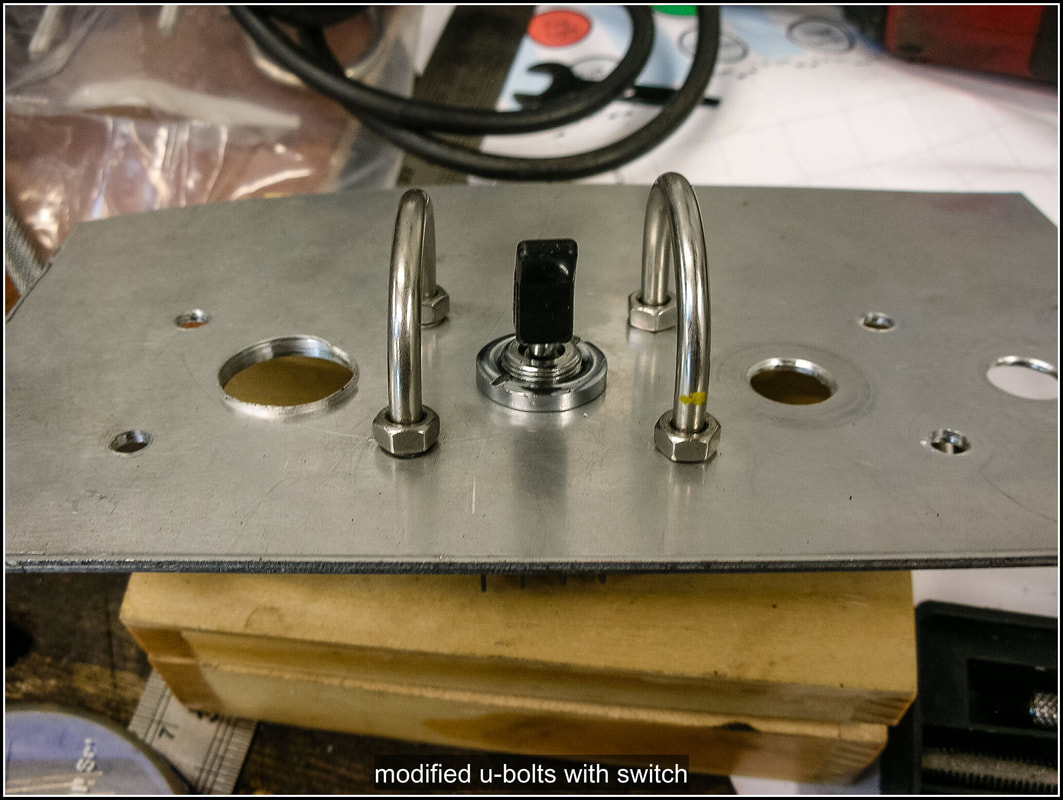
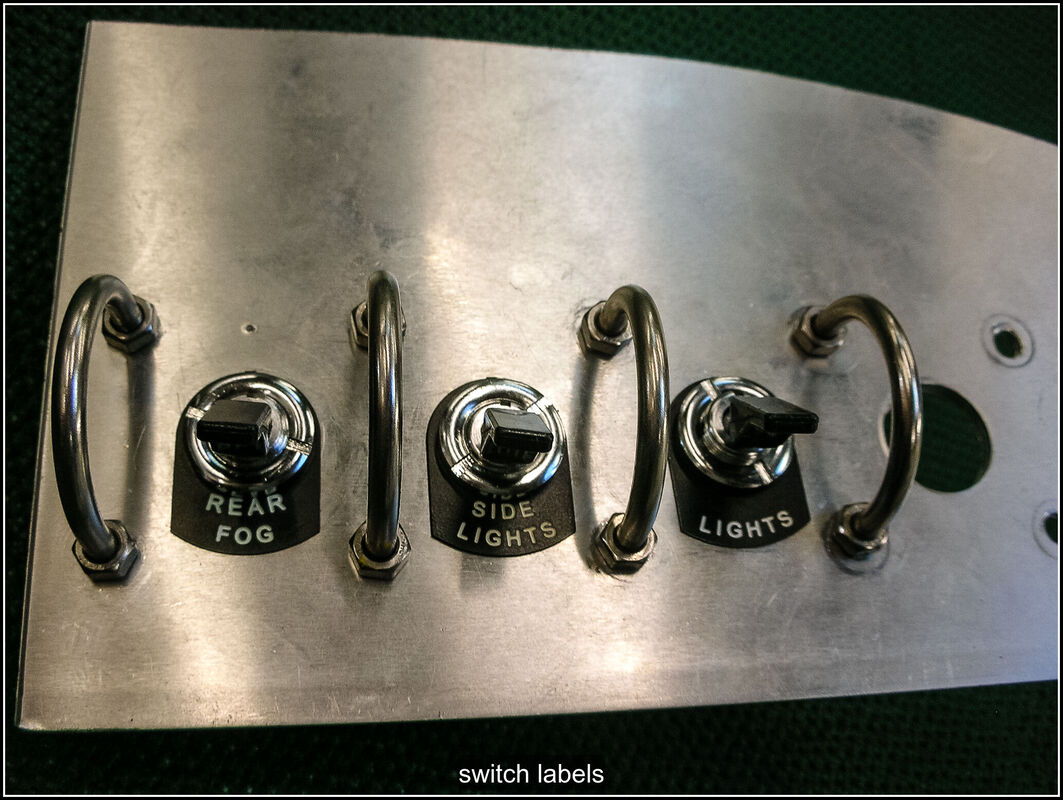
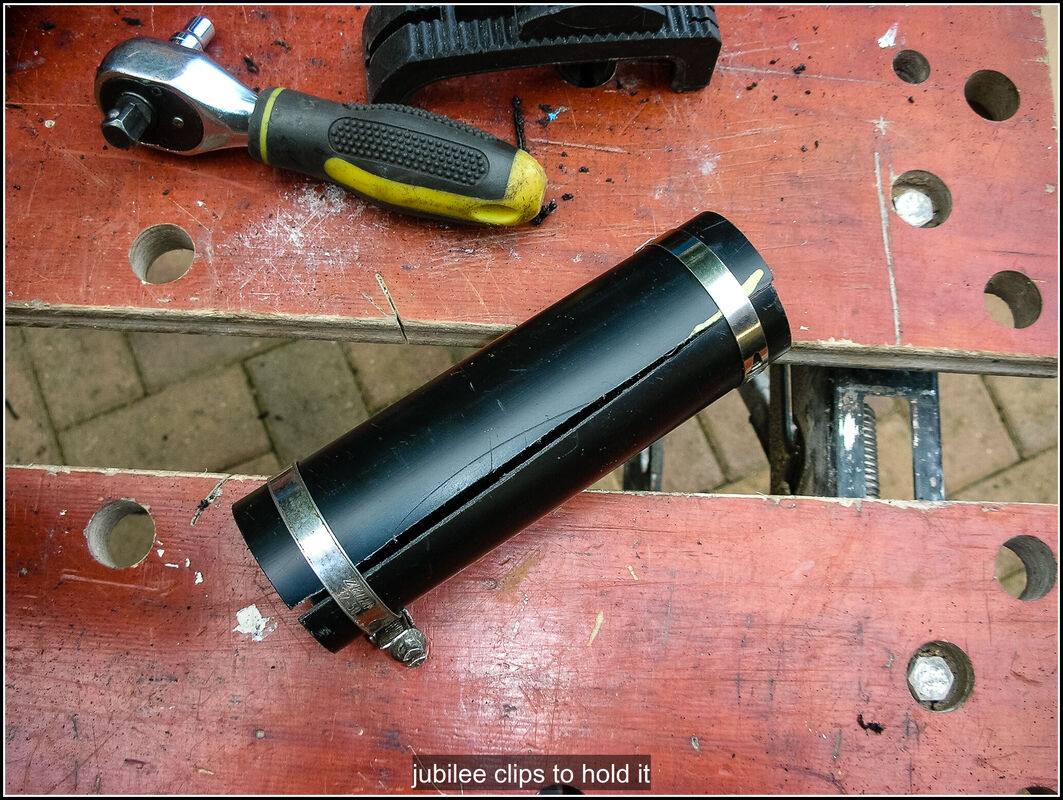
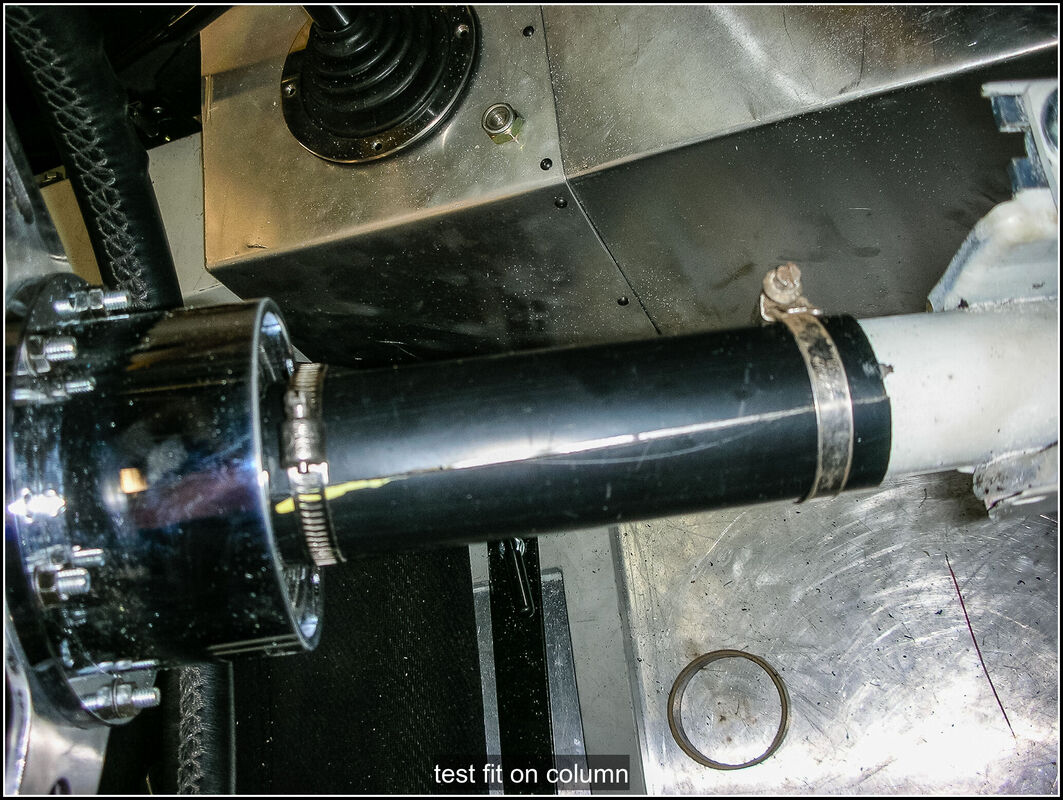
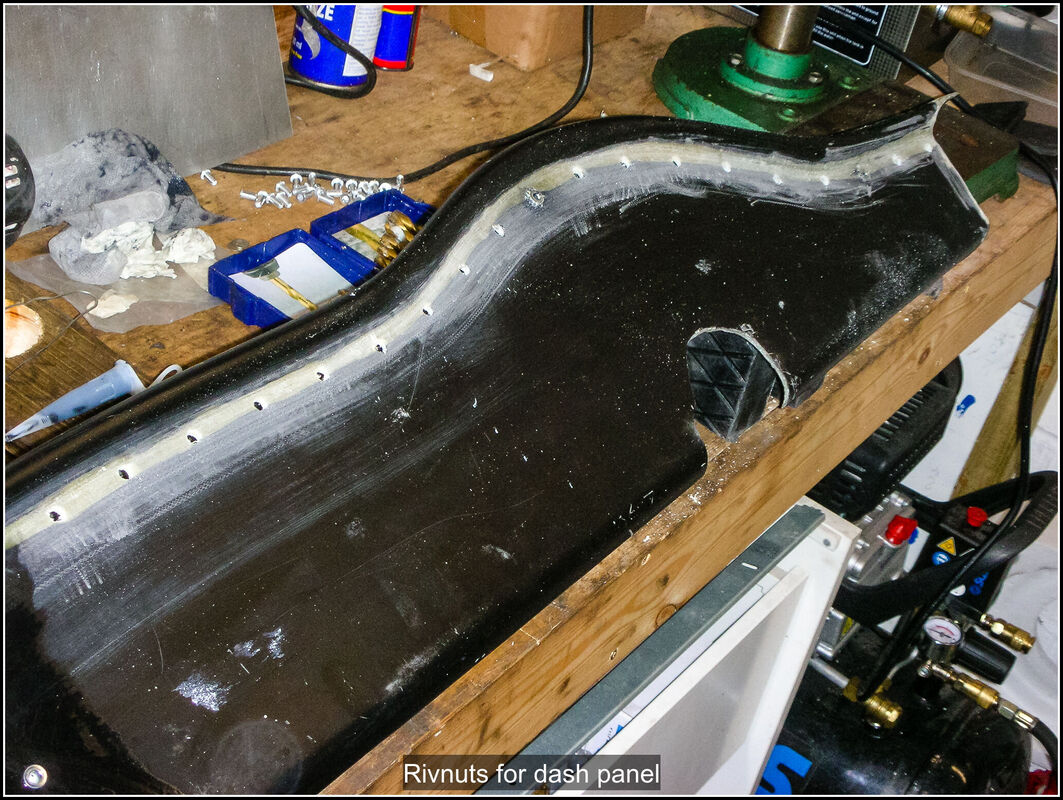
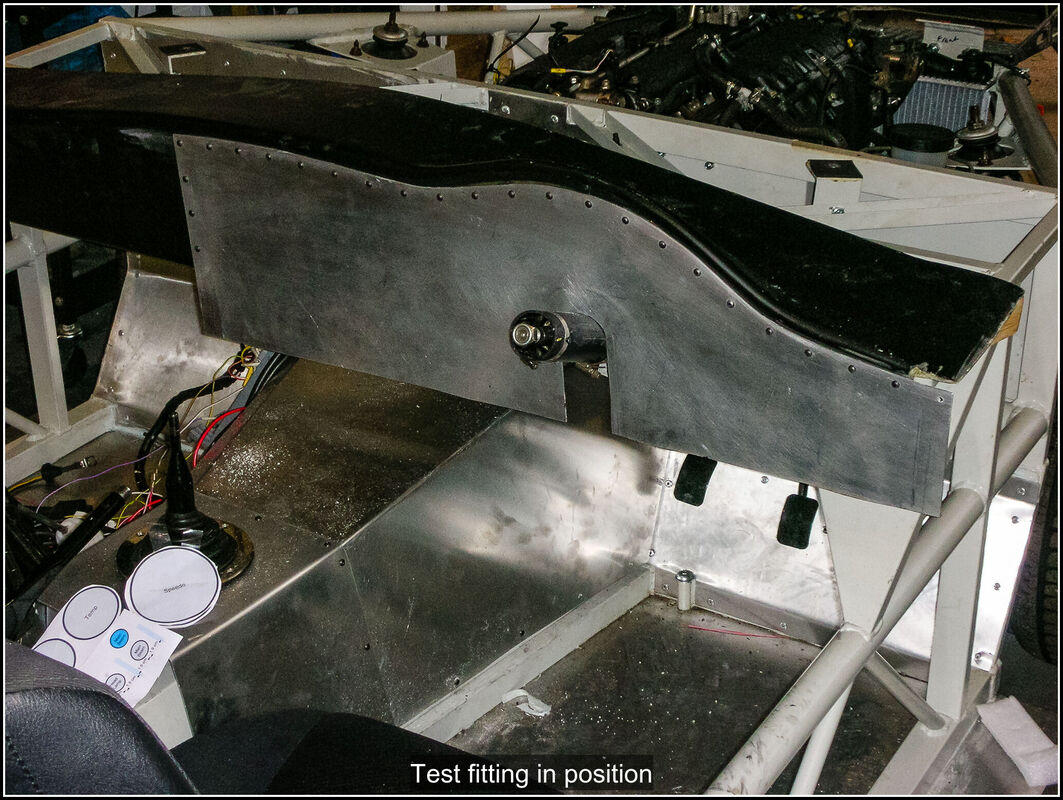
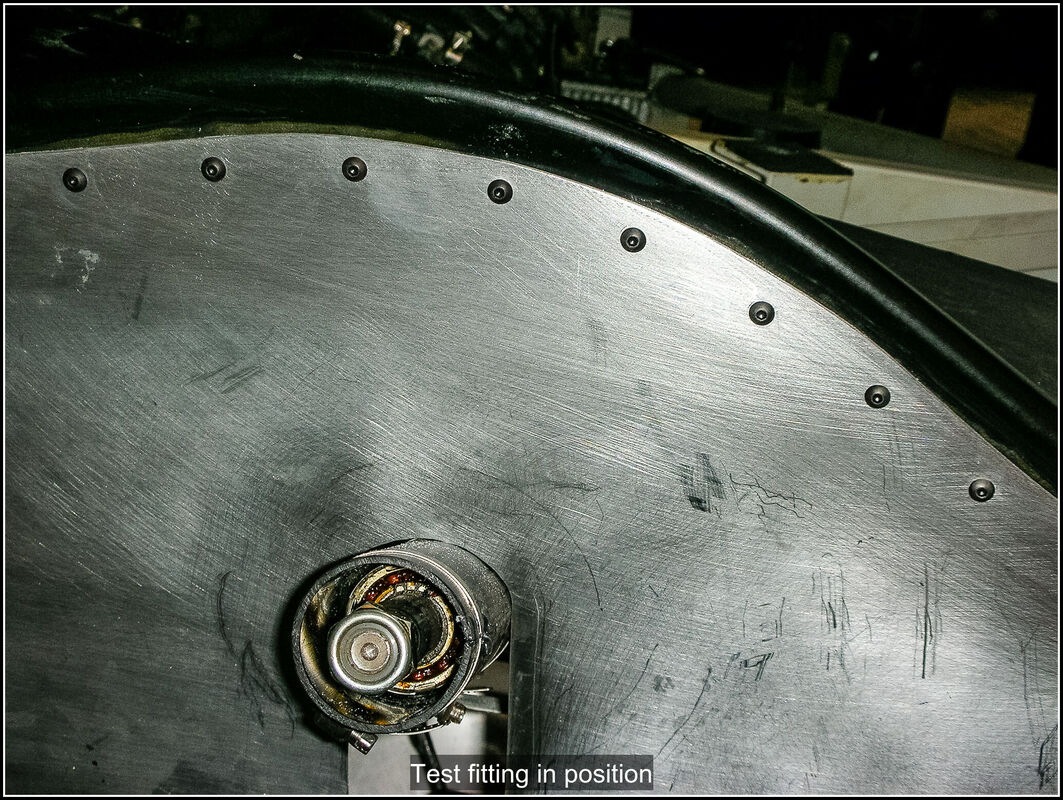
20 September 2021 More time shaping the dash facia so it fitted better to the curves. Did a bit of thinking about the dash layout. The toggle switches need to have guards for the IVA. I ordered some stainless steel u-bolts from a chandlers website as they were about a third of the price of the CBS ones. The U-bolts will need a bit of fettling, ordered some bespoke labels for the switches. 22 September 2021 I measured all the switches, lights and dials for their external dimensions and then drew them up full size in a drawing program and printed them off. I grouped them together as I thought they would be on the dash and cut the groups out. I then laid them out on the dash and stuck them in place with some tape. I'm pretty happy with the layout just a few things I want to tweak, possibly add another warning light for the main lights just for symmetry 23 September 2021 The u-bolts arrived today, I reworked the light switch layout to accommodate the u-bolts and worked out the spacing for the holes. I transferred the measurements to a piece of scrap aluminium so I could practise and see the layout of switches and u-bolts. I drilled out the holes for the u-bolts and the switches and did a trial fitting. Happy with the spacing but the u-bolts stuck out a bit far from the panel for my liking. I cut the the thread further up the legs of the u-bolts with a die and trimmed the length of them. By extending the thread it meant I have to add extra nuts to clamp it to the dash panel. Cutting the threads with the die was tricky as the other leg of the u-bolt got in the way of the die holder so I used a pair of mole grips. Once I had one that was correct I could use it as a template for the others. I didn't include the warning lights in my trial layout so I need to add them to make sure I am happy with the spacing. 24 September 2021 Finished modifying all the u-bolts for the switches. My switch labels arrived so I put a few on my test piece and they look really good. I need to get the aluminium fascia trimmed and fitted to the dash panel so I can finalise the dash mounting. Before I cut the hole in the aluminium for the steering column I wanted to make up the trim for the steering column that will hide the column where the steering lock and column switch used to be. A lwngth of 50mm drainpipe was cut and then a slit was cut down it's length with a dremel. I then removed a strip from the edge of the slit so I could close it up and make a tight fit round the column. The top of the column tapers so I made the cut wider at one end. After a bit of trimming I was happy with the fit I applied some strong glue to the edge and used some jubilee clips to hold the gap closed. I may paint ot or leave it black. Whilst I was waiting for the glue to dry I made up a bracket to secure the top of the dash to the scuttle frame from a piece of flat bar steel, heated and bent to fit. 25 September 2021 Cut out the slot where the column needs to go in the Aluminium panel with a jigsaw and after a bit of dressing with a file and sanding block it fitted nicely. Then I cut down the ends of the panel so I had the appropriate length. I masked up the panel and marked out where I wanted to place the holes that will secure the aluminium to the fibreglass and drilled them out with a 4.5mm drill. I'm using M4 dome headed bolts and rivnuts in the fibreglass. I cleaned up the back of the holes and then back on the car carefully lined up the fasica and clamped it in position. Then I drill 3 holes using the holes in the aluminium plate as a guide, so I could fix the plate into position. Then I took the dash of and drilled out my 3 reference holes and put the rivnuts in them. I then screwed it into place and drilled the remainder of the holes using the holes in the aluminium as my guide. I then removed the aluminium plate and drilled all the holes out to size and put the rivnuts in. I added a bit of glue in each hole before adding the rivnut to make sure it stays in place, the fiber glass is quite thick and so the rivnuts don't fully compress. Cleaned up all the excess glue and then attached the aluminium fascia using all the screws to check every thing lined up, which thankfully it did.
0 Comments
Leave a Reply. |
AuthorThis is my first kit car although I've messed about with cars all my life. Archives
November 2023
Categories |


 RSS Feed
