|
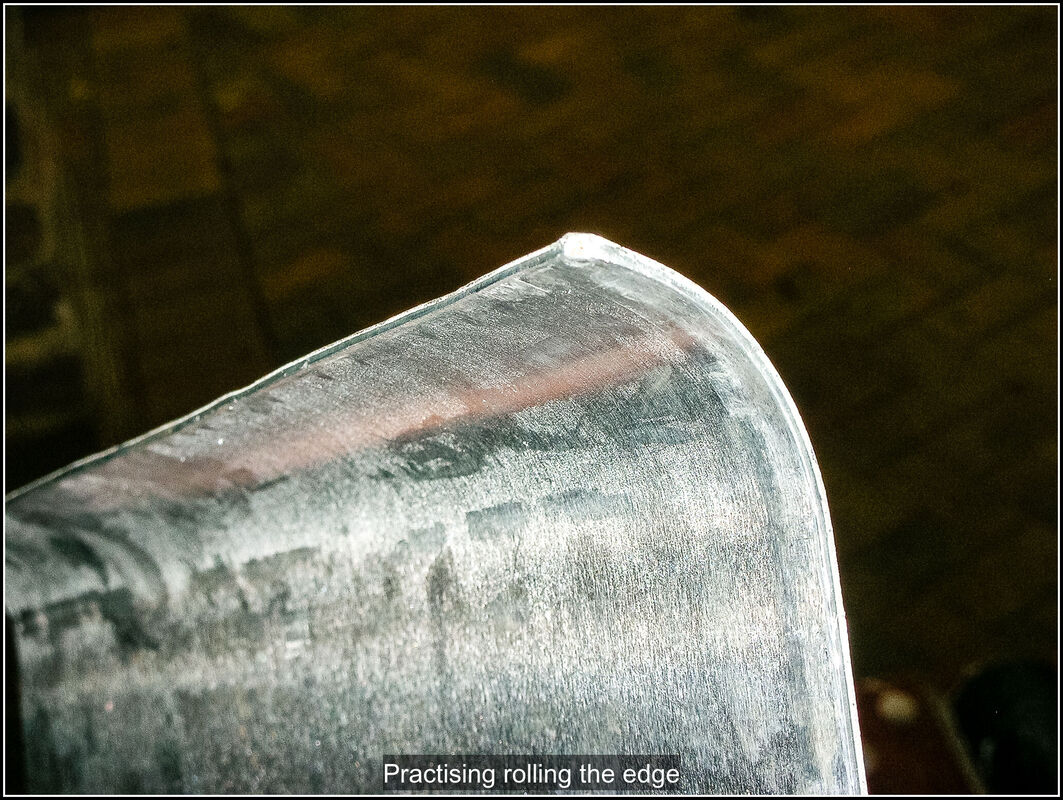
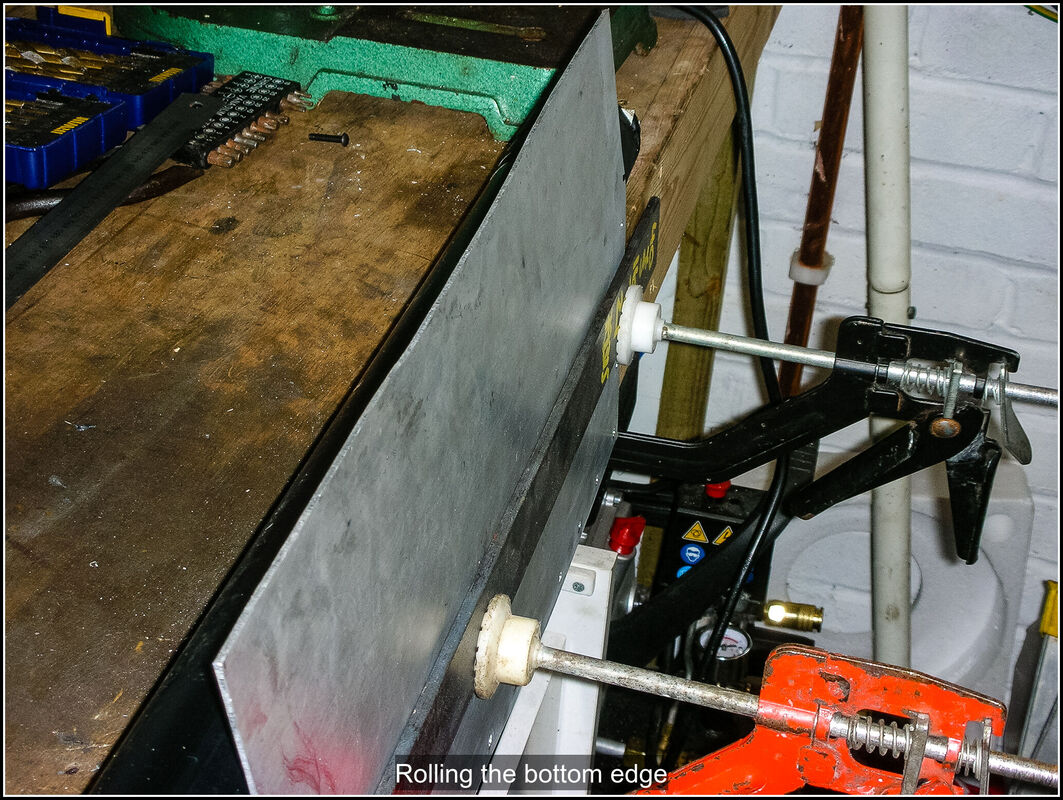
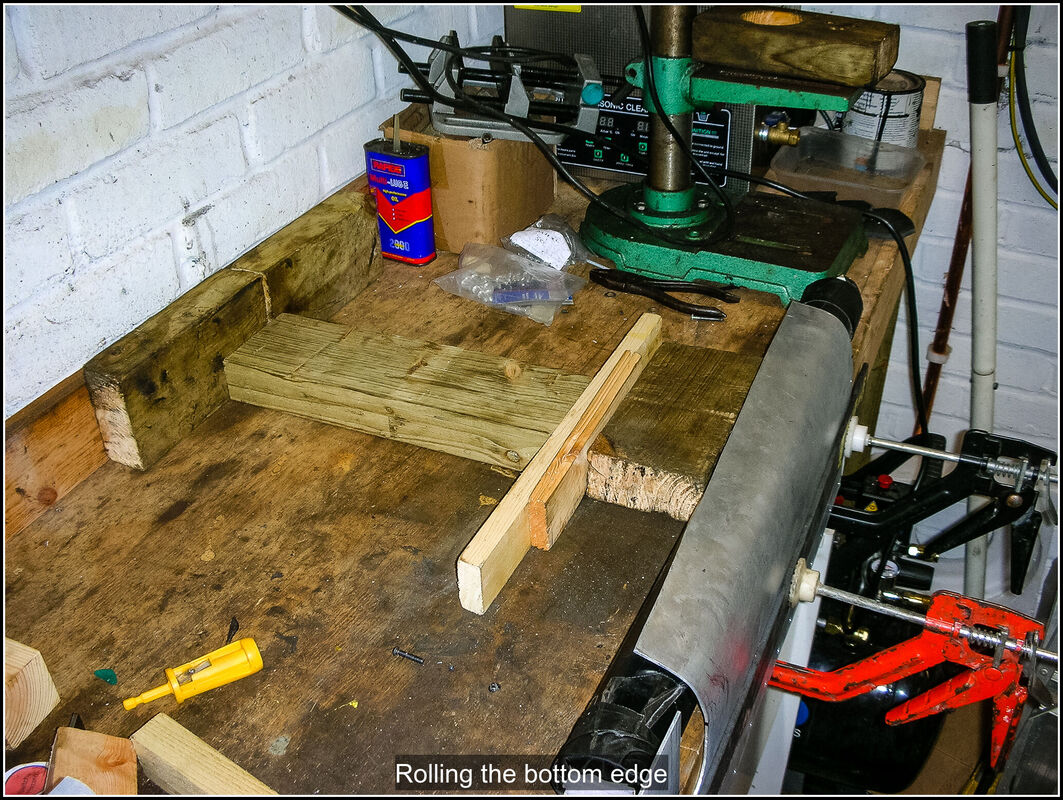
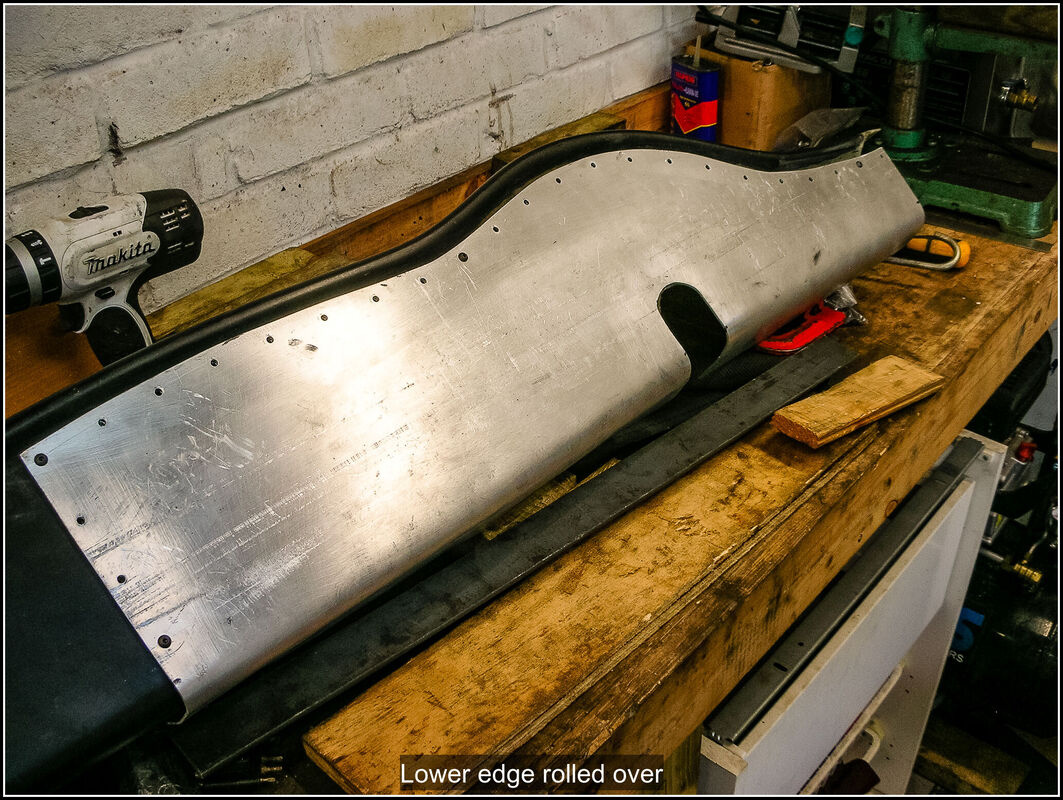
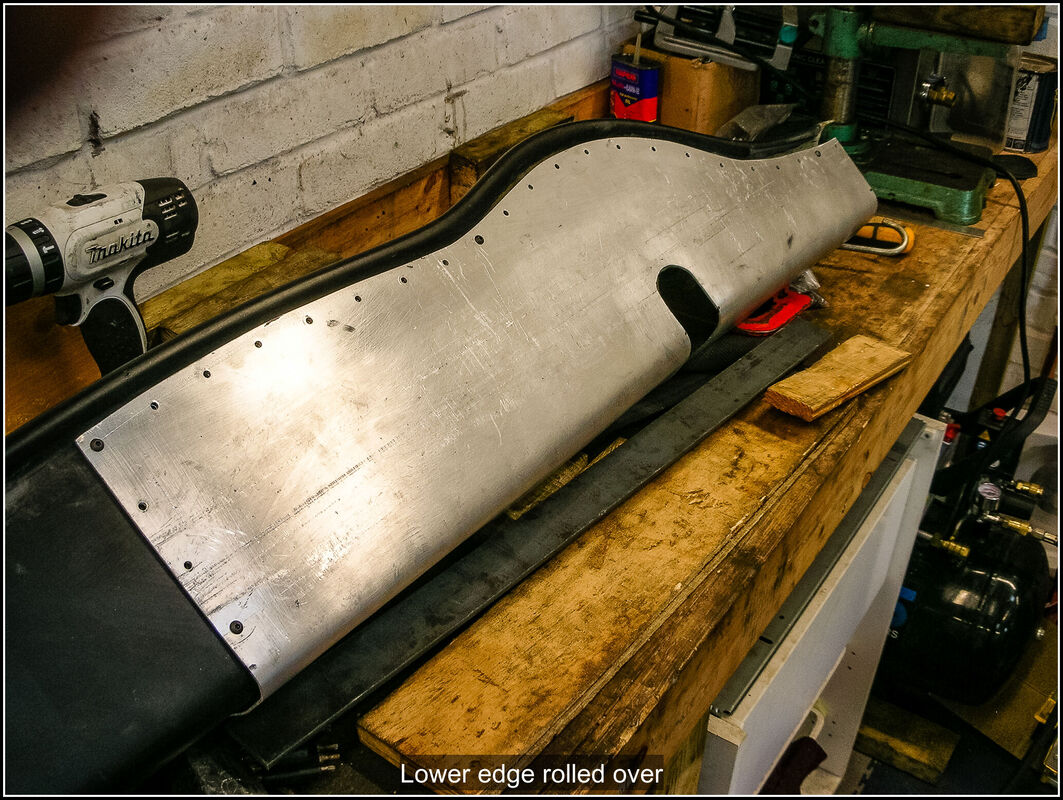
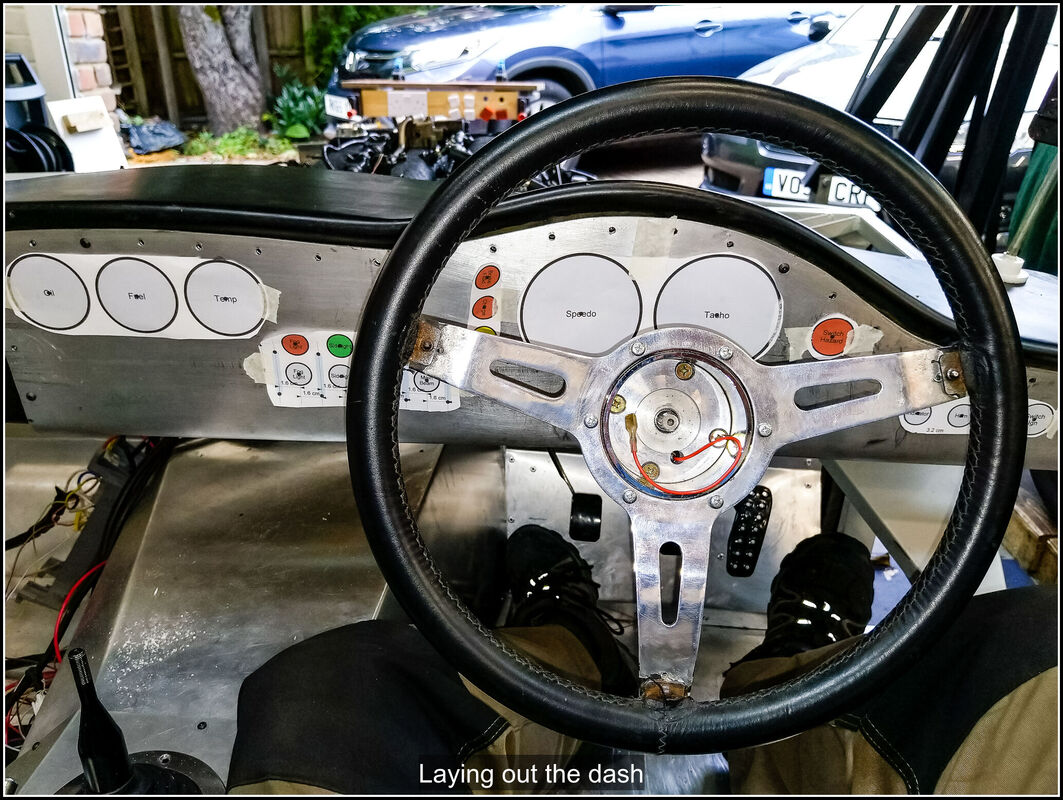
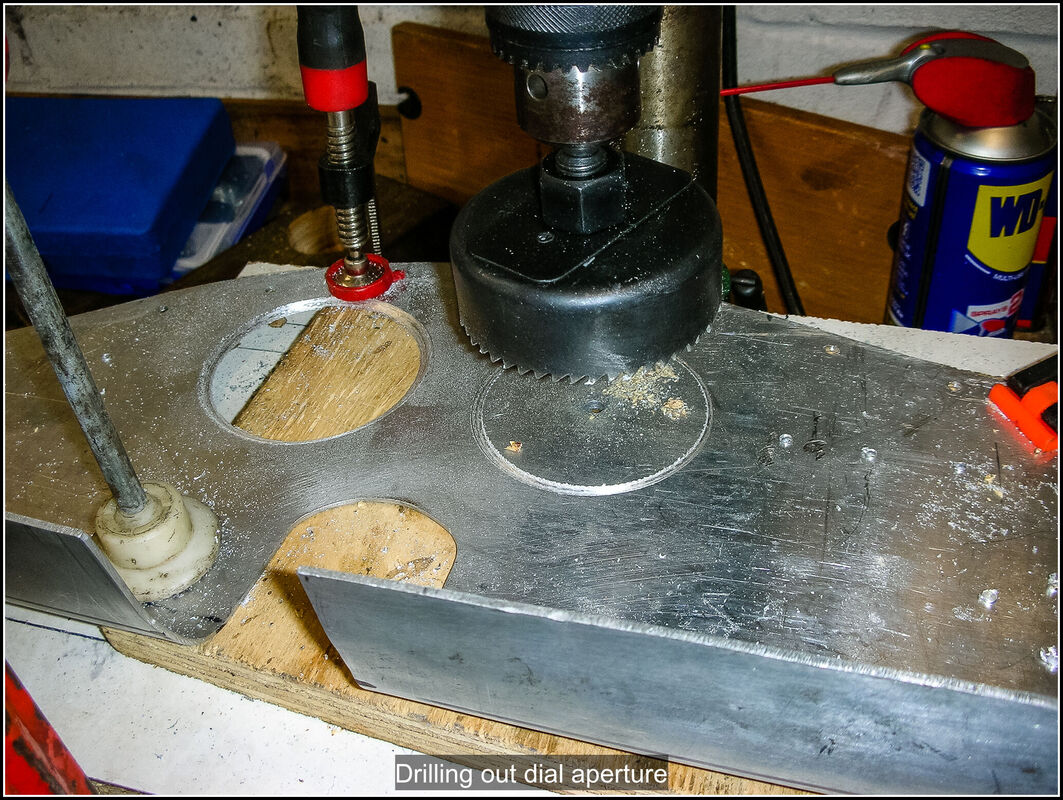
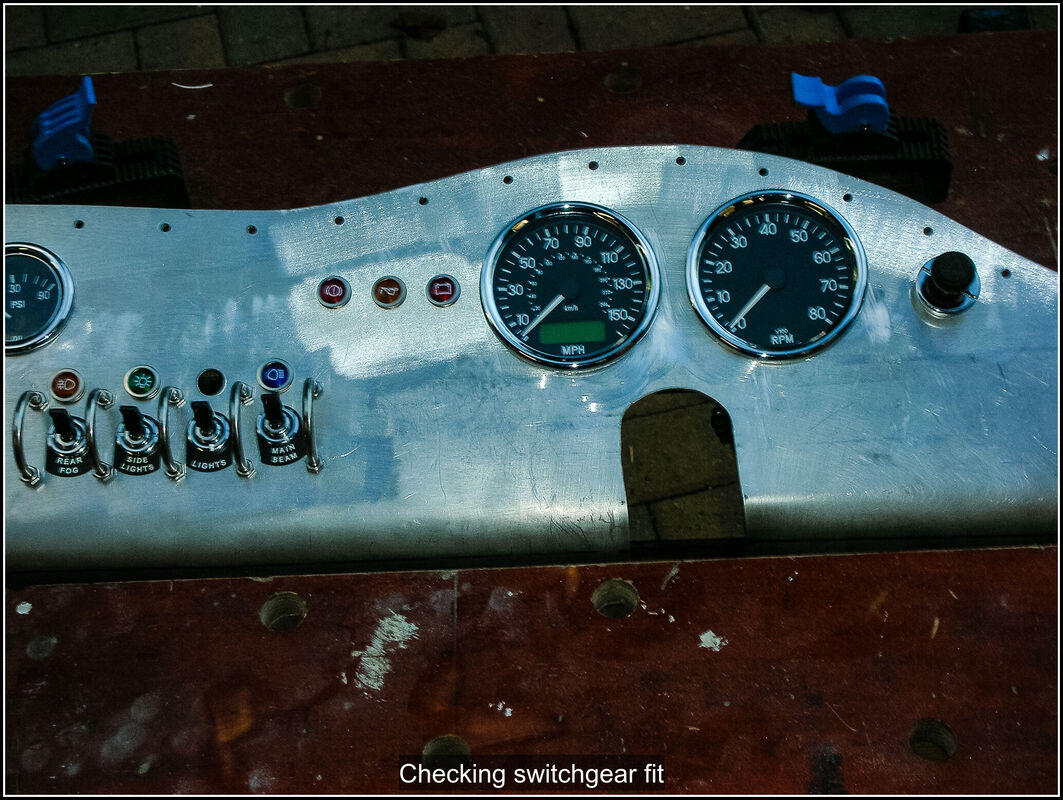
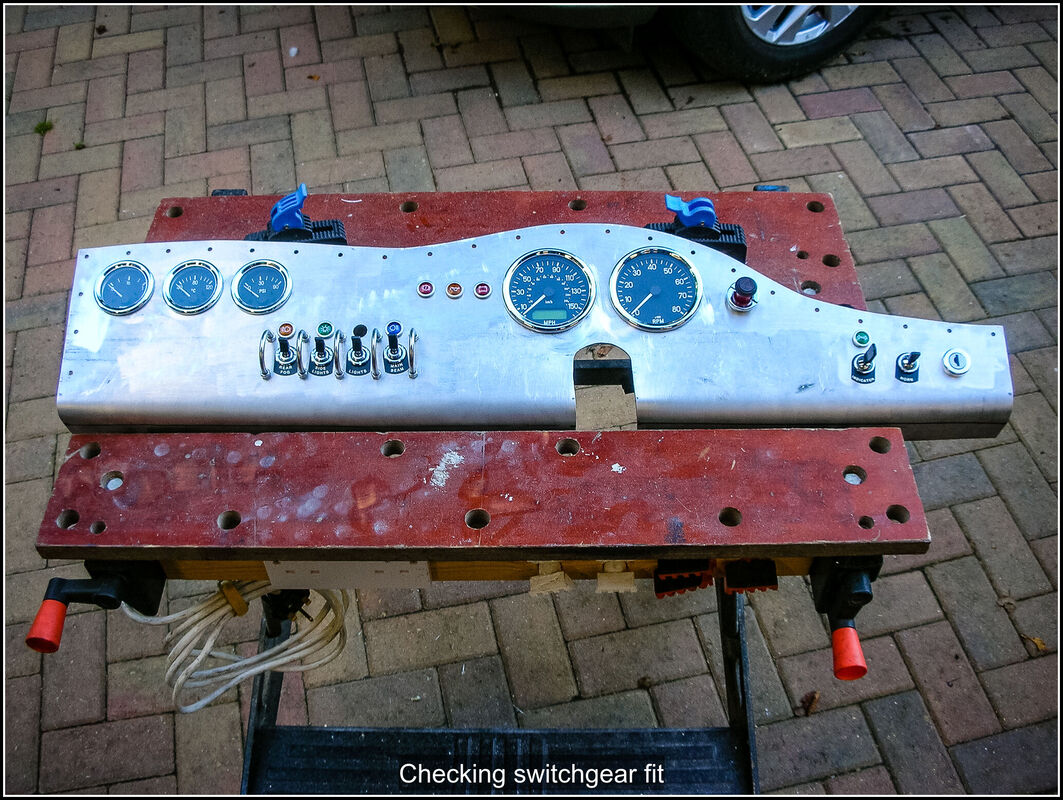
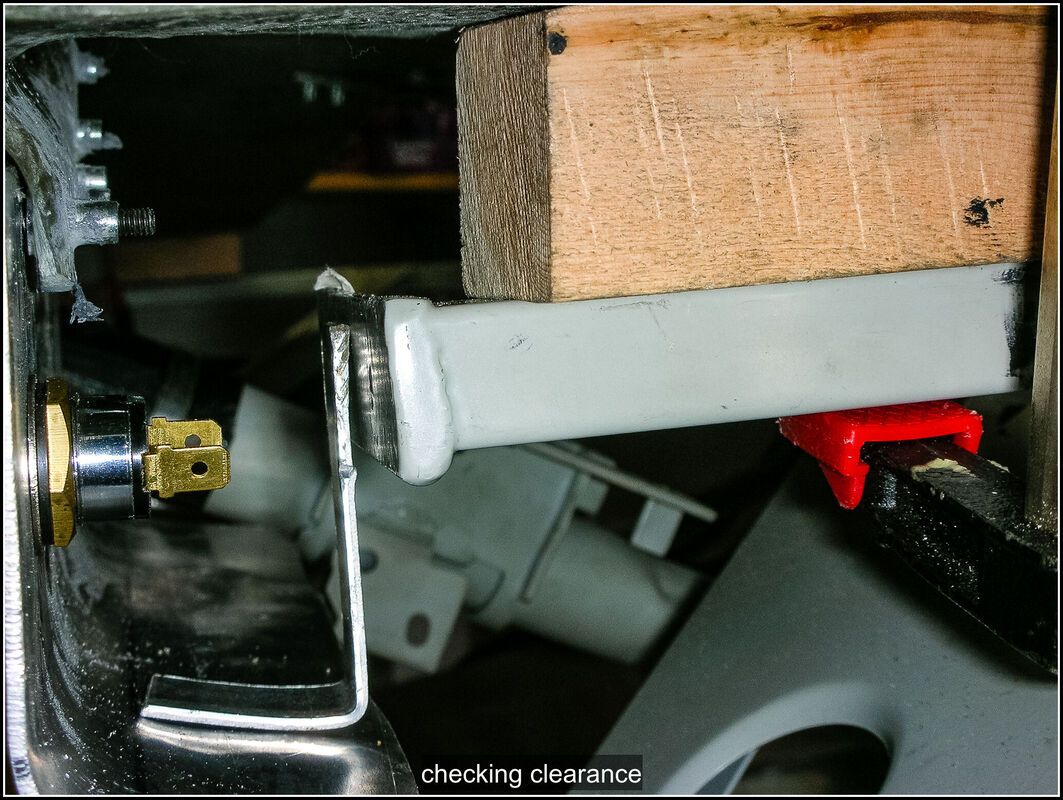
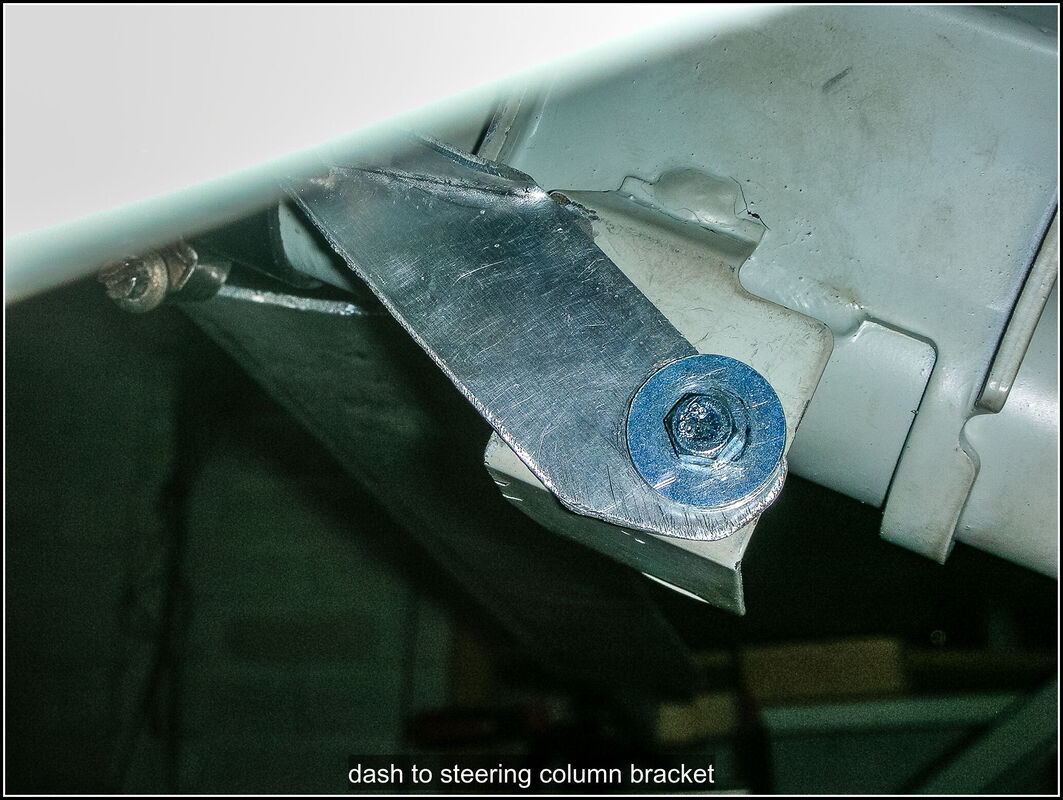
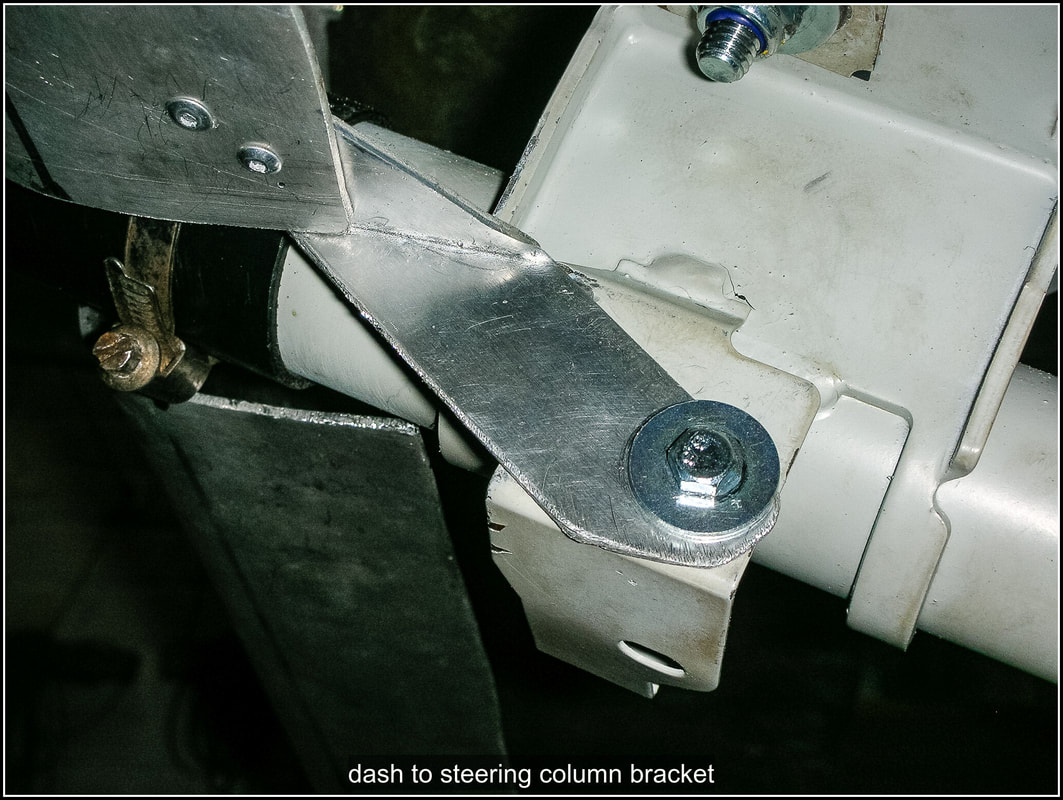
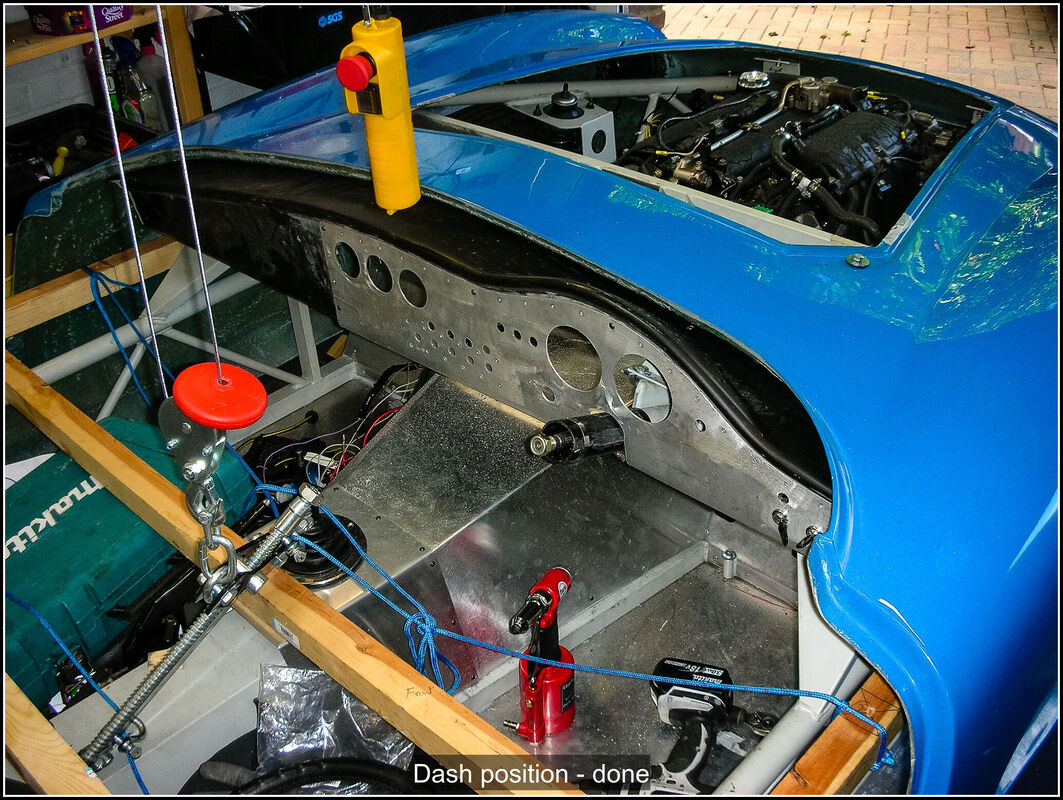
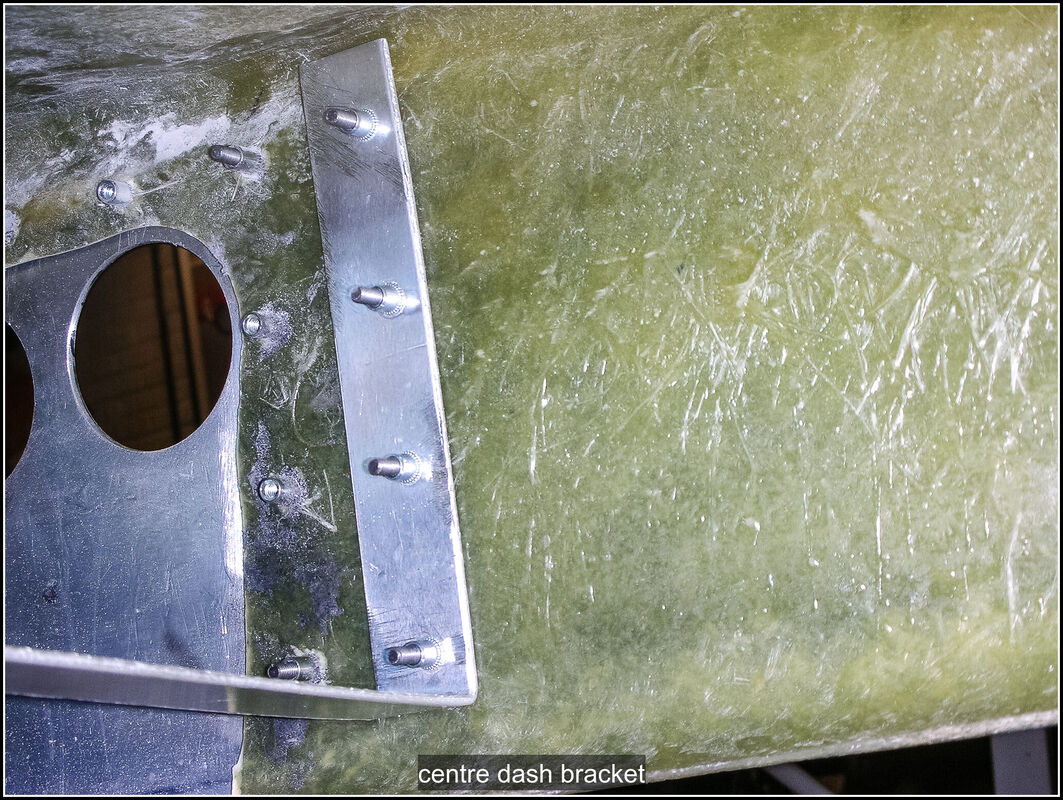
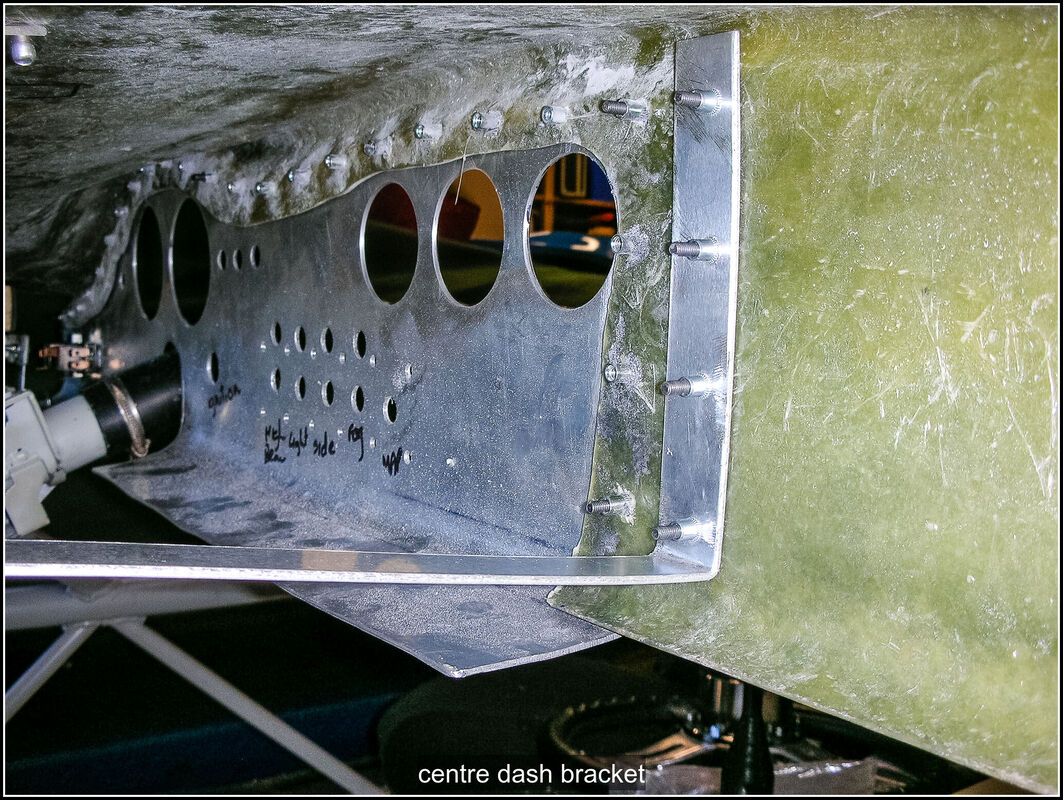
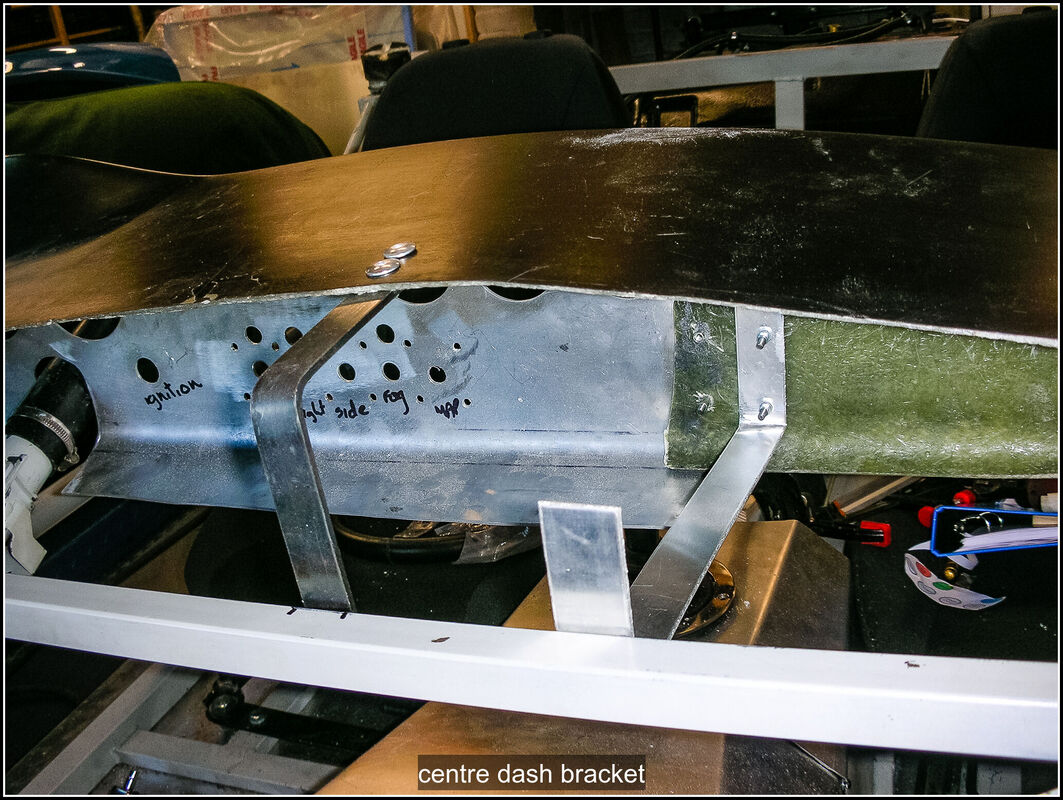
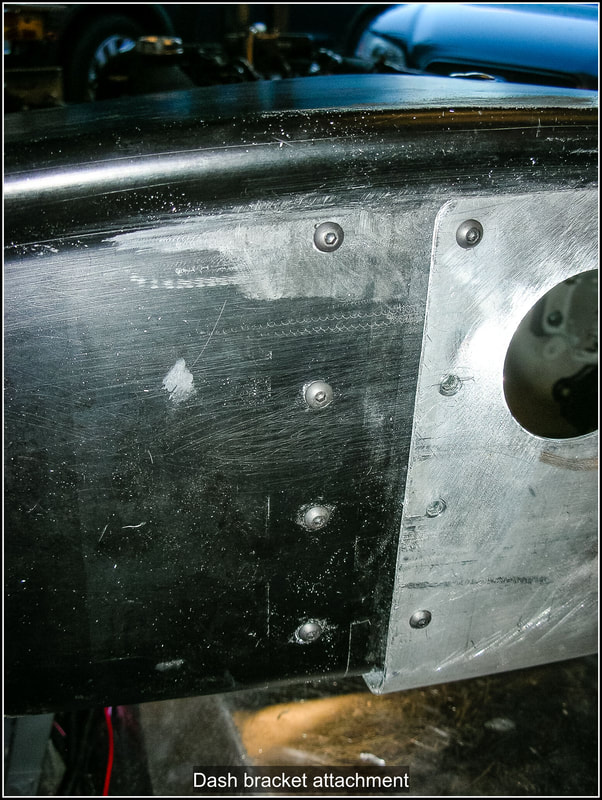
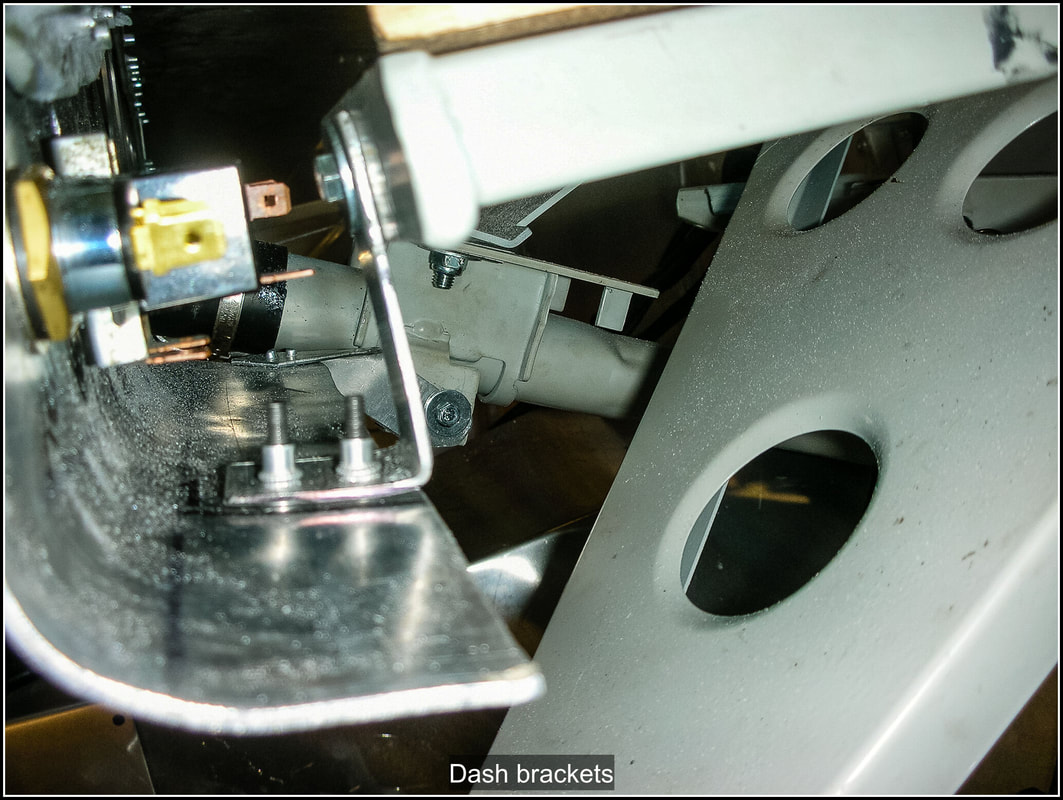
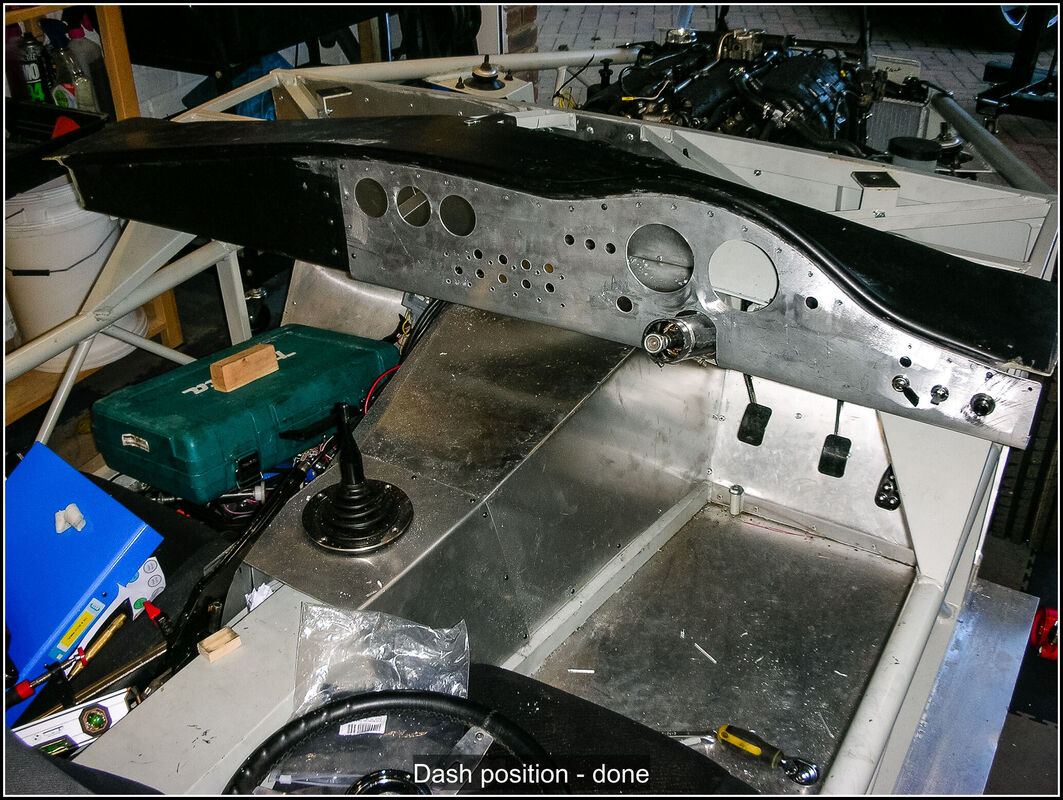
28 September 2021 Made up a round former to form the bottom edge of the dash, I used some left over 50mm drainpipe, sealed and filled with sand so I could hammer against it. I used a scrap piece of aluminium to practice hammer it over which worked quite well clamping the metal in my workmate and clamping the tube behind it. I had to clamp the dash panel to the side of my workbench as it wouldn't fit in the workmate and then a collection of bits of wood to keep the pipe pressed hard against the metal. I hammered the metal over using a plastic mallet, I checked it several times against the dash. The curve formed using the pipe didn't quite match the dash so I used a thick bit of dowel as a former to hammer against until I was happy. Next I reworked the document containing the dial, switch and lamp template, I added centre marks for all the items and refined the layouts a bit. Then I cut them out and arranged them on the dash. The space above the column where I want to have the speedo and tacho doesn't have a lot space to position the dials and still be able to see them clearly so I moved the warning lights to one side. Once I was happy with the layout I taped the patterns to the dash panel and marked the centres with a punch through the pattern. I then practised cutting out the 52mm and 80mm holes for the gauges, I cut them slightly undersise then used a file and flap wheel to enlarge them carefully. 29 September 2021 Pilot drilled all the holes in the dash so I could drill them out from the back. This is because the bend on the panel stopped me drilling from the front. I drilled out the dial holes with holesaws as I practised yesterday. The switches and warning lights were done with a step drill. The holes for the u-bolts were done with a drill. This all took quite a long time checking that I had the right sizre hole for each switch, light, or dial. Then I had to trim each one carefully using a combination of files and flap wheels. Finally I cleaned up the front and rear of the holes to remove any burrs. I test fitted everything in the dash panel and I'm pretty happy with the overall look and layout. It will need cleaning up and some sort of finish applied to the aluminium. I am thinking about a darl blue paint to complement the body, the rest of the fibre glass is going to be covered in vinyl material. 30 September 2021 I've done a bit of research and I'm going to look at anodising, which can be coloured. Back in the garage I stripped everything off the dash and added holes for the speedo trip/programming button and another toggle switch and guard for a map light. I cutout the GRP panel behind the aluminium panel and trimmed it so it didn't foul the switches and gauges. I drilled out the bracket I had previously made and attached it to bulkhead bracing with a bolt and riv-nut. I will pop-rivet the bracket to the dash top. I then turned my attention to the side brackets and found I had not planned the dash layout as well as I thought. The right hand switches fouled the planned bracket and worse there wasn't enough space behind for the ignition switch. I did a bit of thinking and I decided to make a different bracket that would attach to the bottom rolled edge of the panel. This wouldn't foul the indicator and horn switches. The ignition switch was still an issue, I realised I could put the ignition switch in the hole I had made for the speedo trip and the speedo trip button which is not very deep could go where the ignition switch had been. I made those changes and then clamped the dash in place ready to do the bracketing. 1 October 2021 Made up a bracket behind the ignition switch from a strip of aluminium bar and bolted it to the bottom edge of the dash and the dash support bracket. Made another bracket to support the dash next to the steering column, bolted onto the bracket around the column. In the centre I made a bracket to support the top of the dash, pop-riveted to the dash top so to avoid a protrusion on the top rubbing on the underside of the body when it is on. I bolted it to the bulkhead crossmember. I made up another bracket for the passenger side of the dash. I then added another bracket to support the GRP dash panel near the middle. I bolted it to the dash using a row of bolts to reflect the ones holding the dash panel in place, the back was bolted to the bulkhead cross member. The result of all these brackets is a solid dash that hopefully will not shake too much when the car is driven.
0 Comments
Leave a Reply. |
AuthorThis is my first kit car although I've messed about with cars all my life. Archives
November 2023
Categories |


 RSS Feed
