|
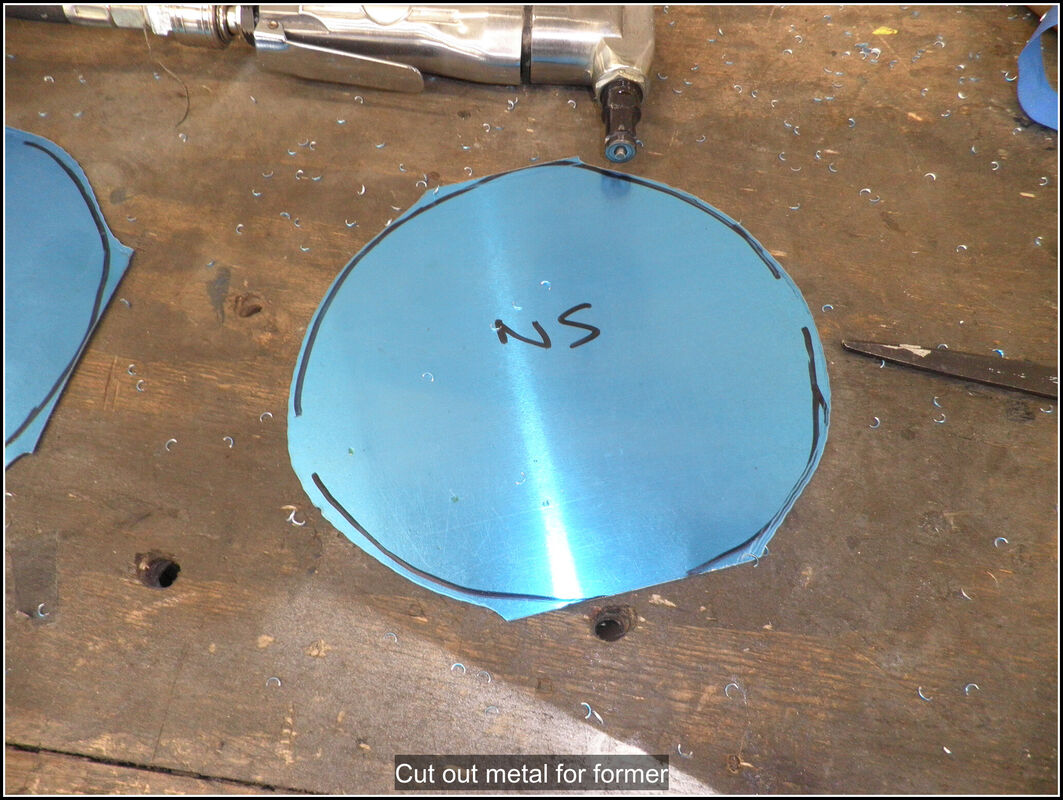
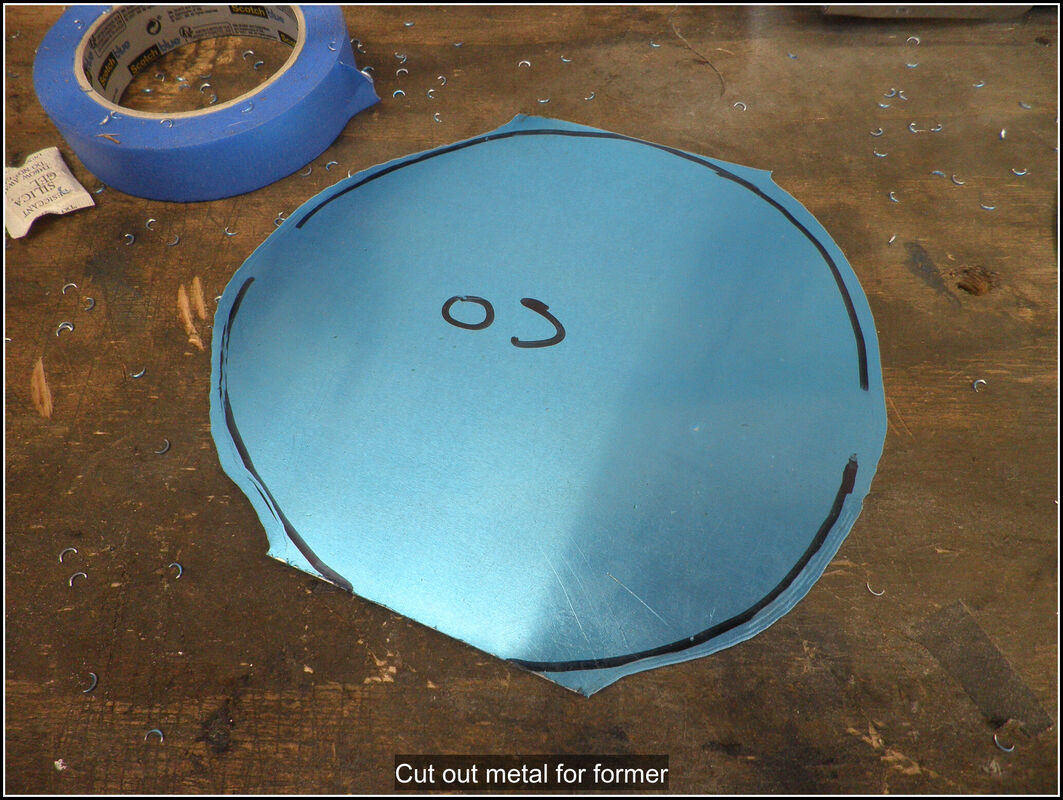
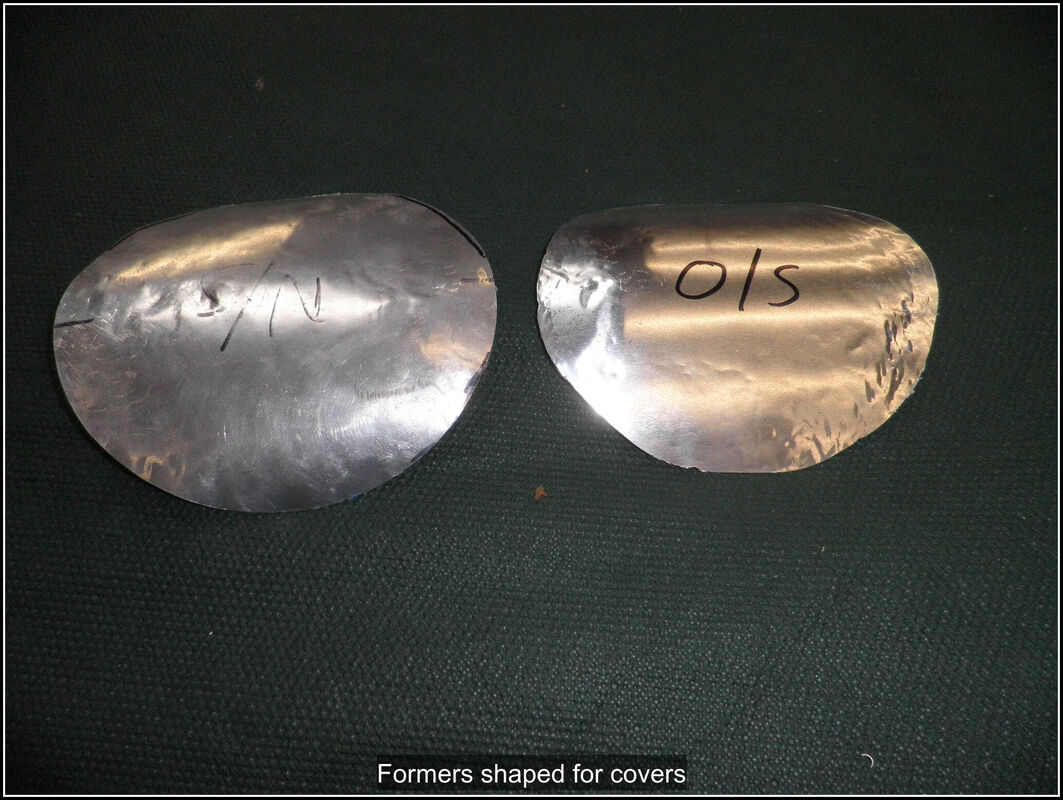
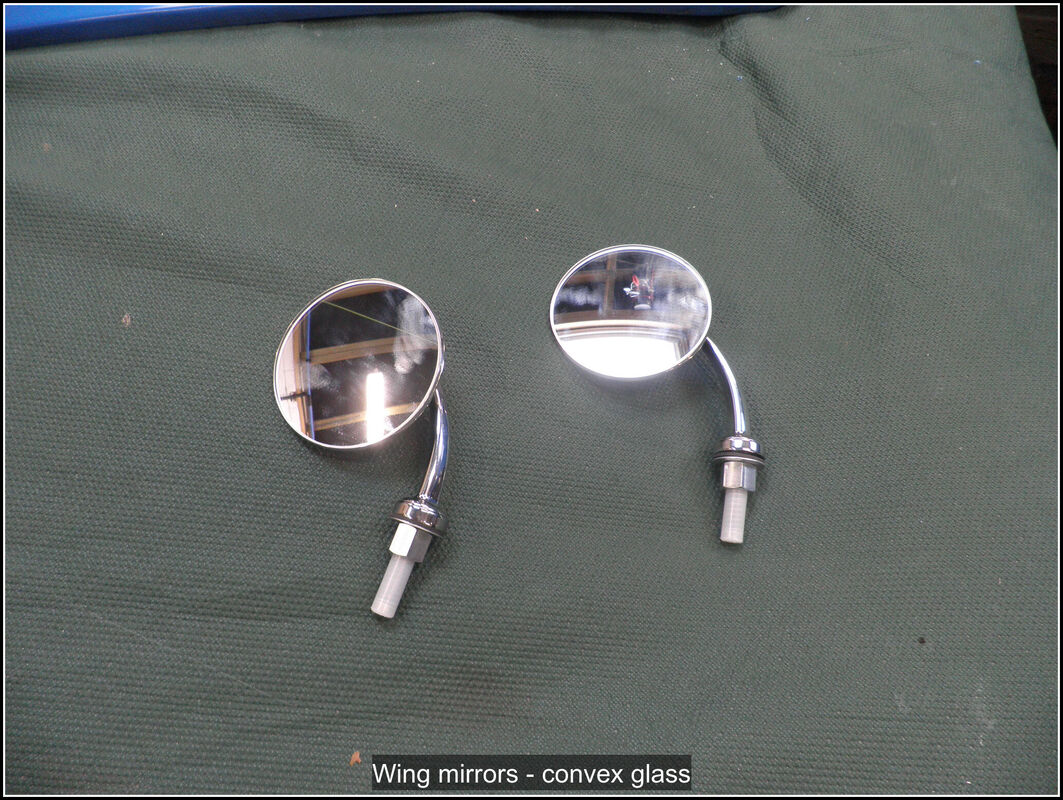
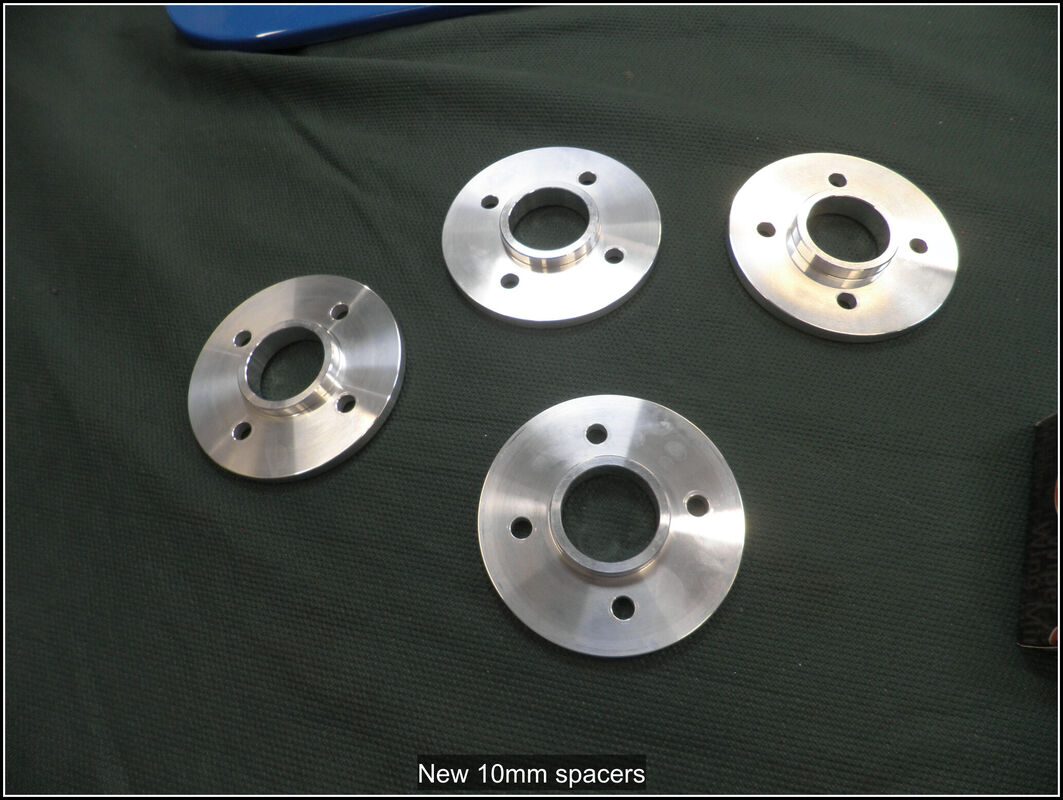
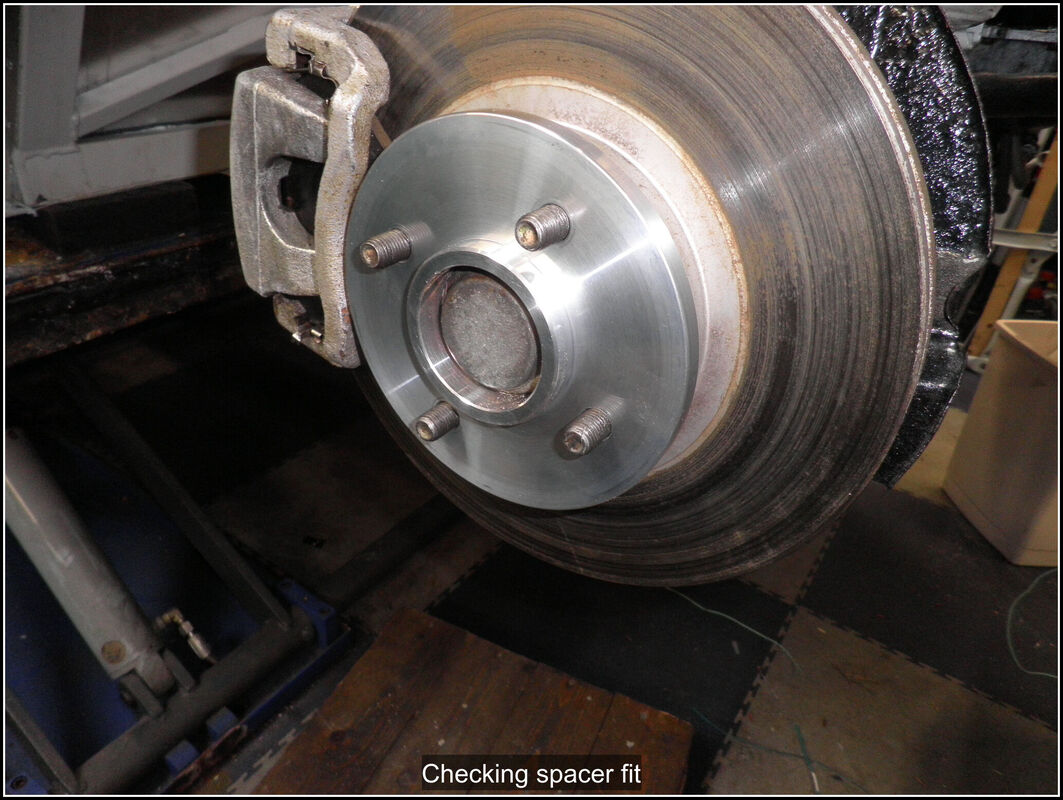
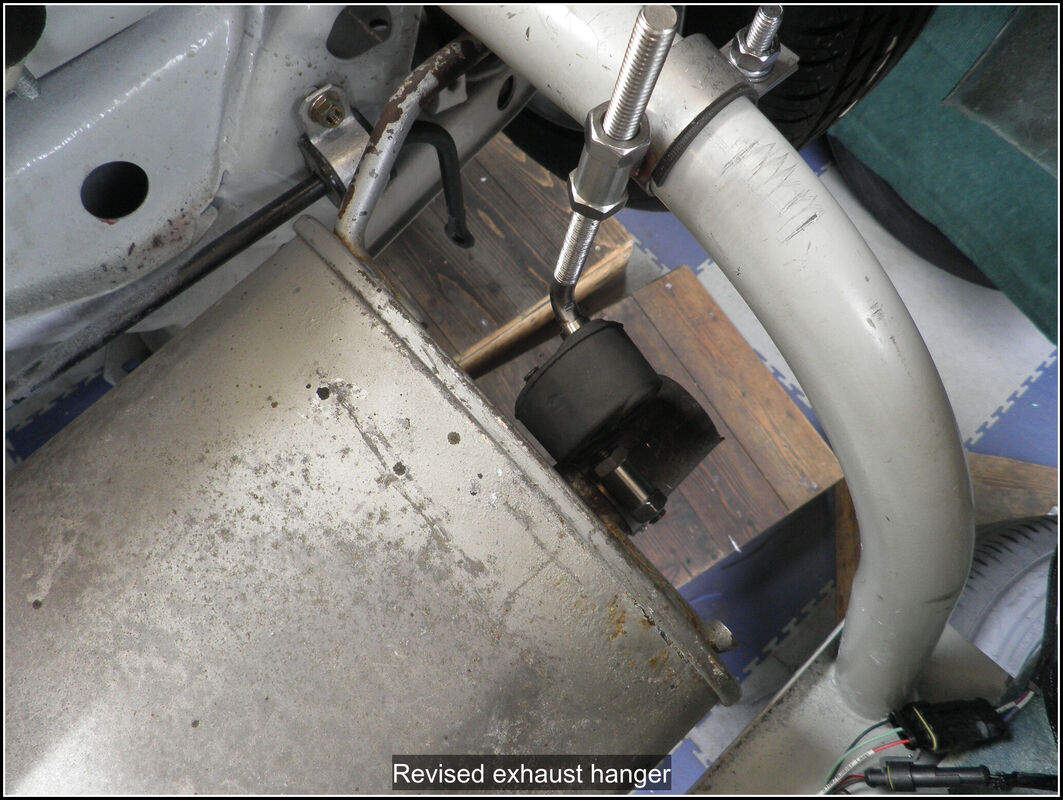
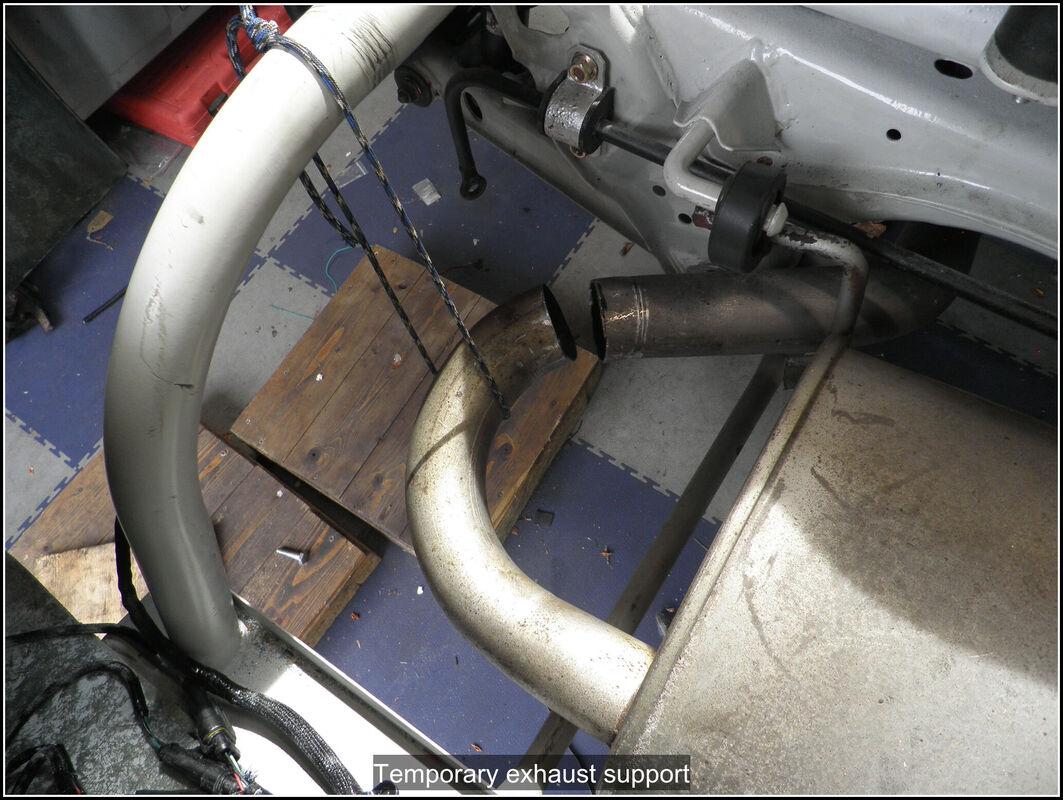
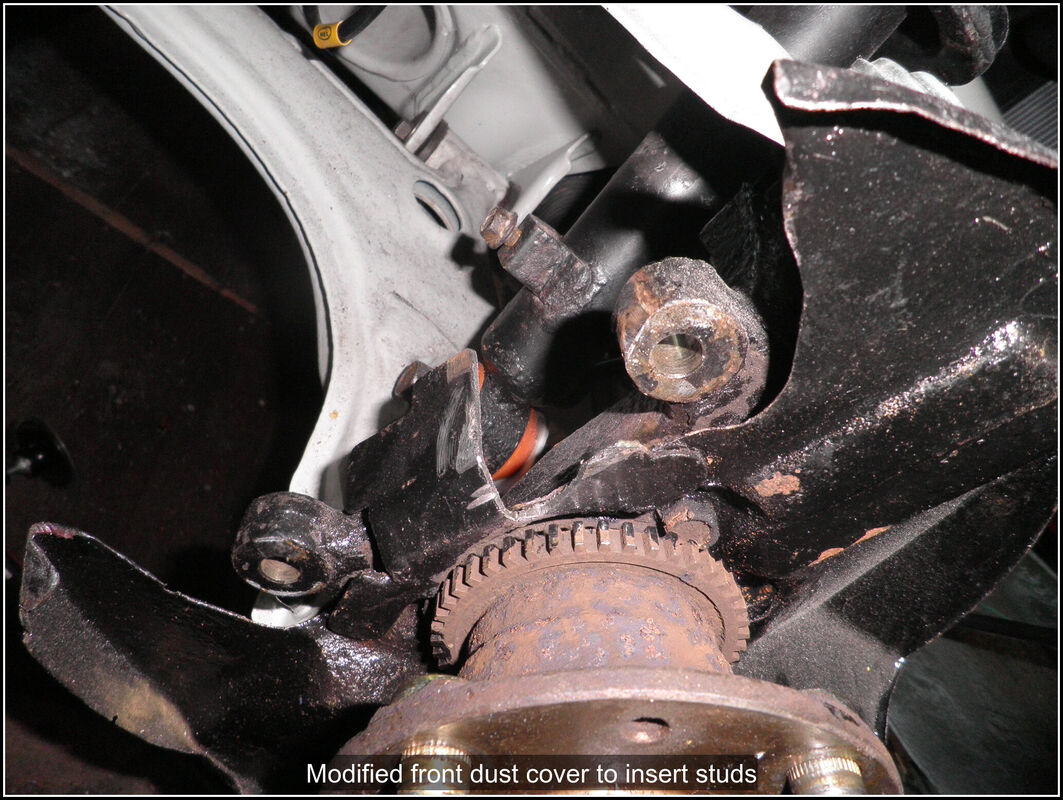
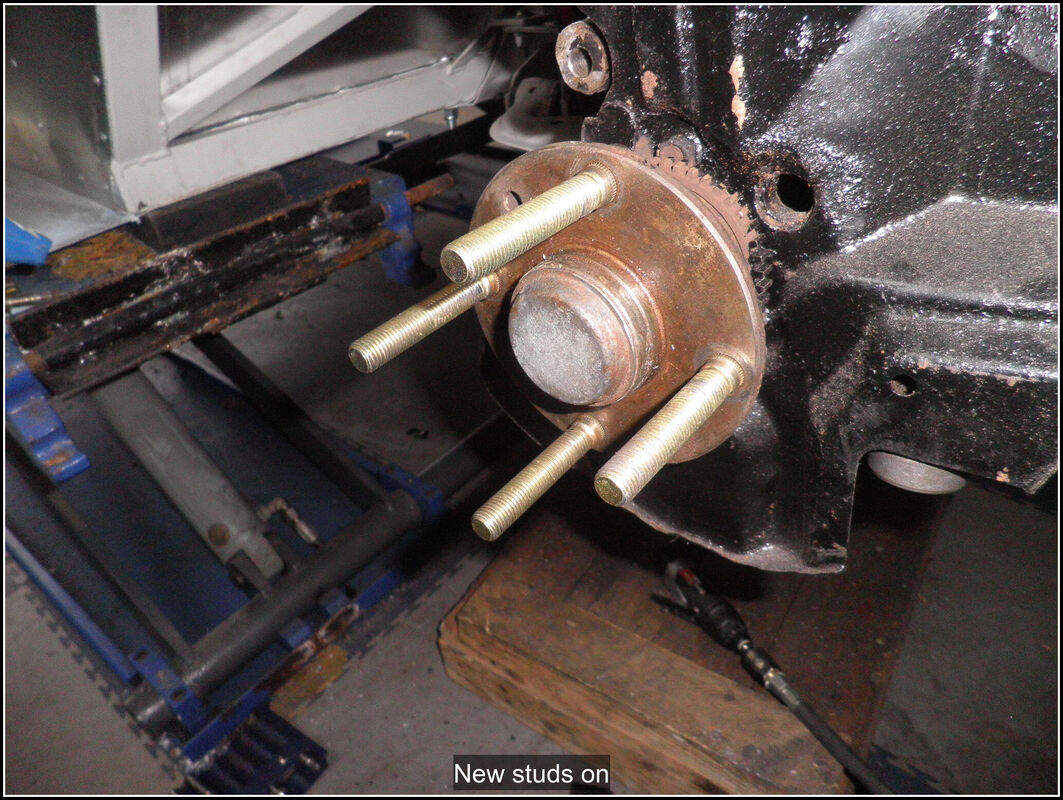
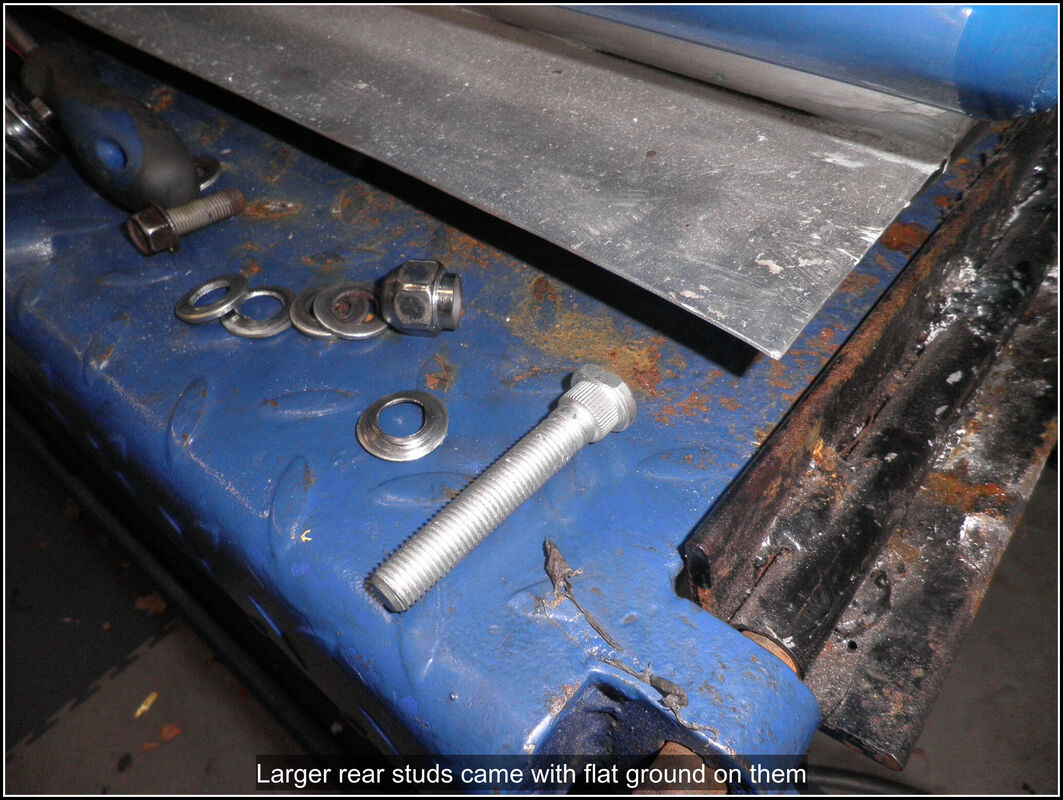
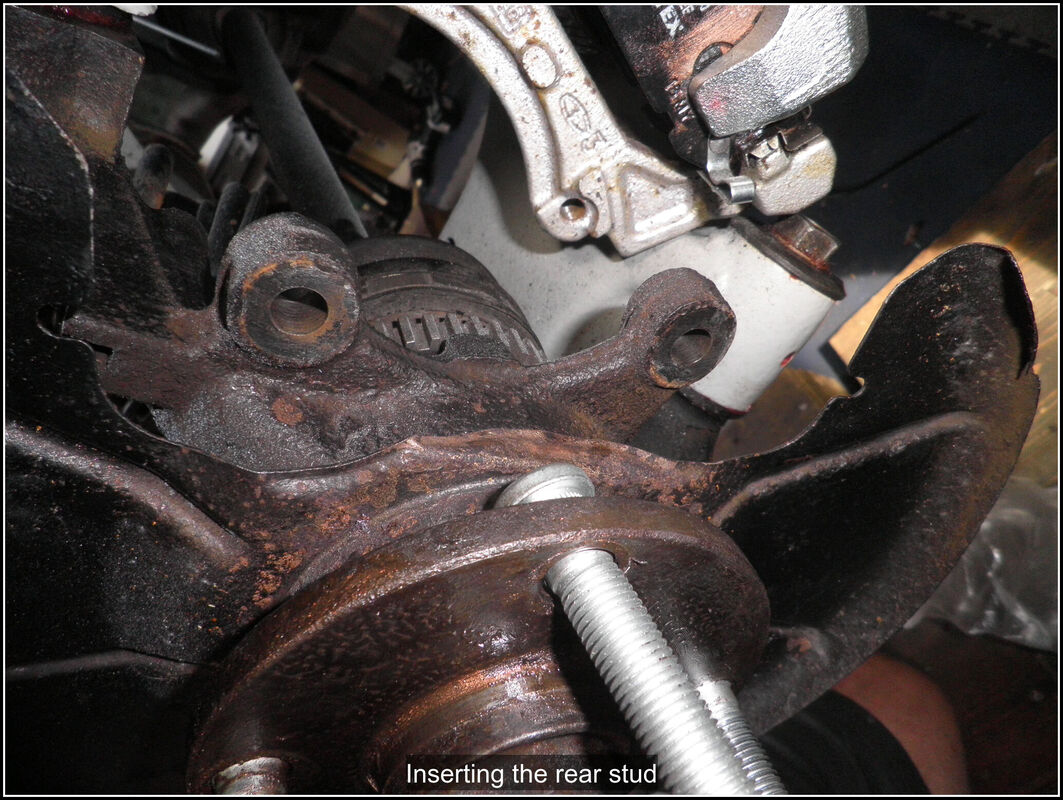
2 May 2022 Got started on the covers for the driving lamps. Before I cut anything I wanted to take a mold fromt the apertures so I can mold the polycarbonate to the right shape. With some brown paper as a pattern; some thin sheet aluminium and a couple of hammers I did my best to make a profile. I've never done anything like this before so there was a lot of trial and error before I was happy. I expect any panel beater will be horrified but they are only going to be used to form the covers so doesn't need to be perfect. Ordered some polycarbonate sheet for the driving light covers so I can make the covers and then start to vut out the apertures and get the lights fitted. 6 May 2022 My spacers and mirrors arrived today. Had a quick check of one of the spacers on the front with the wheels and they fit lovely. As I expected I will needed extended wheel studs to make sure the nuts have enough thread to tighten too so place an order for those today from Demon Tweeks the ARP ones seemed very expensive at £30 for 4 and as I need 16 that's more than the spacers but found some cheaper ones from Demon Tweeks at under £30 for 8. The front and rear hub studs are different it seems so I've hopefully ordered the right ones. 7 May 2022 Only a bit of time on the car today, most of the day spent getting my bicycle ready for riding. Had a go at soldering the reducer onto the fuel filler pipe but failed, cleaned everything up and applied flux but the solder didn't penetrate at all. Plan B is to use JB Weld on it. Just need to get some. Order some polycarbonate sheet online as no one seems to stock it locally. Added a couple of p-clips to hold the loom underneath the fuel tank. 9 May 2022 A free day in the garage today. Started with fine tuning the back box position, and ensure it is fully supported. The rearmost part of the boxwas unsupported so I modified one of the clamps to provide a hanger on the exit pipe and moved the offside hange to use with it, that seemed to work well. I was able to use the original subframe hanger with one of the nearside hangers. It just needs a bit of support on the inlet pipe. I've ordered up some more hangers and rubber mounts and also a short section of flexi-hose to join the exhaust and back pipe together, the the short rigid joiner I'd bought didn't work with the angle of the back box pipe. My extended wheels studs arrived so I decided to get those fitted, and then bleed the brakes, I'd not refilled the system since replacing the rear calipers as I knew I was going to have to remove the calipers and discs again if I needed extended studs. Once I had the caliper and disc off, a lump hammer took care of removing the old studs. I had to modify the brake shield to get clearance to fit the new longer ones but a bit of cutting with an angle grinder and files sorted that out. I used an old cut down wheel nut and some large washer to pull the new studs in. The rear ones on mine are different to the front and in the videos I'd watched they had to grind a flat on one side to get them in. Thankfully the ones I bought were already ground down to shape. So with the discs and calipers back on I filled the reservoir and went round bleeding each corner in turn. I used a suction bleeder with my compressor and a bit of gravity cleeding. Pedal seems nice and firm without servo assistance.
0 Comments
Leave a Reply. |
AuthorThis is my first kit car although I've messed about with cars all my life. Archives
November 2023
Categories |


 RSS Feed
