|
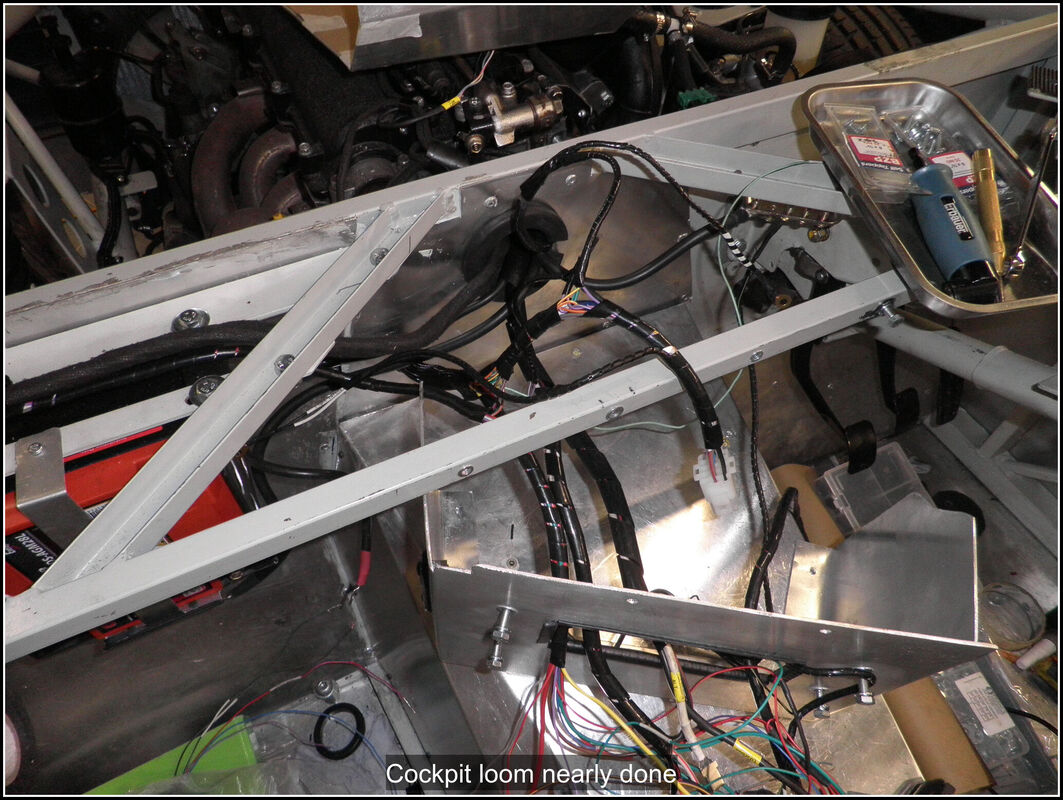
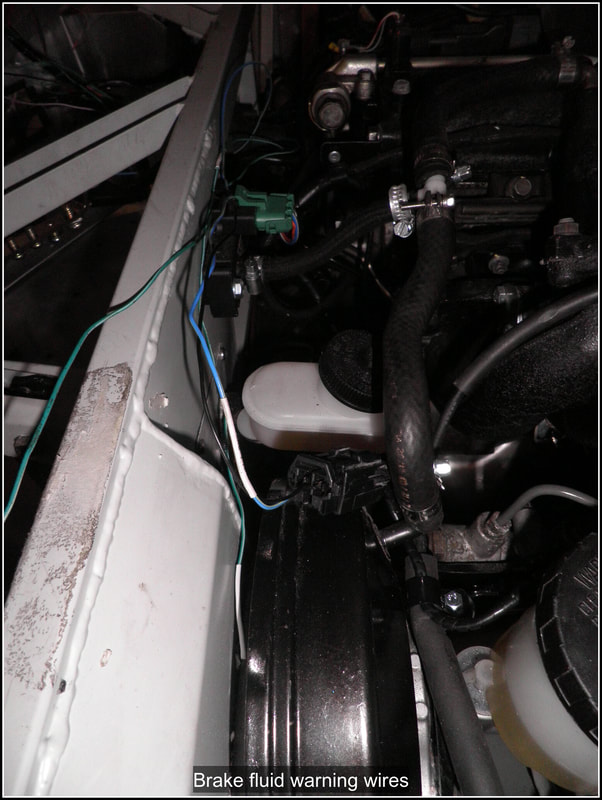
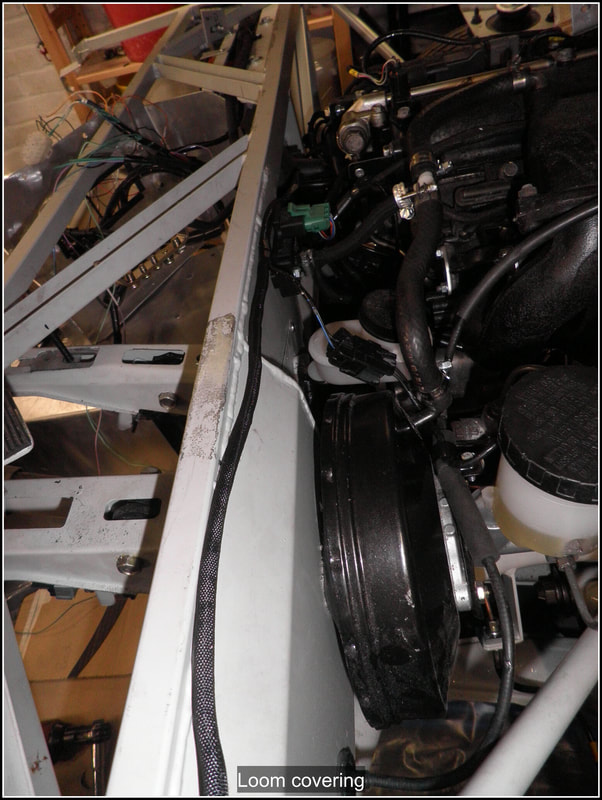
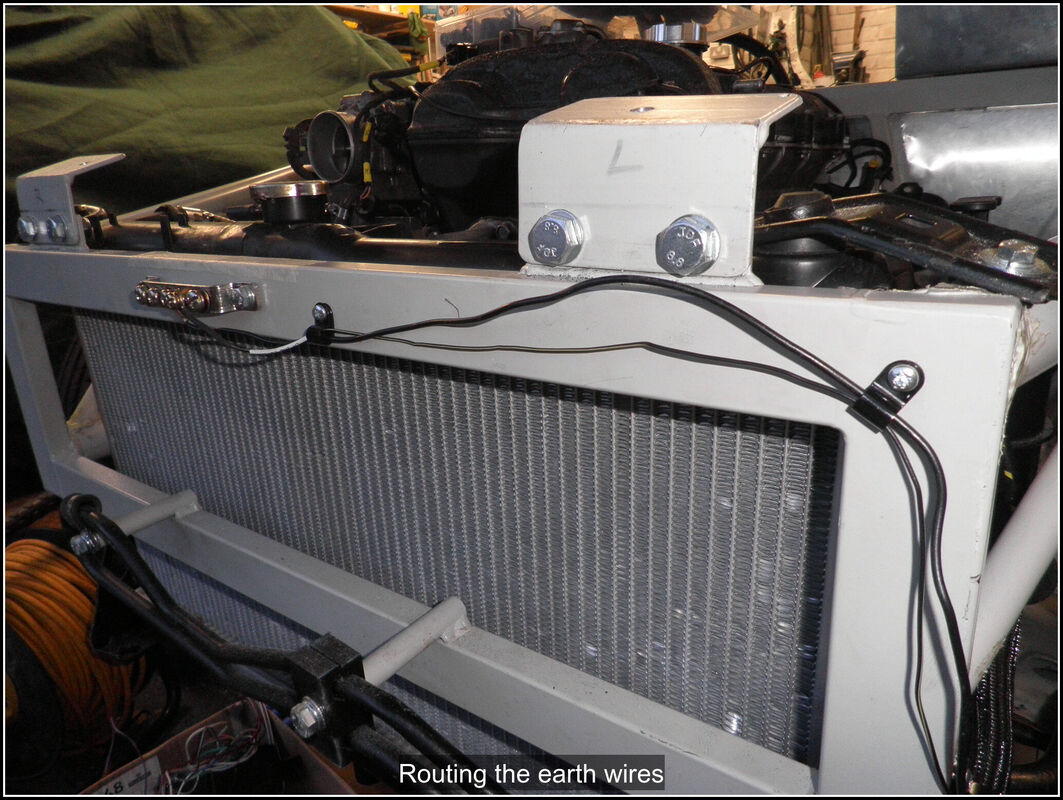
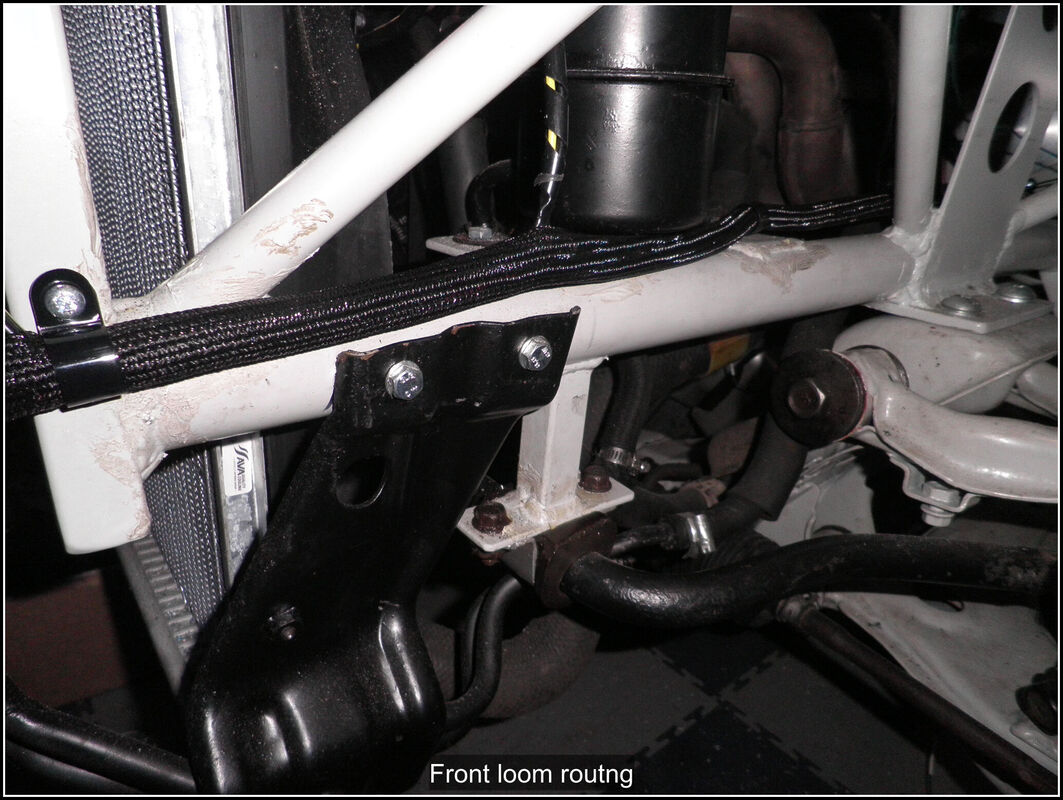
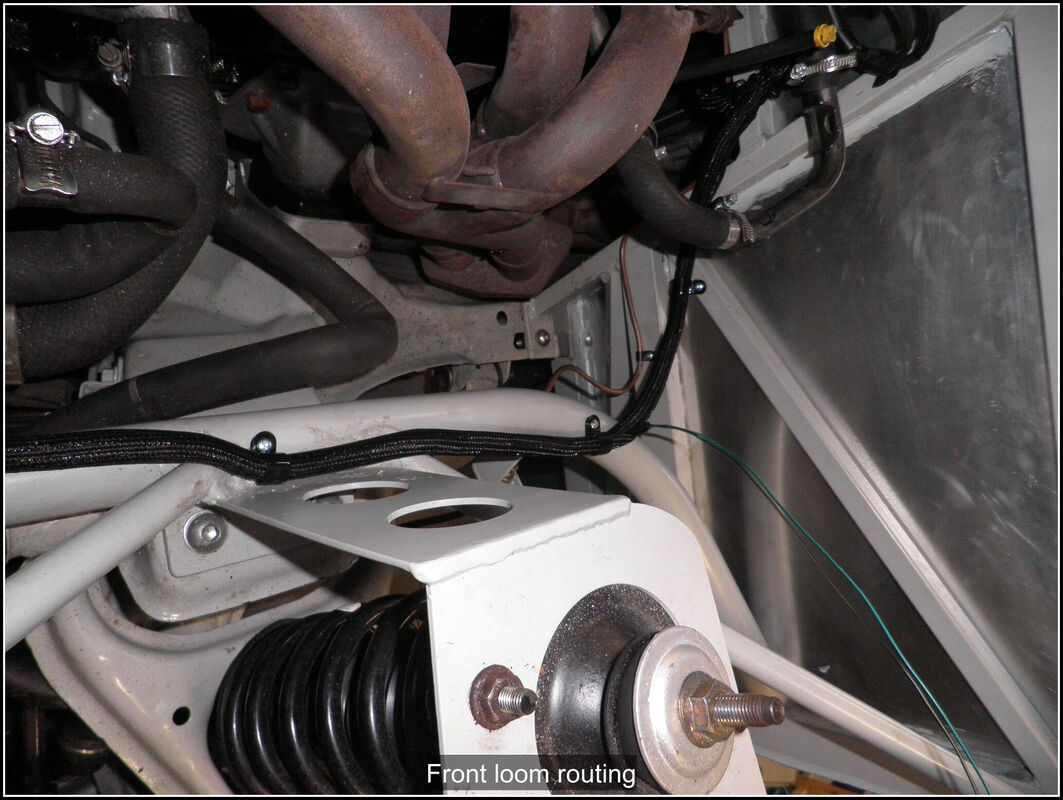
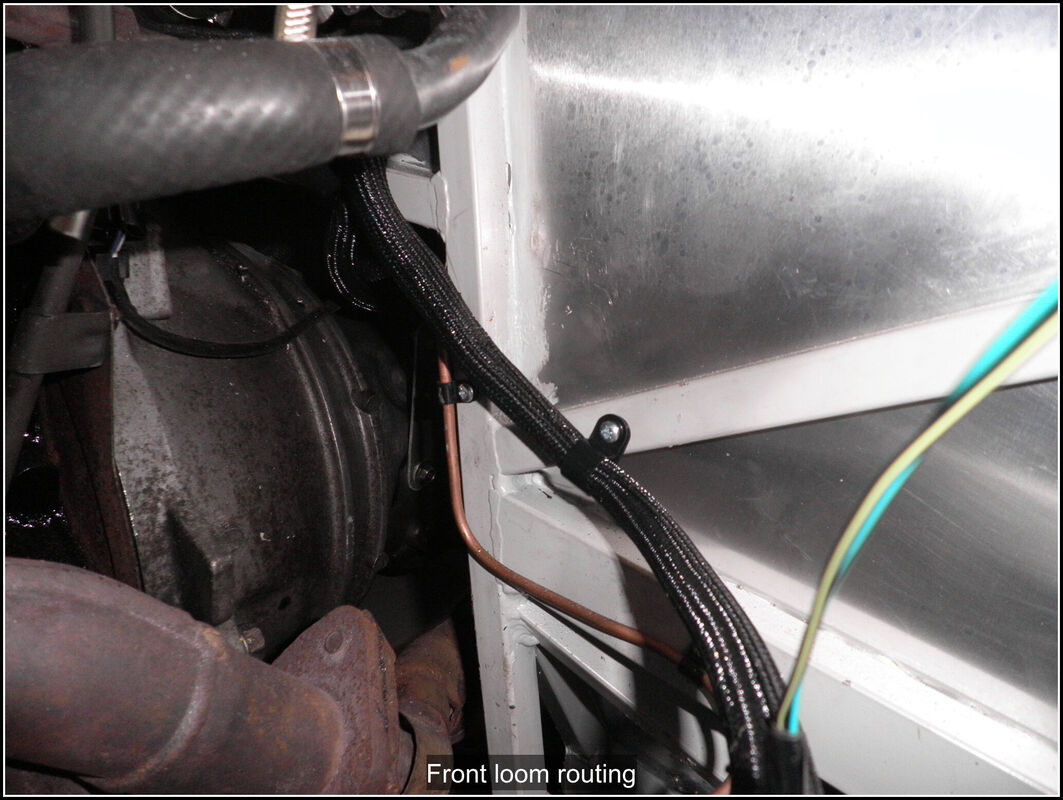
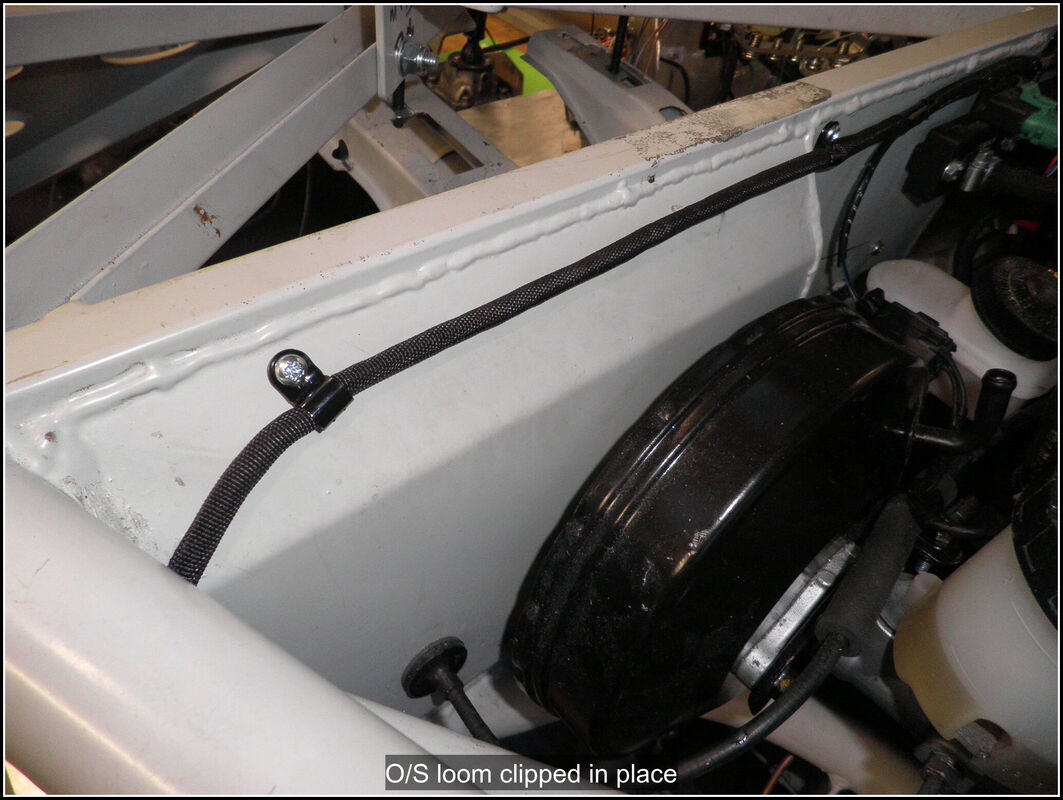
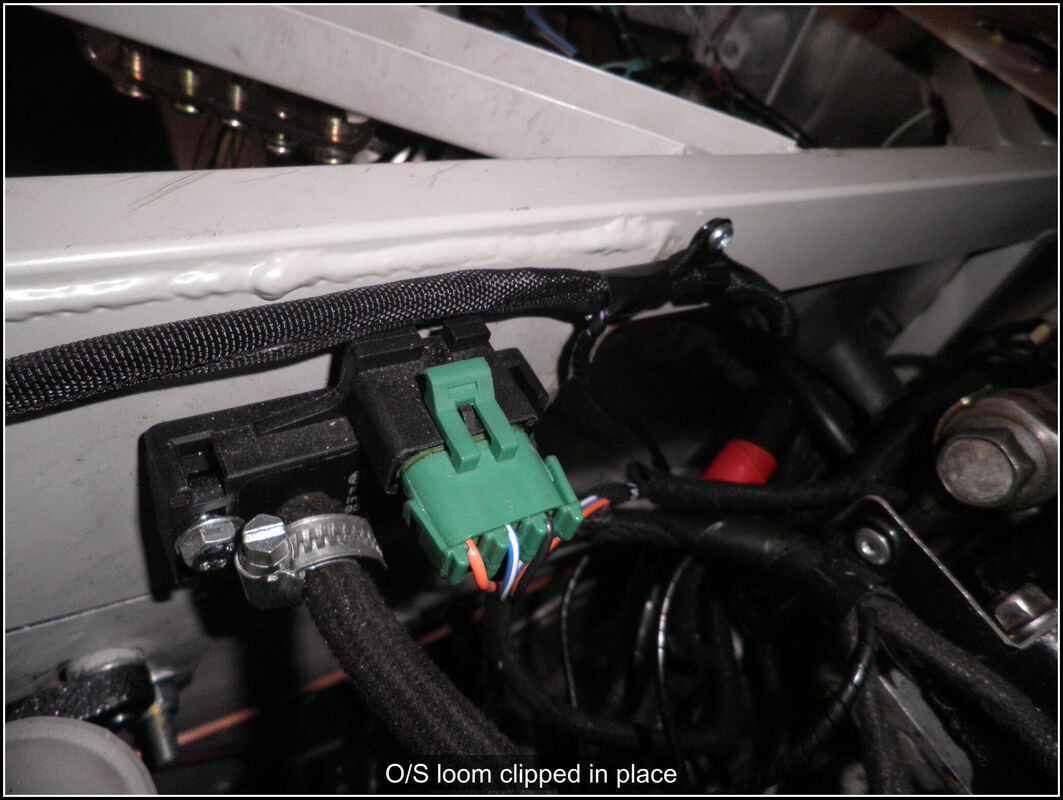
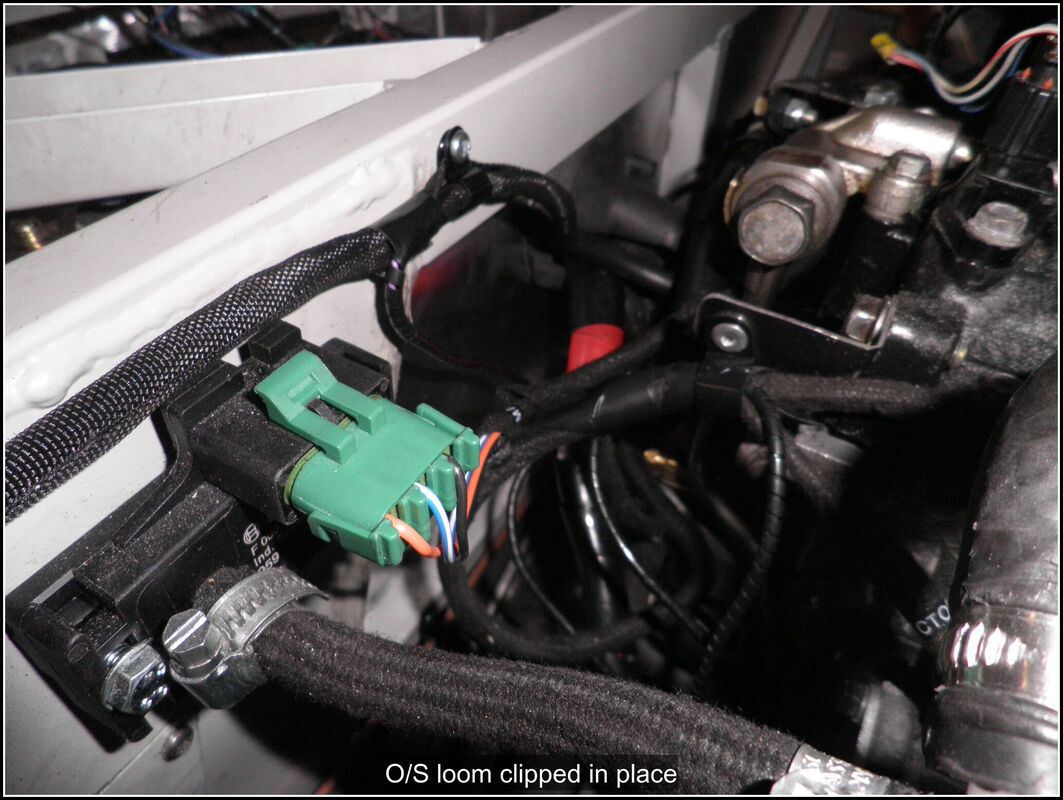
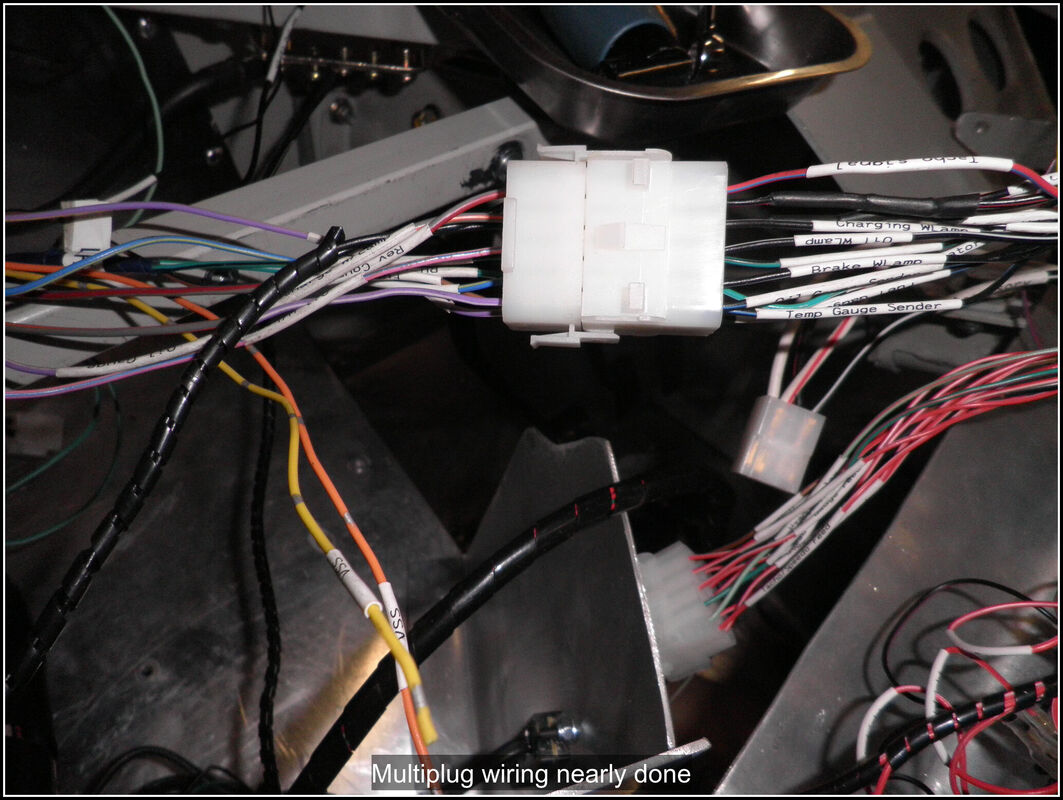
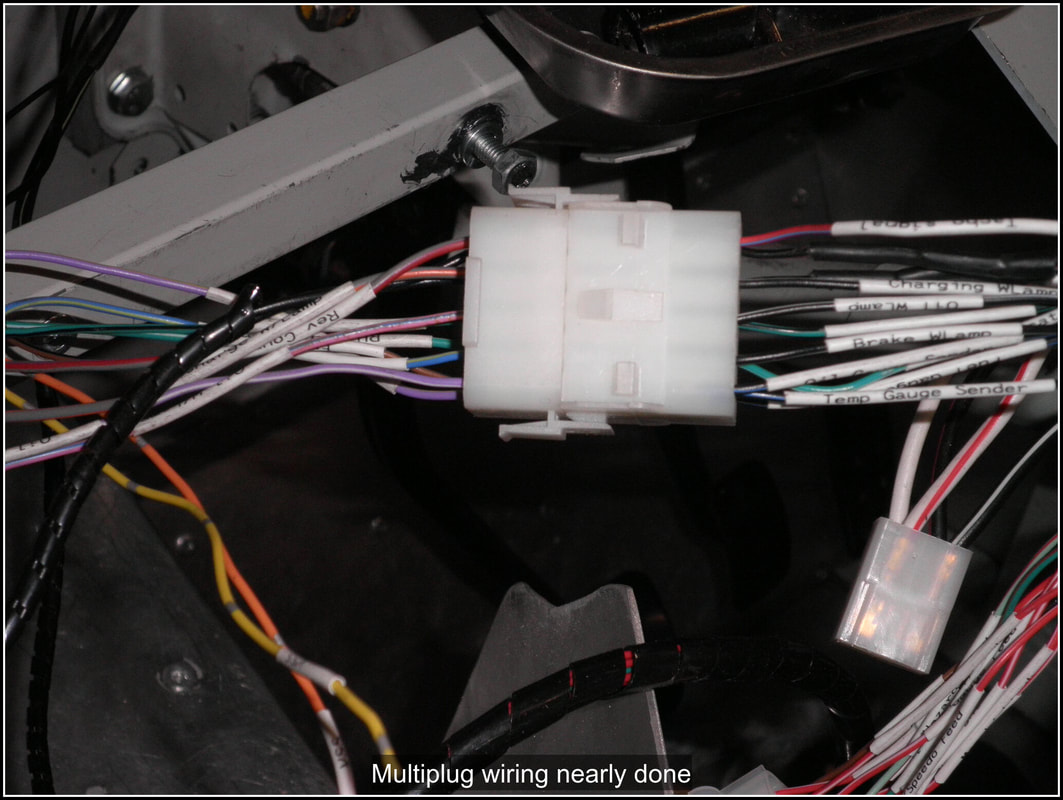
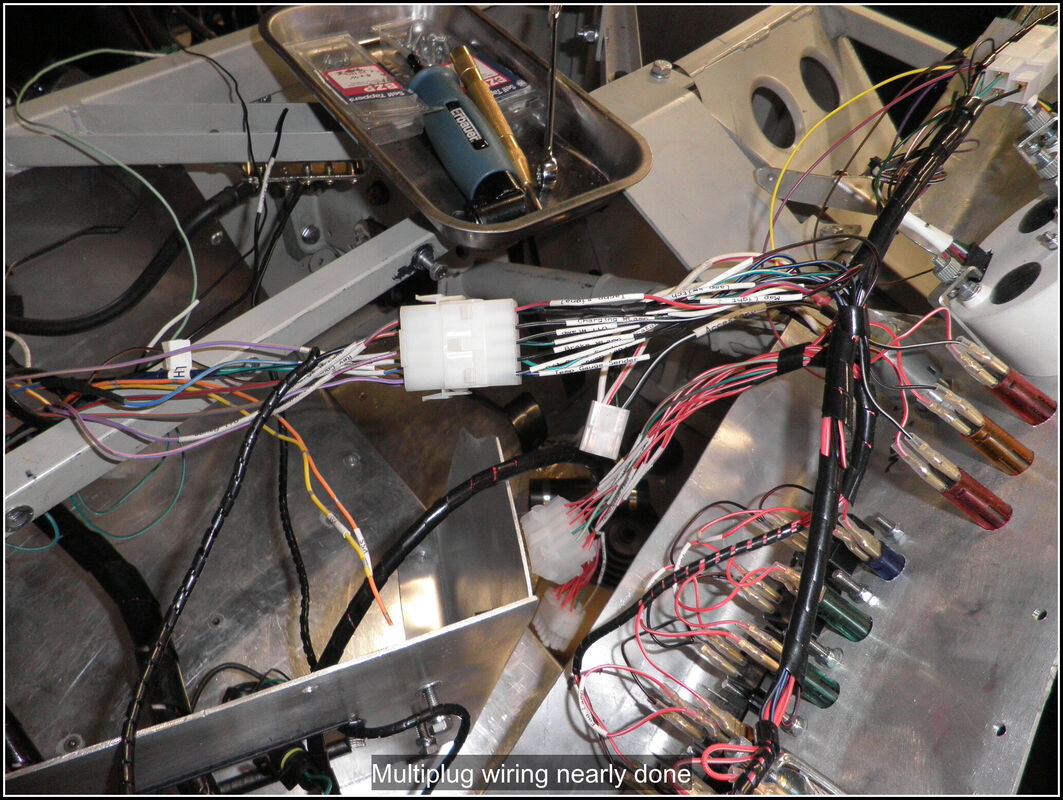
14 February 2021 Remembered I had not run an earth wire for the rear lights so made up a cable, unbundled the rear loom and added the new earth wire. Up front I was undecided about how to route the brake fluid level switch wires, the coolant temperature sensor (gauge) and the right hand indicator. I was contemplating drilling another hole through the front bulkhead but sense prevailed and ran it through the large hole/grommet that the majority of the wiring runs through. Had to fiddle around with the throttle cable so I could add a p-clip to hold the wire as well. The standard Mazda throttle cable clip was not in the best position and caused the cable to rub on one of the front chassis rails, it can't be moved along the cable either. By using a p-clip I could sort that out and secure the cable from the brake master cylinder. I wrapped all these wires together and joined the brake fluid sensor wire to the wire that goes to the handbrake (required to provide a method of testing the lamp). Ready for terminating onto the multi-plug, I think that next time I will be able to get everything apart from the VSS wires terminated. 19 February 2021 Ran an earth for the RH side indicator into the loom back to the cockpit earth then secured it to the chassis with p-clips. Then I turned my attention to the main front loom, ran an earth wire for the LH side indicator into the bundle and then added p-clips to hold it in place. Terminated the 2 earth wires with a ring terminal ready for screwing to the earth bar. Back in the cockpit had to undo a few of the wires I had pre-terminated in the multi-plug as the wires would have been too long and I could eliminate some cable joints. Terminated all the wires for the multi-plug and inserted them into the holder. Put on more binding for the loom inside the cockpit which has tidied things up quite nicely. Finished for the evening and then realised I had forgotten to cater for the Gauge Wizard I am going to use to match the fuel sender to the gauge. The fuel gauge wire I have just terminated in the multi-plug will have to be cut and run to the Gauge Wizard and back again. I also need to provide power to the Gauge Wizard. Seems I have finished this post the way I started it by forgetting something. Not quite finished with the wiring in the cockpit but the end is coming into view finally.
0 Comments
Leave a Reply. |
AuthorThis is my first kit car although I've messed about with cars all my life. Archives
November 2023
Categories |
 RSS Feed
