|
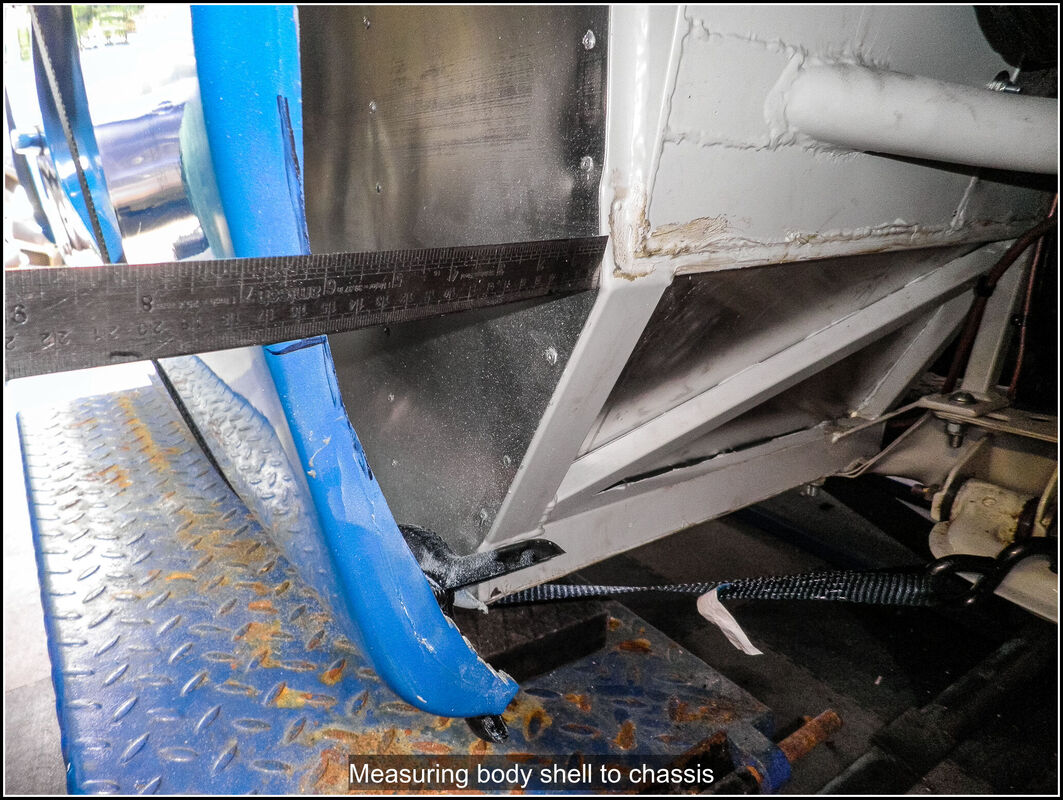
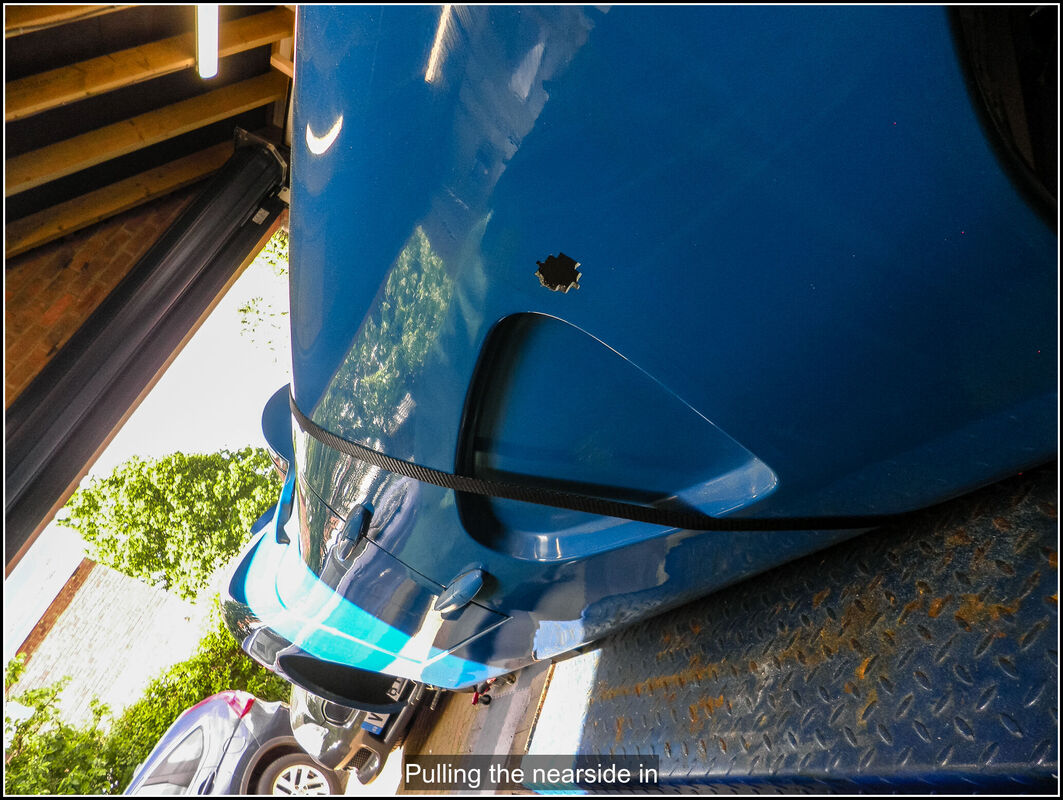
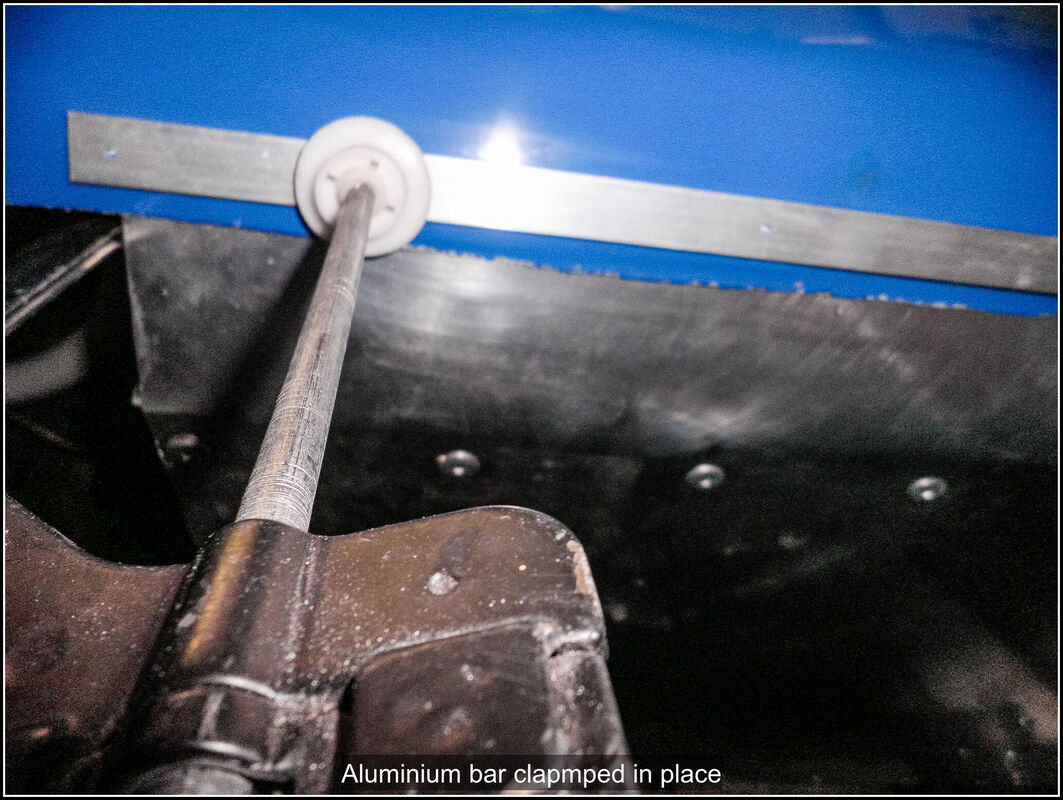
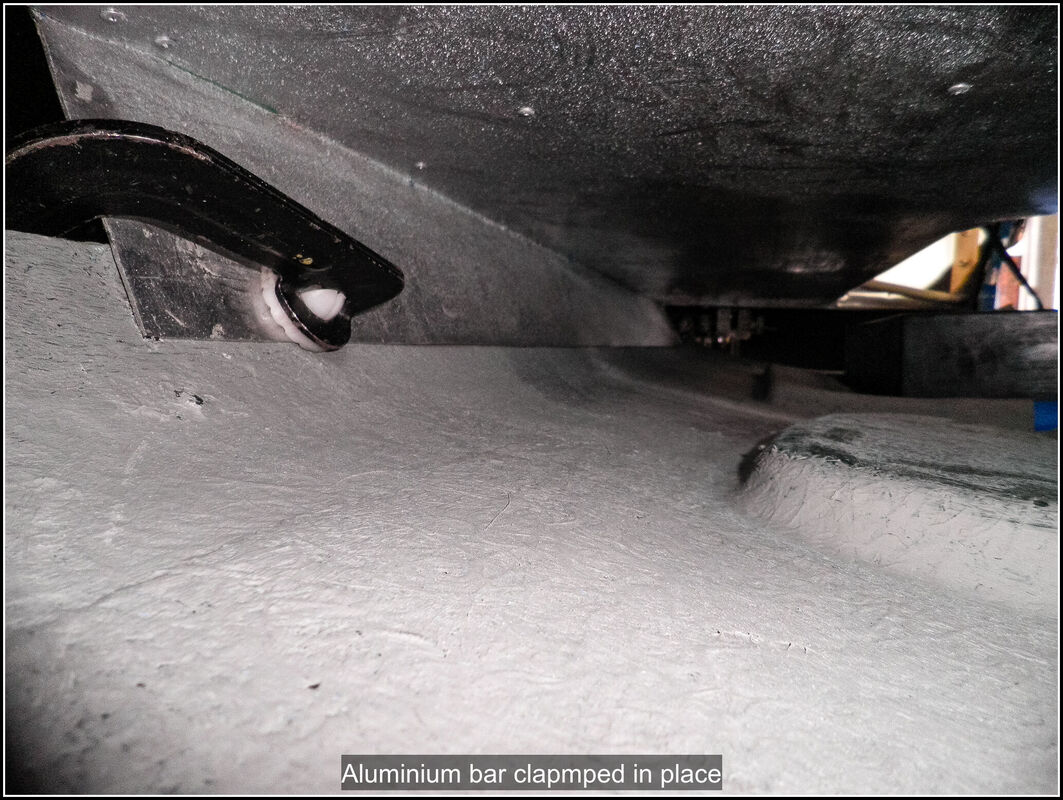
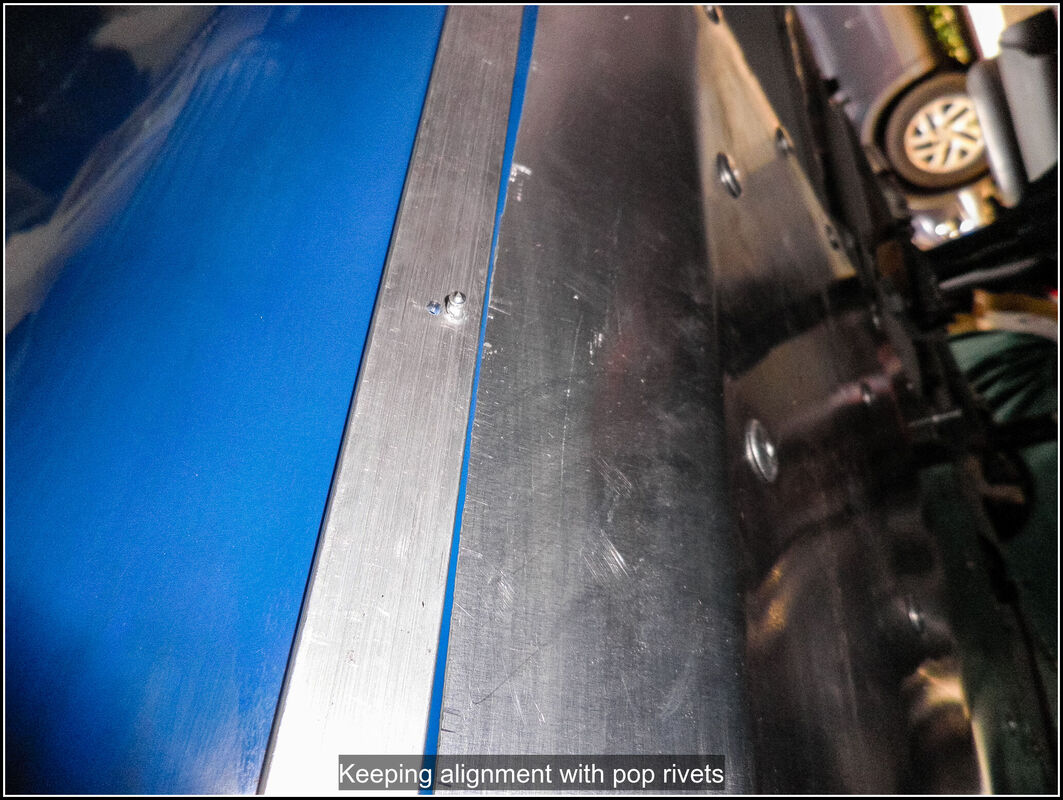
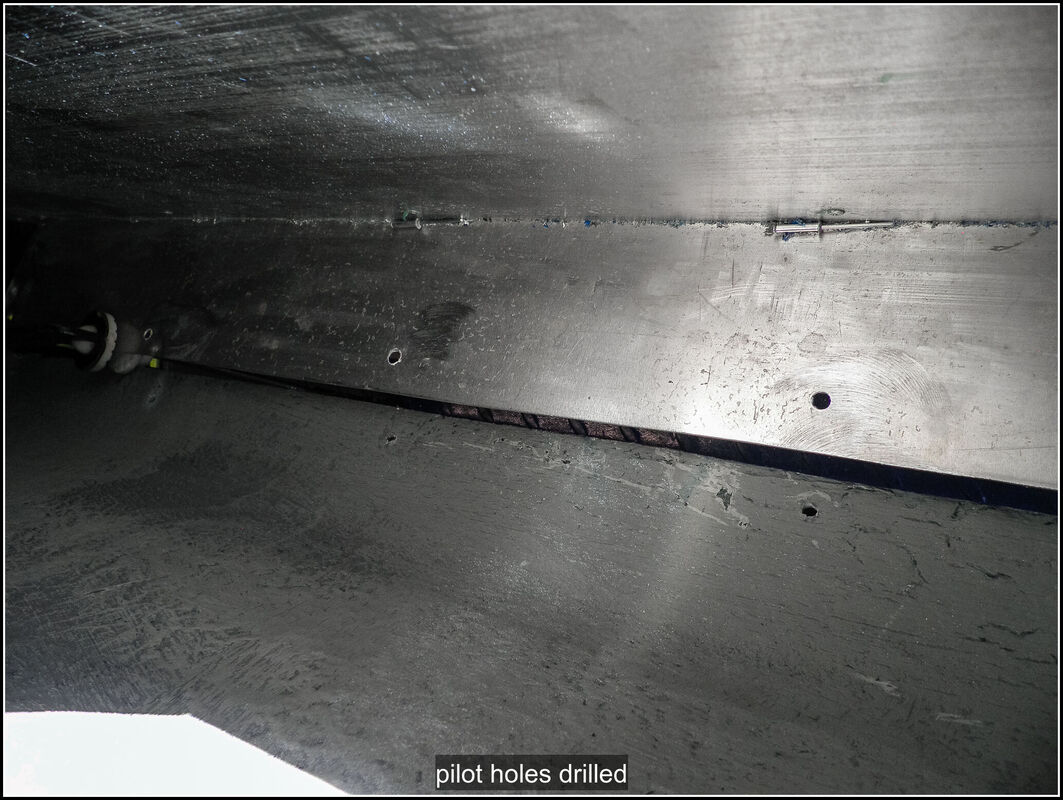
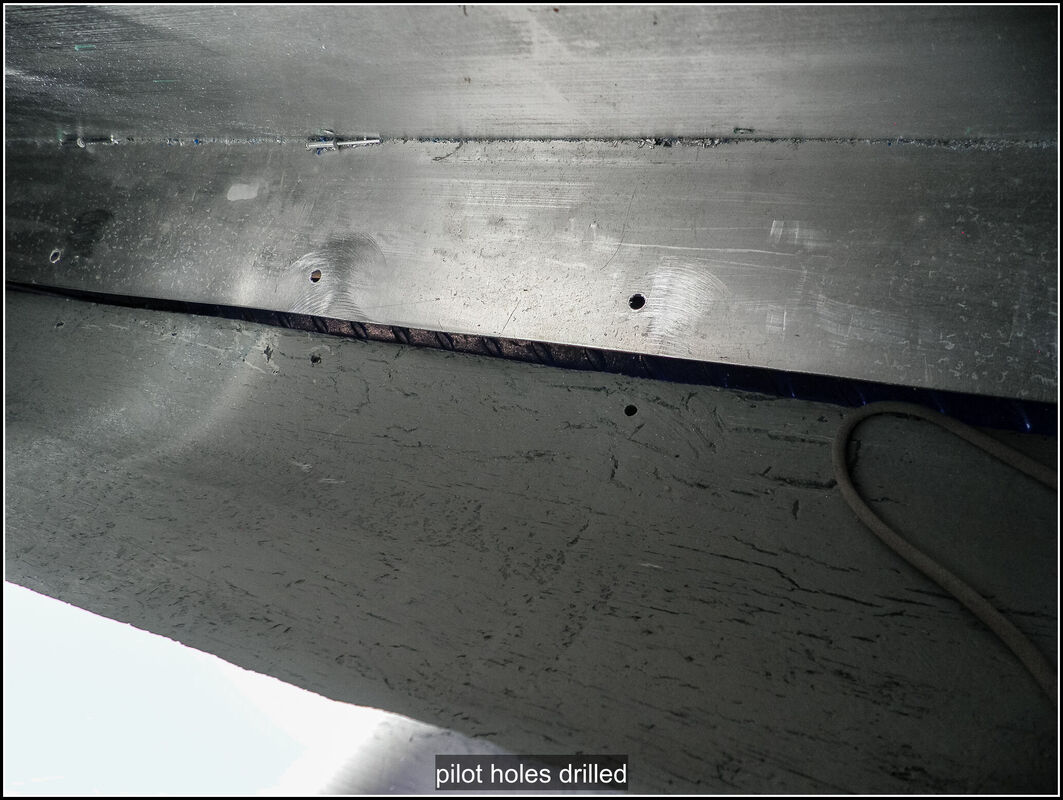
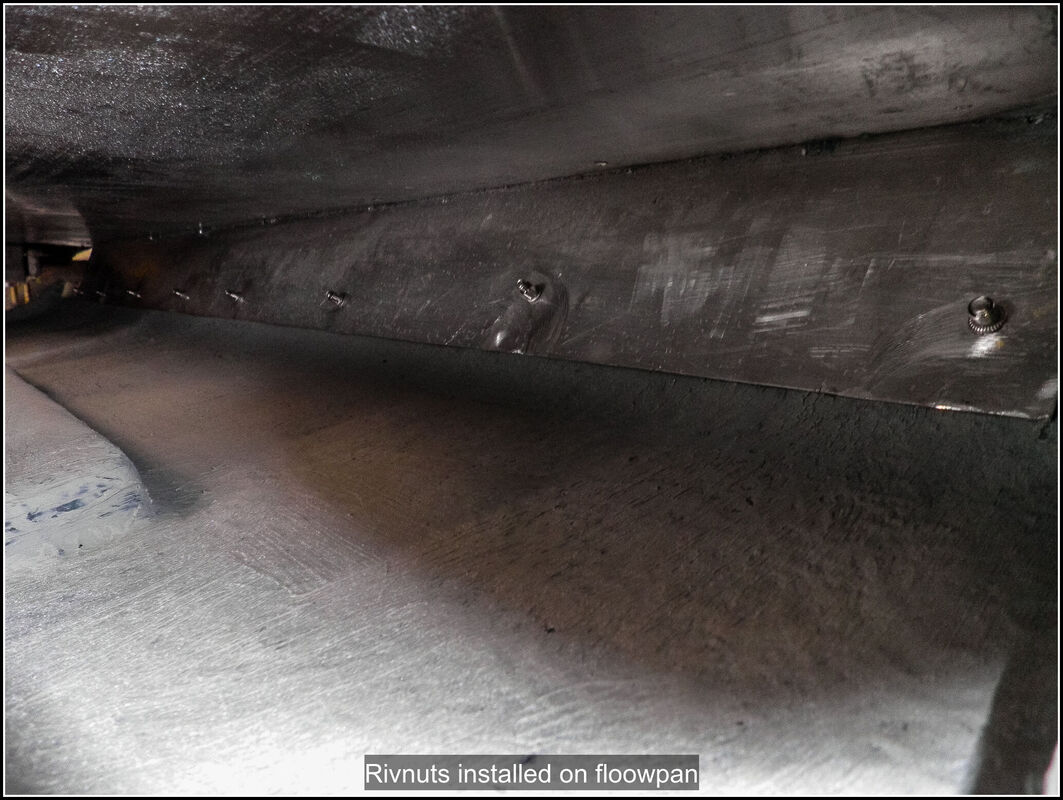
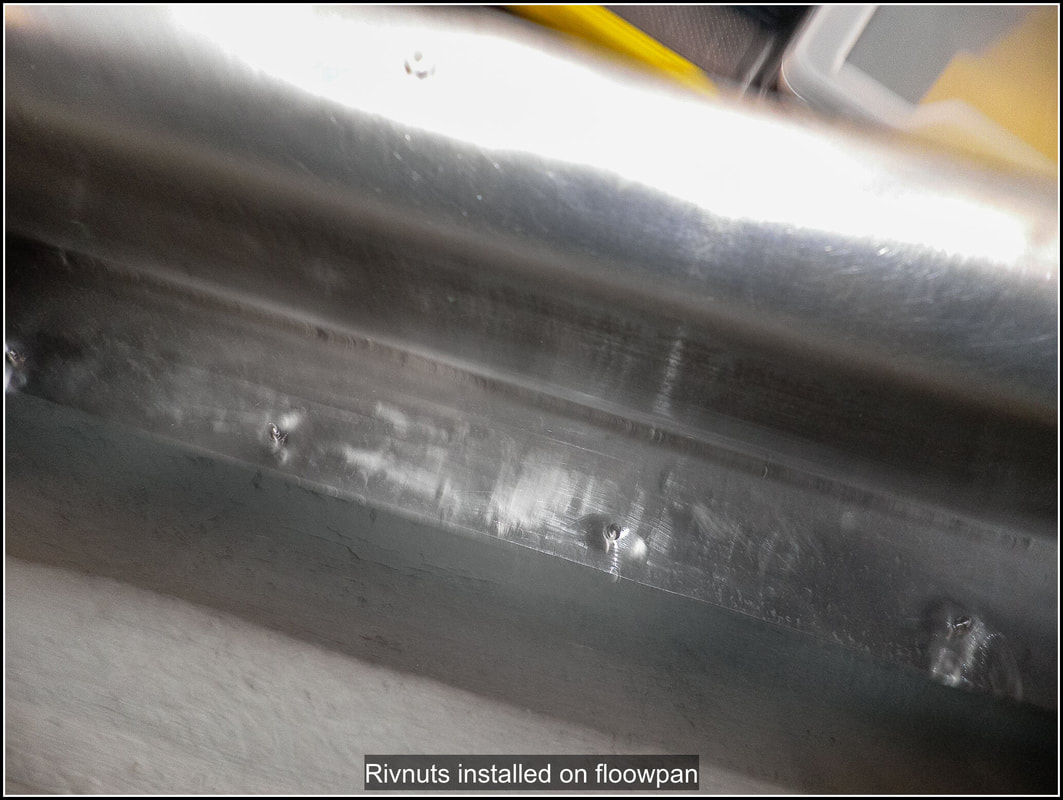
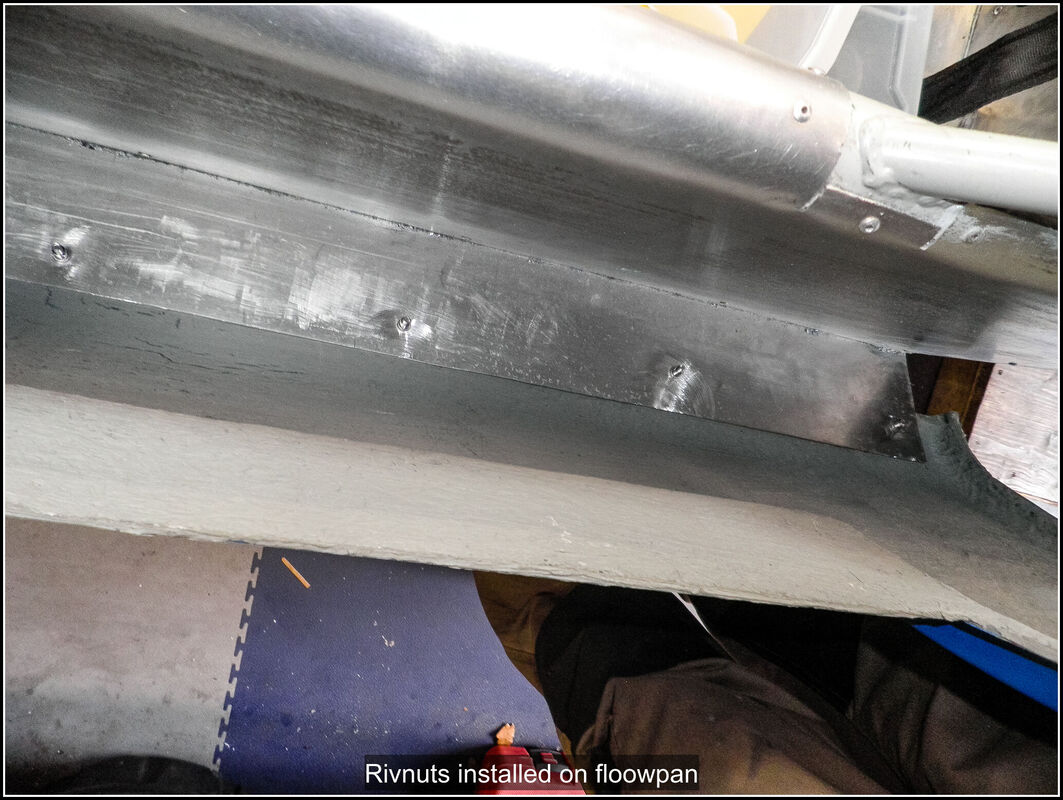
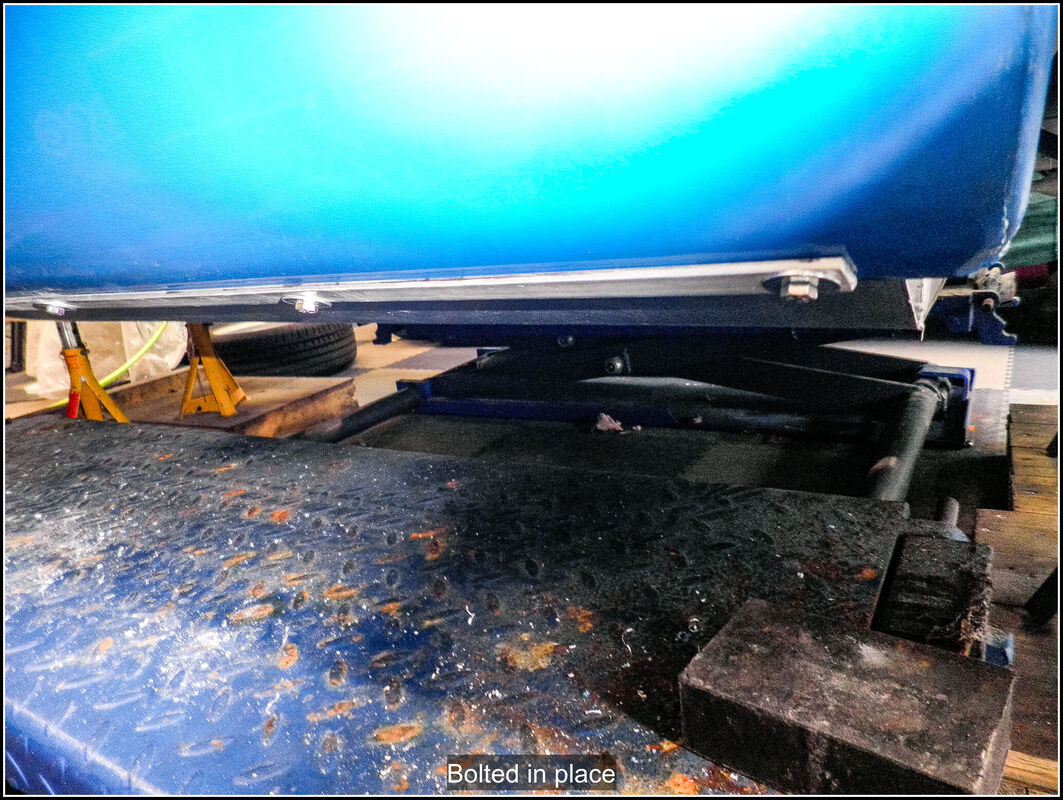
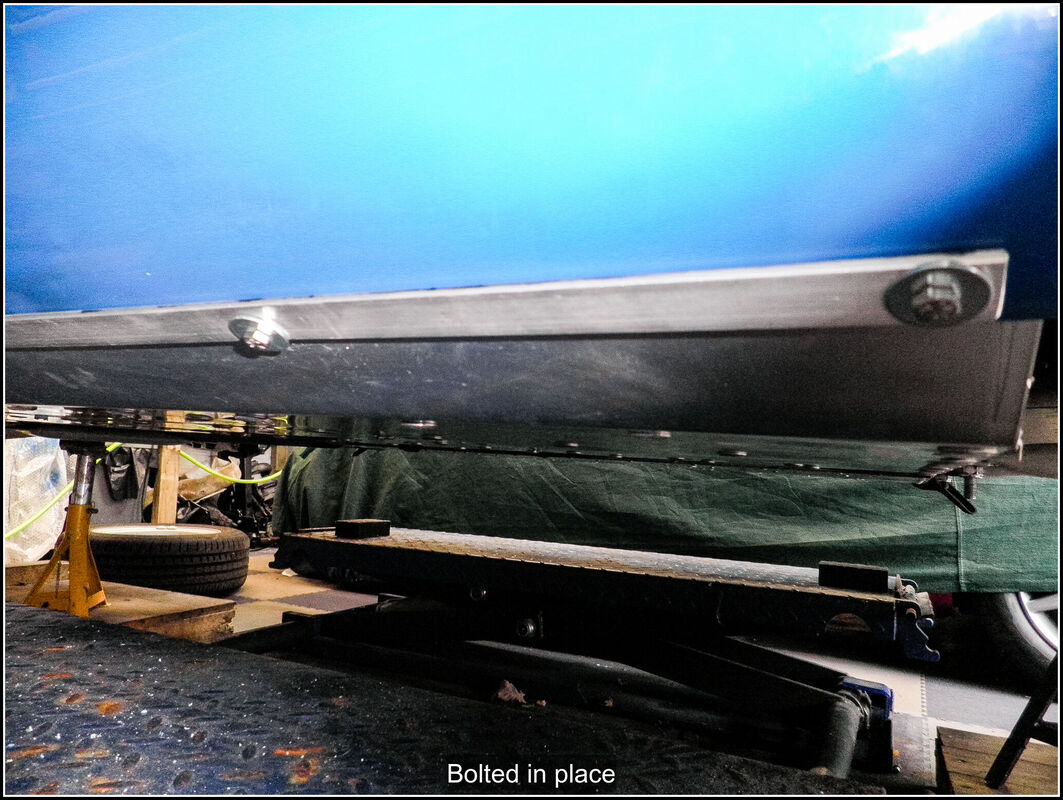
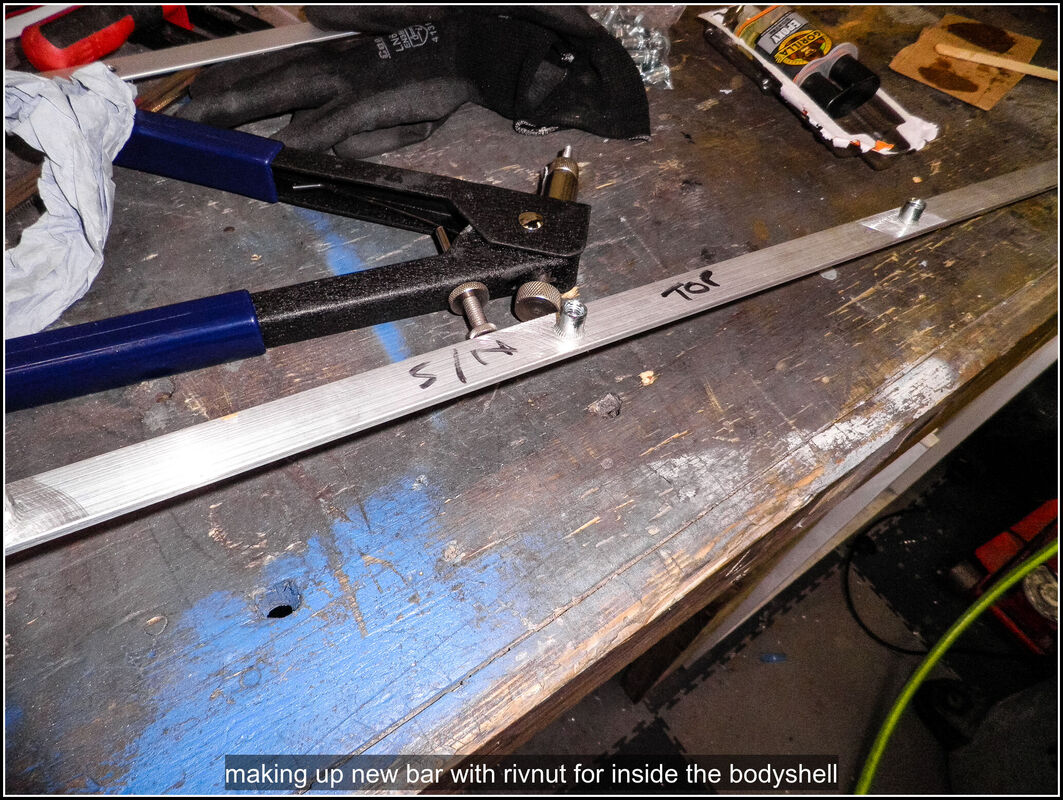
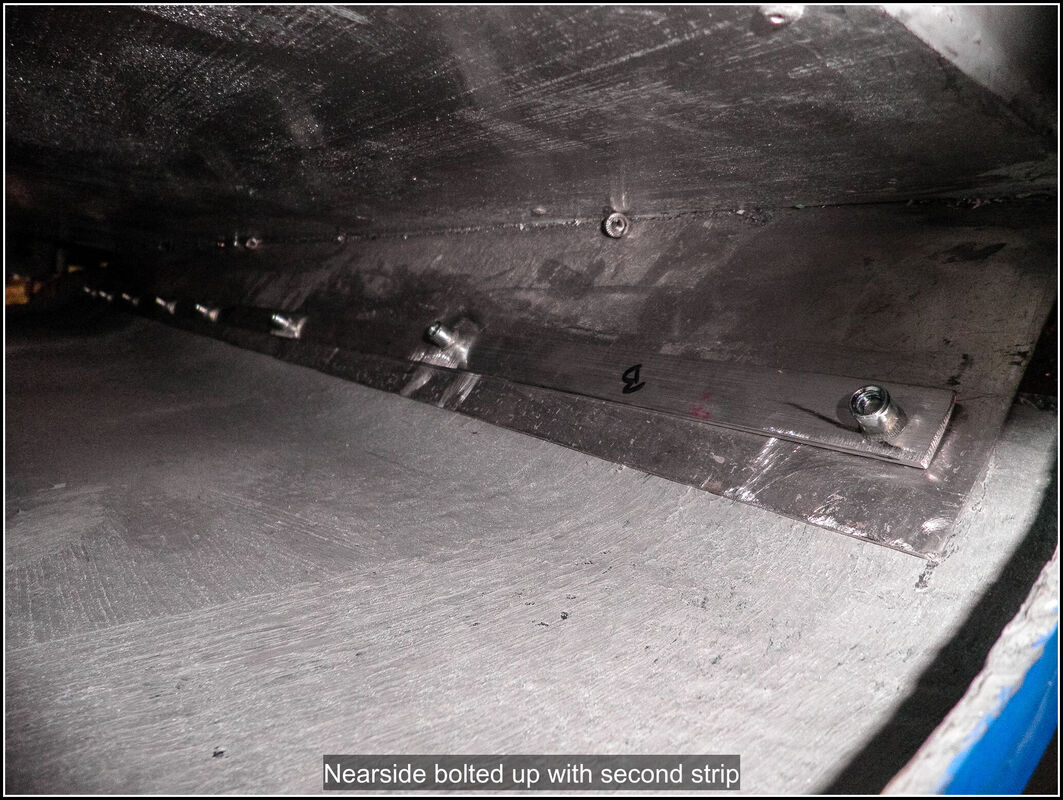
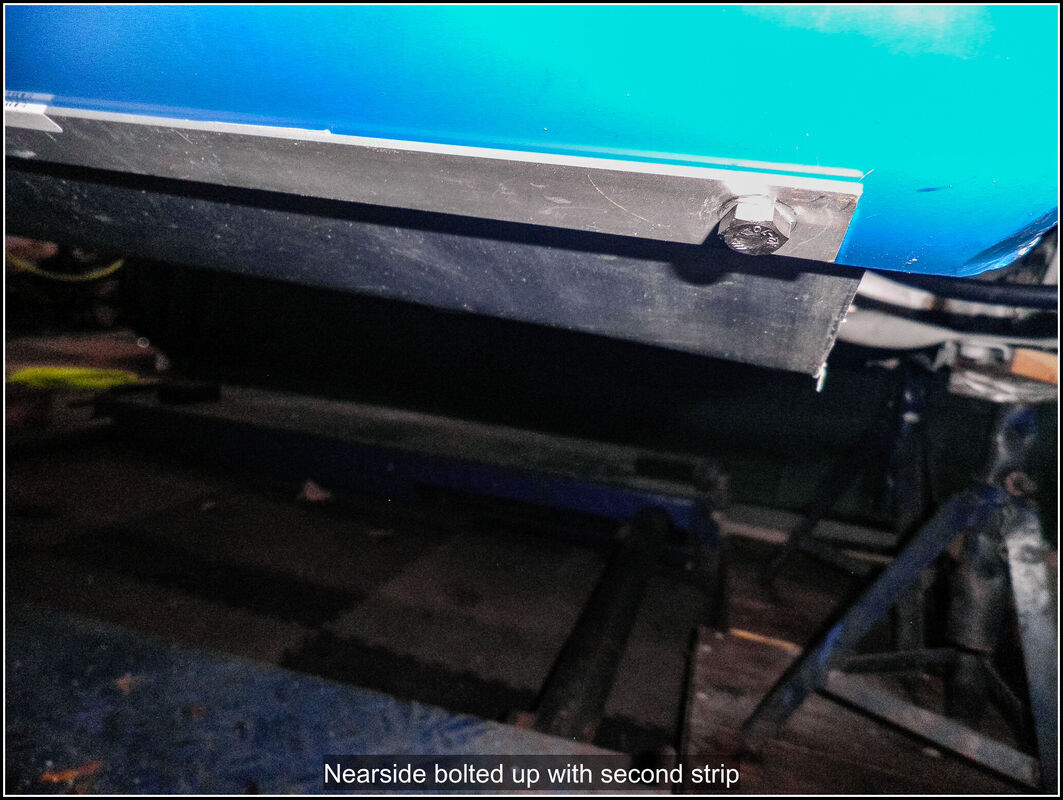
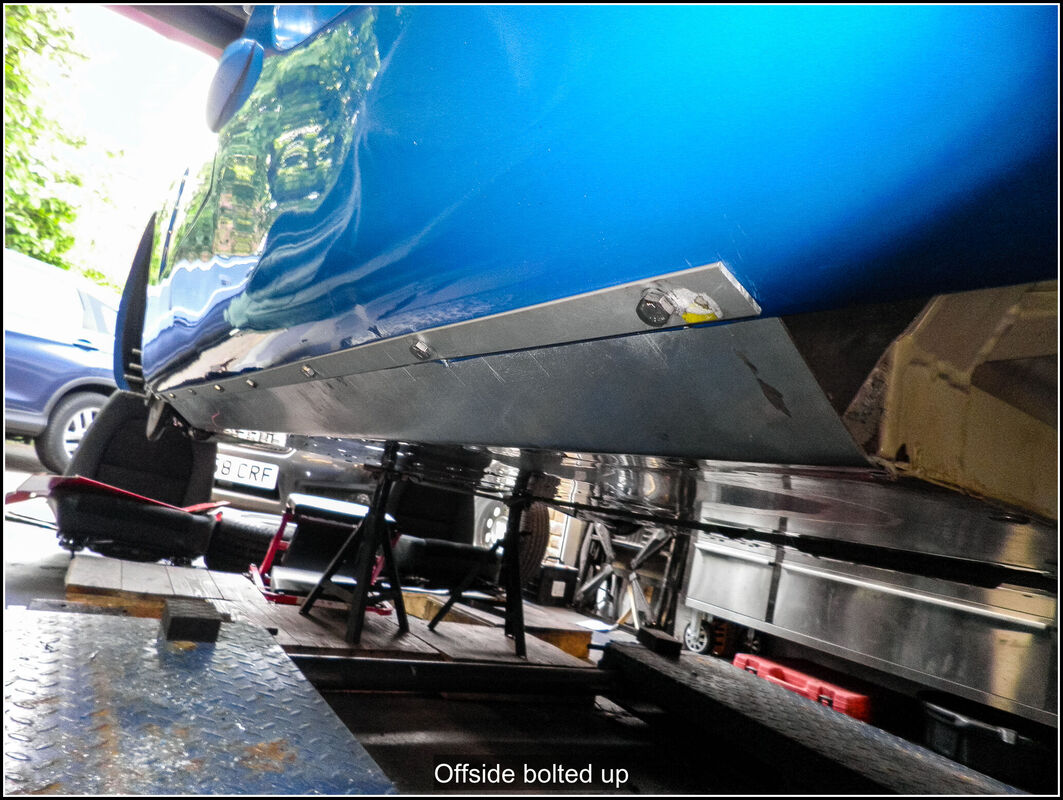
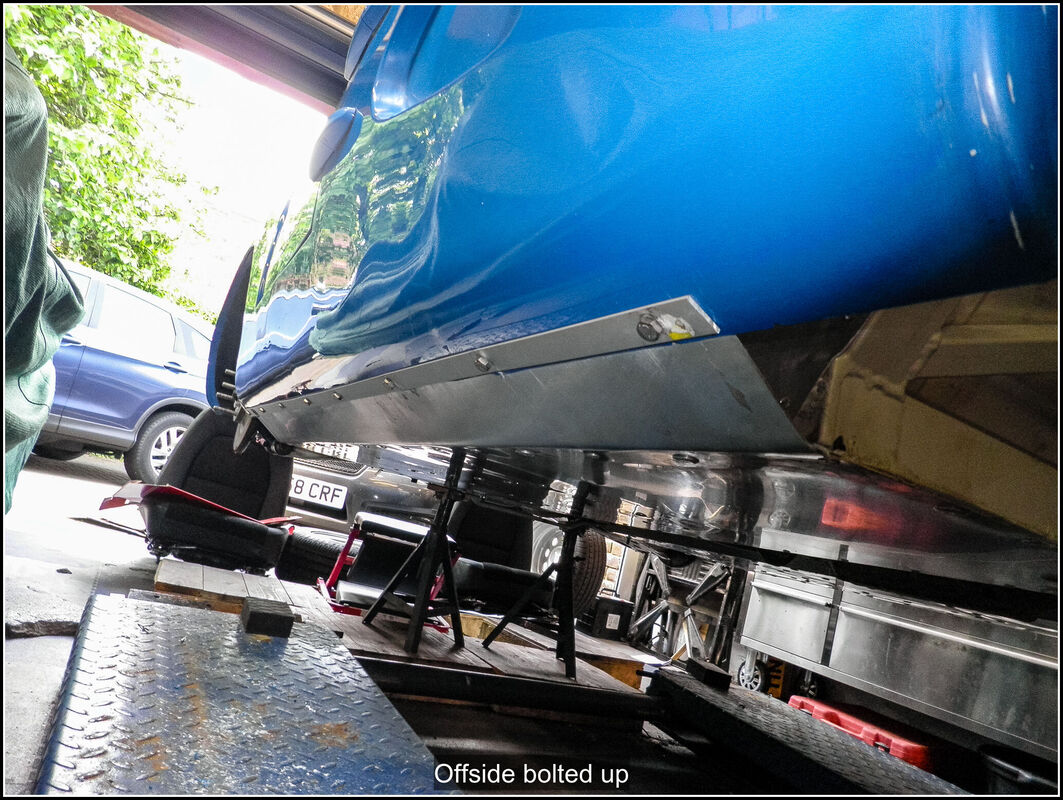
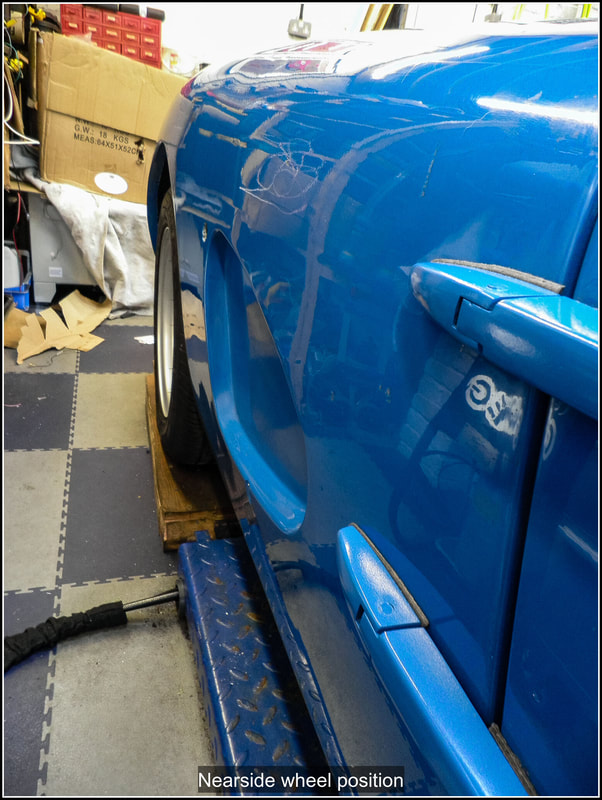
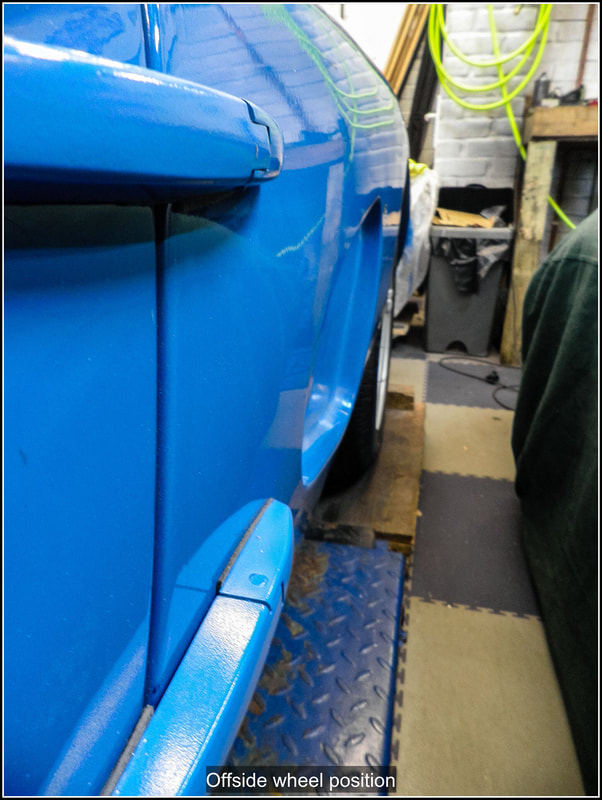
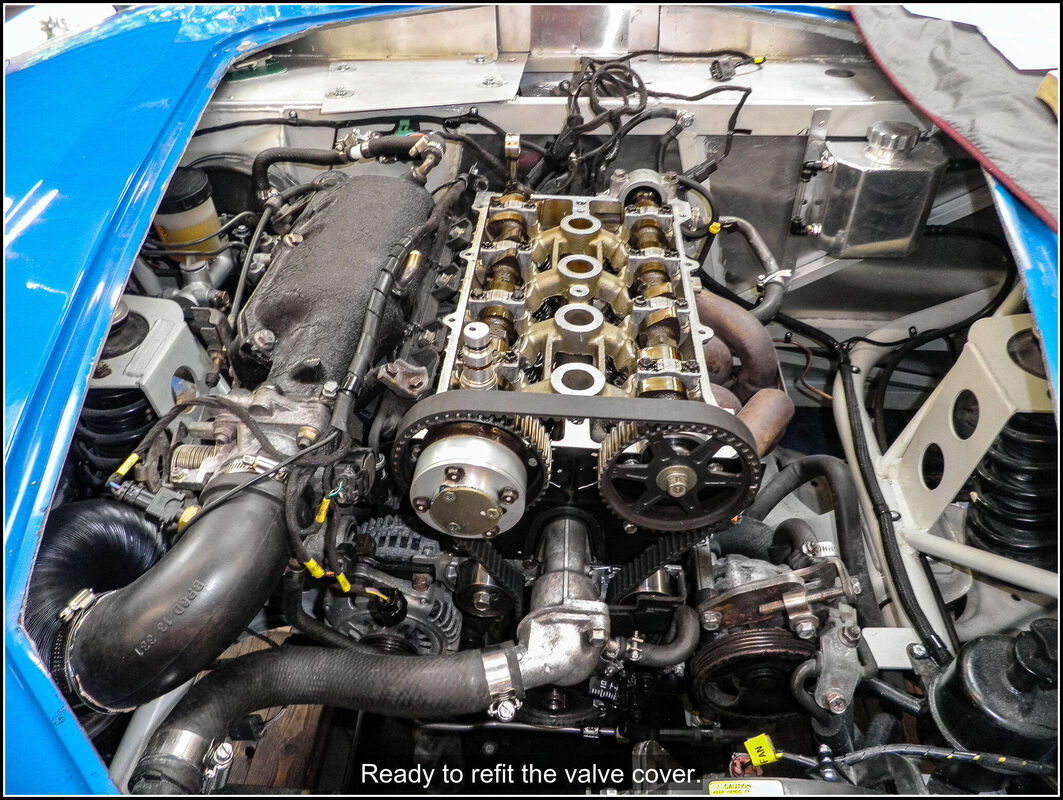
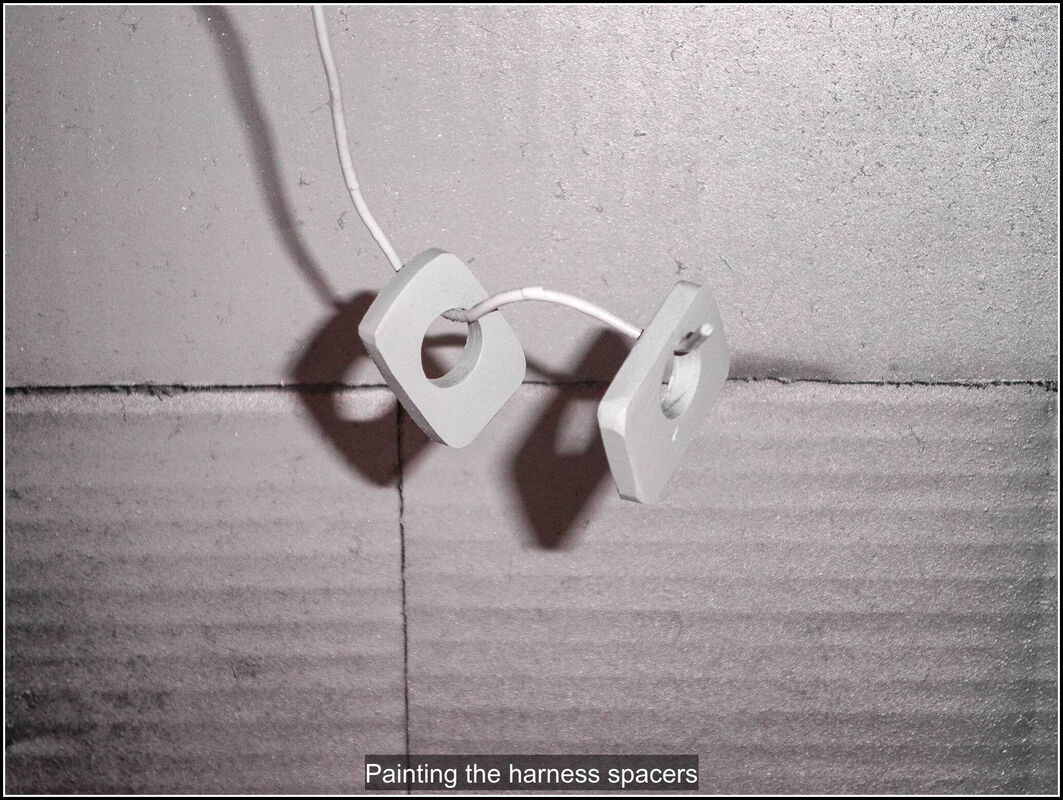
15 May 2023 I did some measuring of the distance from the chassis to the outside edge of the body on each side. From previous checks I was happy with the natural position of the nearside. The offside needed pulling in slightly which I did with a ratchet strap round the body. Once I was happy with the position it was time to drill some holes. I started with some aluminium flat bar and marked out holes at regular intervals and then drilled some pilot holes. Then I clamped the bar in position on the outside of the body, clamping it to the body and floorplan. Once I was happy with the position, I drilled through the pilot holes and through the body shell and floor plan. I then enlarged the holes to fit an M5 bolt and drilled the floorpan to take an M5 rivnut. I fitted the rivnuts to the floorpan and then bolted through the aluminium strip, body and into the rivnut. This was initially successful but the rivnuts didn't have a sufficient grip on the floorpan, I think the floorpan was a bit too thin and they worked loose. I drilled them out and left it while I had a think. 22 May 2023 My revised plan was to have a second strip of aluminium bar and add rivnuts to that and then clamp the body and floor pan between the 2. It's much easier installing the rivnuts in the bar while it is on the bench. I increased the size of the bolts and rivnuts to M6. I marked out and drilled the second piece of aluminium using the first as a guide, making sure I marked up the front and back ends of the strip. I drilled the holes out and added the rivnuts and for additional peace of mind I added some epoxy glue while I was inserting the rivnuts. Fitted the nearside and then double checked the measurements with the offside. I repeated the operation on the offside so I have now got both sides secured. I've not added the rubber strip yet but I will do that once I have bonded the aluminium strip to the body and the inside of the floorpan. The strips will get a bit of shaping to tidy them up as well. 26 May 2023 Decided to have another look at the rough running of my engine. Checked and found one of the air hose clamps was restricting air flow a bit so fixed that. Also played around a bit with the cam position sensor wiring and added more fuel. Started it up and it seemed to run much better although idling very high I suspect that is due to all the fiddling with the idle speed and air bleed screws. I let it come up to temperature and it seems to be fine although it stalled a couple of times. Very puzzling. However it seems I have another oil leak, it's dripping off the front of the oil pan so I hope it's not a problem with the crank seal again. 4 June 2023 Decided to investigate the oil leak, I started the engine and ran it for a bit and sure enough the oil is dripping off the lip behind the crank pulley. Removed the valve cover, front cover and timing belt and crank pulley. Crank seal looks perfect and there doesn't seem to be any oil around the seal, it seems to be coming from higher up the engine. Removed the cam sprockets and timing back plate and I can see oil has been running down the plate. Looks like I haven'y sealed the valve cover properly. Cleaned up the oil and started to reassemble the front of the engine but ran out of time before I could get the timing belt back on so that is for next time. 29 June 2023 Got the timing belt back on timed the engine lots of checking. Finished replacing the rest of the components I removed, taking care to put in a good sealing of RTV on the valve cover. Torqued everything down. 1 July 2023 Fired up the engine and everything good, warmed it up and so far no leaks! 9 July 2023 Removed all the body fastenings so I could lift the body enough to remove the harness bolts behind the seat. I had previously put them in with the bolt pointing down but with the body in place you can't remove them. I need to turn them round and insert them from the bottom. Whilst the bolts were out I painted the spacers so they don't rust in future. Removed the back box so I could fix the small exhaust leak between the flexi joint and the back box pipe. Cleaned up the joint and applied exhaust paste and refitted the exhaust. Started up then engine to warm things up and cure the exhaust paste. Leak fixed so another thing to tick off the list. While the fixings were off I stamped the aluminium strips with N/S O/S F(ront), R(ear) and L(eft) and R(ight) so I didn't get things confused when refitting. Refitting the body fixings proved quite tricky getting everything lined up. I fitted the rubber strip between the body and floor pan on the sides which proved tricky. Ran out of time to complete the offside, which was being particularly awkward. I've not bonded the aluminium in place yet, hopefully when it is, getting things lined up will be easier.
0 Comments
|
AuthorThis is my first kit car although I've messed about with cars all my life. Archives
November 2023
Categories |


 RSS Feed
