|
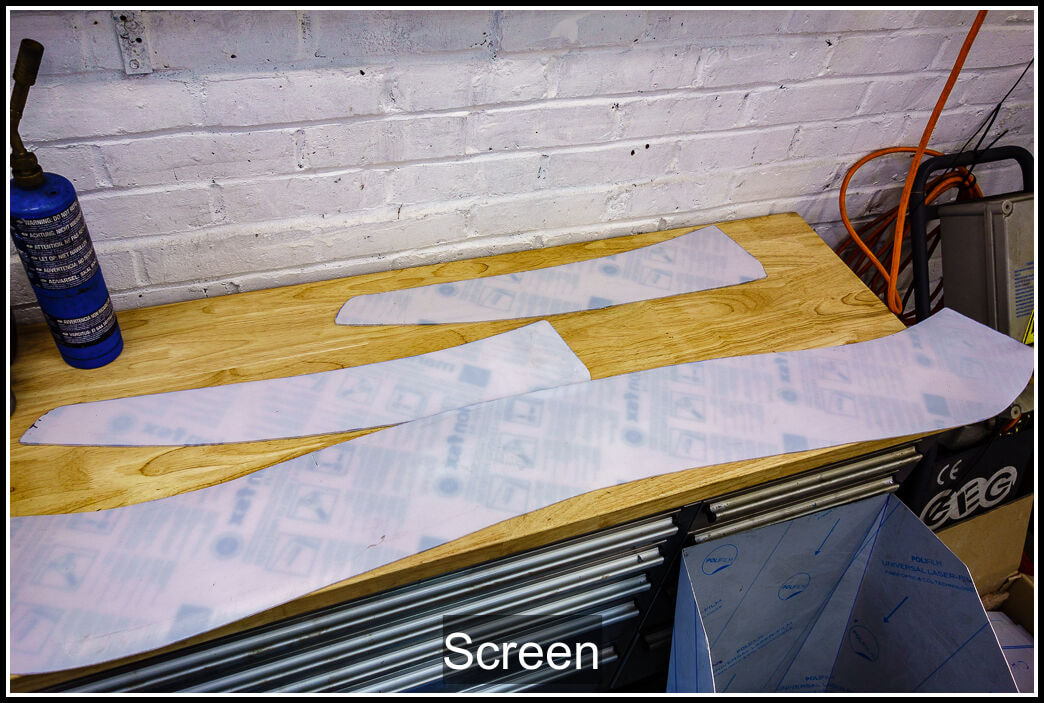
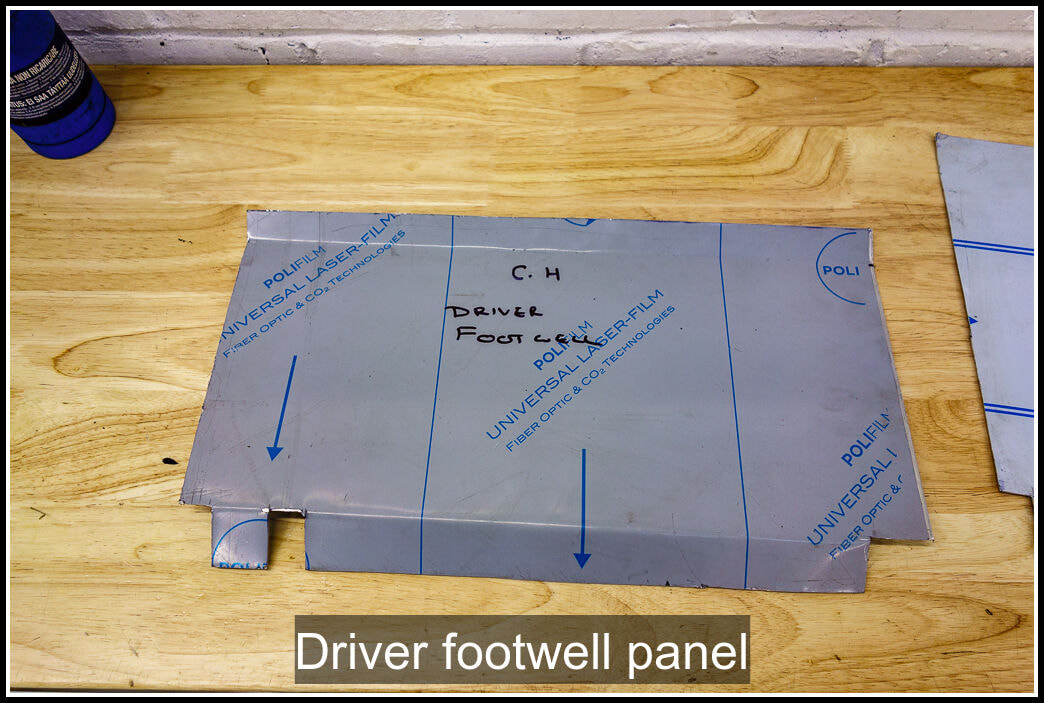
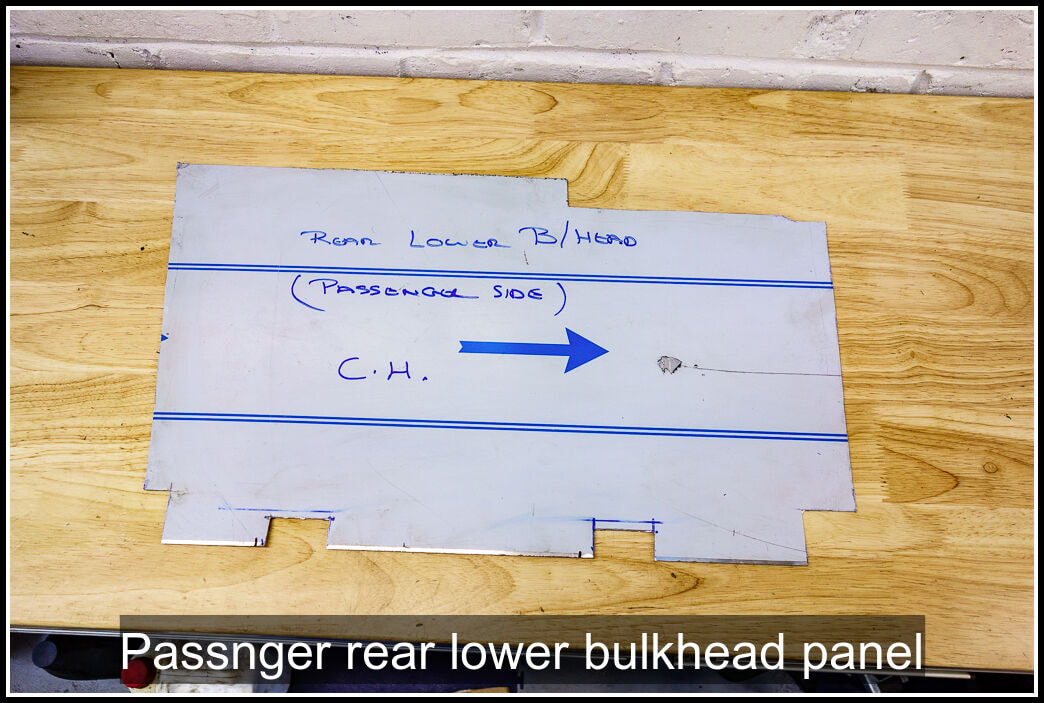
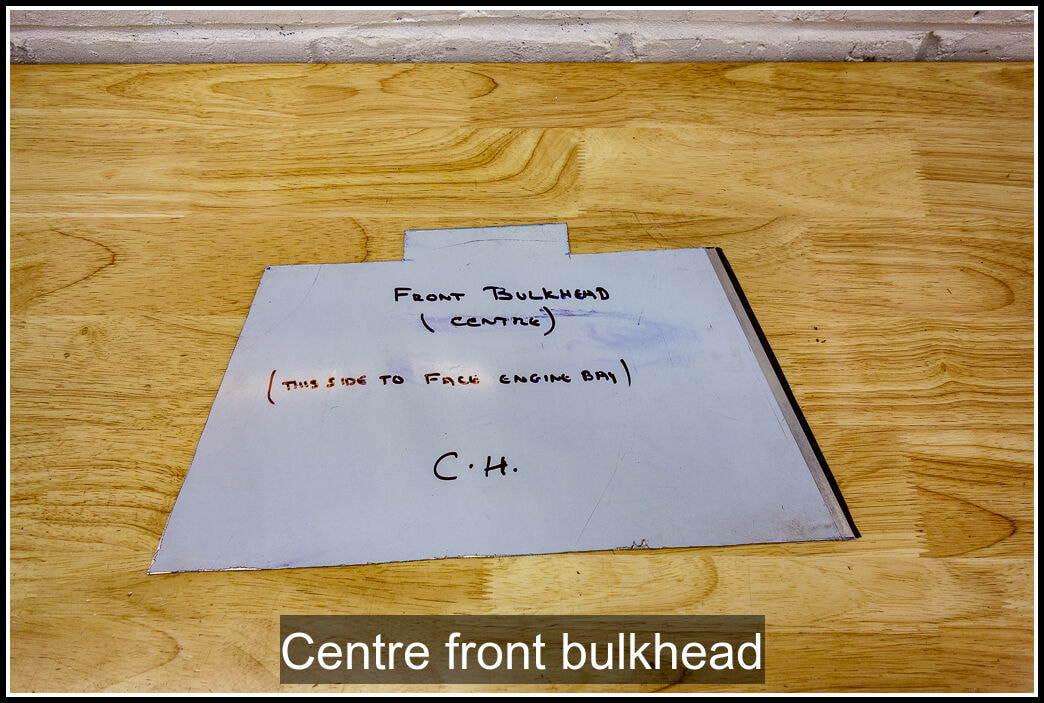
25 January 2021 A week off work and planning to spend most of it on the build. Didn't get to it until later in the afternoon but broke down the coils and dampers so I could clean everything up. Pressed the bushes out of the bottom of the dampers as they were rotten. I have replacements on order which will be fitted once they arrive. Applied another coat of paint to the ARBs and spent time cleaning up the ARB mounts, radiator mounts and the metal components of the suspension. More painting will be needed. 26 January 2021 ARBs moved into the house (don't tell anyone) as it just too cold in the garage to cure the paint. Wire wheeled the radiator mounts, ARB mounting brackets coil spring retaining parts, the damper bodies and painted them with Bilt and Hamber Hydrate 80 rust converter. Trial fitted the replacement power steering pipes and dug out the small pipe clamps, they were popped in the ultrasonic cleaner to clean them up, then they were painted with engine enamel and popped in the oven to cure. The coil springs were given a wipe over as were the various bits of rubber that are used in the coil spring/damper assembly. While I waited for the various treatments to dry I started dismantling the engine. Removed the rear water housing and pipe, water pump and the crank sensor. I lifted off the cam cover and undid the head bolts in turn until they were loose, a few taps with a soft headed mallet and the head lifted off. Piston tops and valvels looked OK, a bit of carbon build up but nothing exsseive. Then I turned the ngine over and allowed the last bits of coolant and oil to drain out while I undid the oil pan bolts. With a bit of gentle levering the oil pan came off. I removed the oil pump pickup pipe. I undid the bolts holding the baffle in place and removed that as well. I did a cursory examination and everything looked OK, the crank turned and there was no discernable play in the con rod bearing or the crankshaft. Obviously there is a problem because I have an engine knock, hopefully the damage is minimal and with maybe a crankshaft grind and new bearings all will be well. By then it was dark outside and the temperature had dropped so back inside to read up a bit on the the next stage of dismantling and any checks I need to make before I do that. 27 January 2021 Painted the shocks, spring mounts and washers, the anti roll bar brackets and another coat on the ARB. Fitted the brackets to hold the power steering pipes to the rack. Carried on stripping the engine, removed the oil pump, the oil cooler, the rear main bearing seal and gave them all a clean. I undid the con rod caps and removed the pistons. The bearings were worn as expected but the crank journals looked OK, no scratches or marks that I could discern. The pistons are quite heavily carboned but again nothing major for an engine that has done over 116k miles. I undid the main bearing caps and removed them and the crankshaft. The main bearings were in a similar condition to the con rods as were the crankshaft journals. I'll get them inspected by an engine shop to confirm what needs doing but I am hopeful that a polish or grind and new bearings will be enough to fix the knocking. I measured the crankshaft end float and the con rod play and all were well within tolerance. Crankshaft end play 0.06mm (acceptable range 0.080-0.252mm) Con Rod end play (acceptable range 0.110-0.262mm) Cylinder 1 0.127mm Cylinder 2 0.152mm Cylinder 3 0.152mm Cylinder 4 0.178mm 28 January 2021 A few errands to run in the morning so didn't get to the garage until the afternoon. I had bought new front and rear drop links which are all different but they weren't labelled so I had several attempts at fitting them to find out which went where. The rear ARB I have fitted but the front will have to wait until I fit the subframe to the chassis as the ARB is mounted to the chassis. I reassembled the damper and spring assemblies and fitted the new bottom bushes. I lifted the rear subframe up with my engine hoist so I could fit the PPF and get the long bolts in the bottom. I dropped the subframe back down onto a raised platform and bolted the propshaft on (after running the bolts through the ultrasonic cleaner. Next I lifted the gearbox round and bolted that to the front of the PPF (after sliding the propshaft in). More tidying up followed whilst I also thought about the engine. I am going to take it to a local machine shop and have them look at it and get the machining done that is needed. I expect a crankshaft grind will be needed and I will probably get the bores hnies too. Hopefuly do that tomorrow. Can't decide whether to bolt the spare engine in place so I can get it bolted to the chassis or wait for the engine work to be done and then fit it with the reconditioned engine. I think it will depend on how long the machine shop work is going to take. 29 January 2021 Took the block, crank and pistons over to Classic and Modern Engine Services in Bracknell who were recommended by a friend. They had a quick look and said it didn't look too bad, possibly only a polish to the crank, more concerning were some scuff marks on the side of the pistons and evidence of some blow by. He is going to check everything and advise if new pistons will be needed. It looks like a few weeks before I get the bits back, so I will strip the ancillaries of my spare engine and use the block to connect the PPF to the subframe. No other work on the project today as I had to erect Frances' potting shed in the garden! 30 January 2021 Only a few hours in the garage today and made a start stripping the ancillaries off my spare engine just to make it a bit easier to move about. Got the exhaust manifold and power steering pumo off. The air conditioner compressor bolts sheared off but they still didn't allow me to remove the compressor I think it has correded onto the bolts. Sprayed it with penetrating fluid and hit a few times with a hammer but no luck. 31 January 2021 Only way I could get the compressor off was to break the alloy mounting holes off. Compressor off but is now junk, also unbolted the compressor mounting bracket. Removed the alternator and the inlet manifold. Then I moved the engine round to the front of the frame and attached it to my hoist, lifted it up and lined it up with the gearbox and bolted it in place, which went pretty well. There's no clutch in there at the moment as it will come out again when I have rebuilt my original engine. I moved the front subframe into place and used a jack to lift it up and bolted it to the engine mounts. The brackets that go on the engine mounts only go one way up so that needs to be checked. I had mounted the camber bolts the wrong way round so I had to go and swap them all round, they are supposed to be mounted with the bolt heads facing each other and pointing out. Once that was all done I wiped the brake discs off with cleaner and mounted them and the calipers to the uprights. So the powerpant frame is now pretty much ready for the chassis to be put on top (just need to bolt some wheels on temporarily. It's my birthday this week and I am hoping to get a pop rivet gun to go with my compressor as I have a lot of pop rivets to fit to secure the various aluminium panels to the chassis.
0 Comments
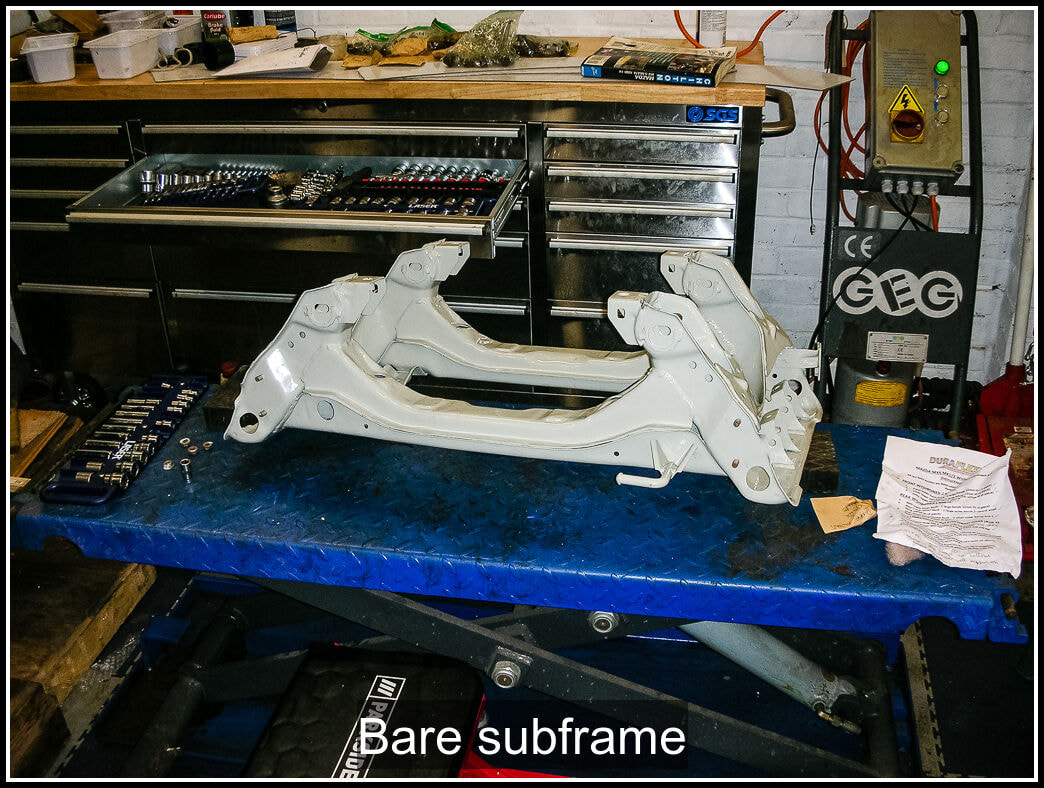
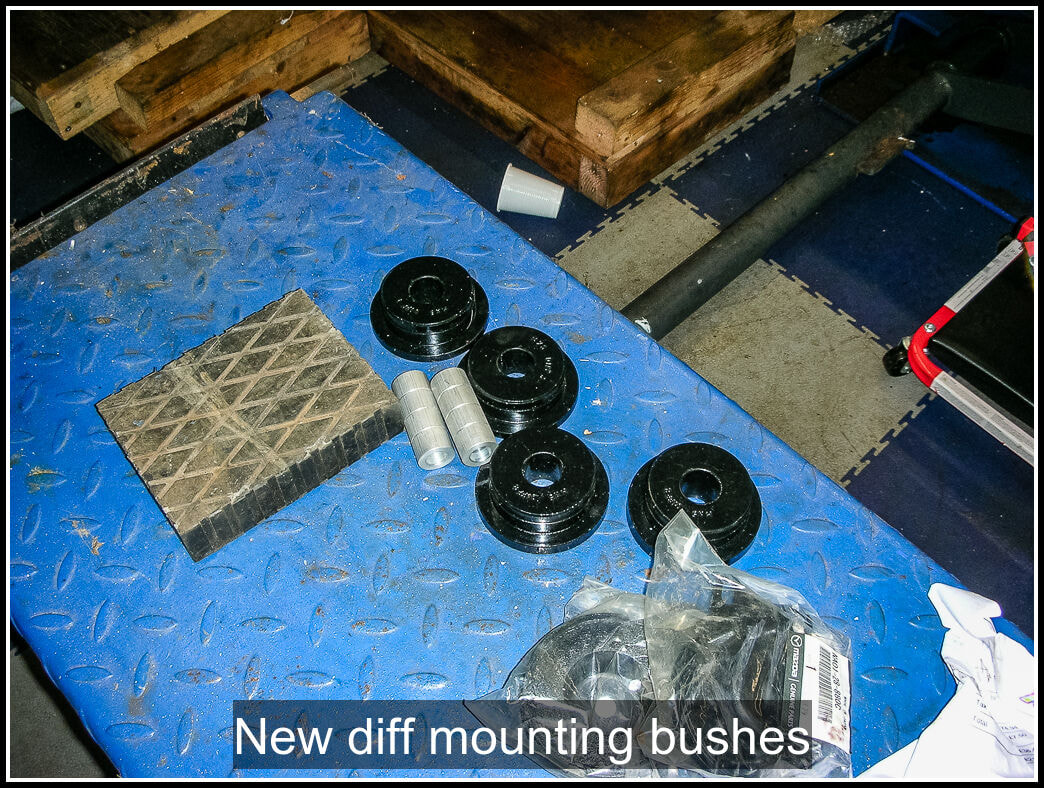
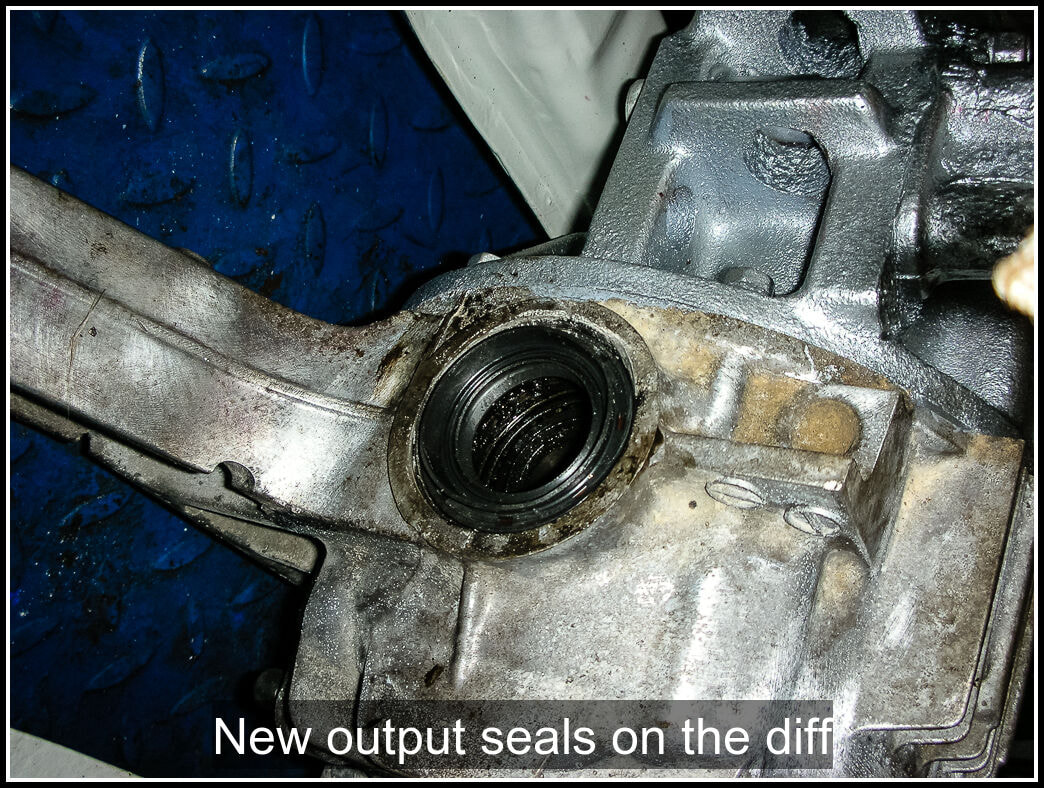
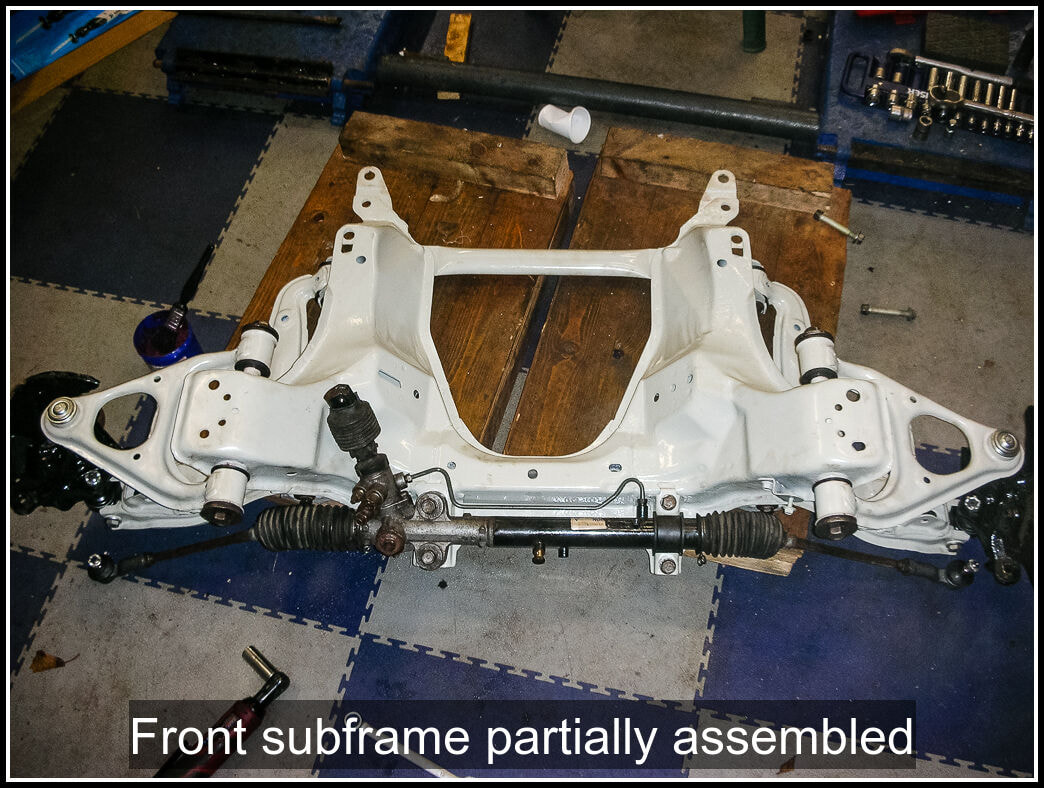
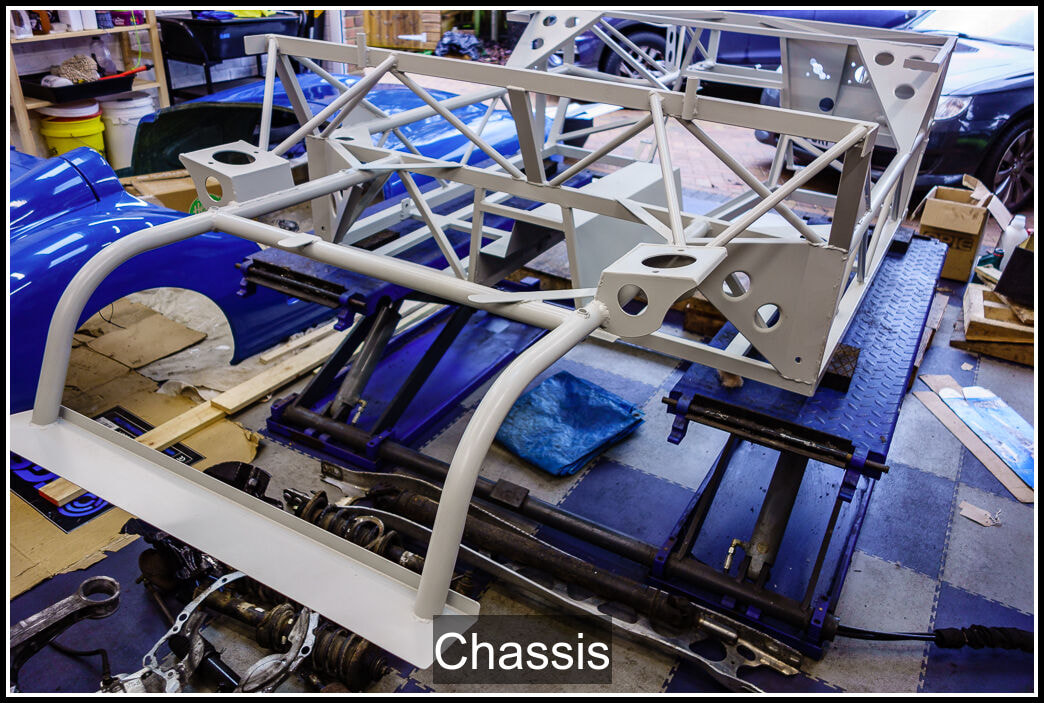
19 January 2021 My ladder finally turned up. Frances gave me hand lifting the bodyshell out of the garage. I tried a few combinations of pulleys but couldn't get a set up I was entirely happy with so moved the bodyshell back into the garage, retired indoors and ordered a few more pulleys and some metal loops. Did some more googling about various pulley configurations. 23 January 2021 Back out to the garage, moved the bodyshell out again and added some more pulleys and some fixings on the wall to tie the rope to. I have set up a plank of wood at each end of the car that will sit in the wheel arches. This was the advice from Rob about where to lift the bodyshell. I tie wrapped some pipe insulation to the planks to sit the wheel arches on. The rope was attached to the ends of the plank via a pulley secured with a u-bolt. I used my Griffith car cover to protect the bodyshell from dirt and hoisted it up. I moved the chassis off the lift and sat it on the floor under the body. Then I could start assembling the rear subframe in the lift area. I got the differential mounted and both pairs of control arms. They all slipped in nice and easily and the cleaned nuts and bolts were greased and pushed through the mountings. At this point I only did the nuts up finger tight. 24 January 2021 We had snow today, so it was pretty chilly in the garage. Despite that I had a productive day in the garage. I fitted the new output seals to the differential and fitted the hub and driveshaft assemblies. I cleaned up the control arm nuts and bolts and bolted the hubs to the control arms, again just finger tight at the moment. Next I started on the front subframe. I cleaned up the control arm nuts and bolts. The most effective process seems to be put them in the ultrasonic cleaner for 20 minutes or so, take them out and dry them, then a quick rub over on the bench grinder wire wheel to remove any rust that hasn't been cleaned off already. I bolted the control arms to the subframe, bolted the new ball joint to the lower control arms and then fitted the front hubs on. I've been very happy with the fitment of the polybushes, apart from the lower front control arms everything has gone together nicely. I put the tie rod ends on the steering rack and cleaned up the steering rack mounting bolts. Then I loosely positioned the steering rack and put the long mounting bolts to hold it in place. The metal bracket that secures the other end needed painting so I cleaned that up and applied some paint to it and the 2 anti roll bars. With the cold it will take a while for the paint to dry! 9 January 2021 Spent today tidying up and preparing for the kit delivery on Tuesday. Swept and generally cleaned up the floor, and bench areas, my airline and blower is proving really helpful with this. Moved a few more redundant things over to the shed. The TVR was moved out on to the drive as I think, initially at least I will need all the space. Looking at options for putting it into temporary storage seeing as I won't be driving it in the near future with lockdown in full effect. 10 January 2021 More cleaning up, I never imagined that I would be mopping the garage floor, but that is what I did today. Just getting the worst of the muck off before the build up starts in earnest in the hope that I can keep the build clean. Once I had finished with the floor I officially started the build by getting the control arms down and pressed in the new ball joints to the front upper arms with my press tool which worked a treat. I also pressed in the new polybushes to the control arms. It was a fiddly task, I warmed the bushes up in some hot water to make them a bit more pliable. Greased the tubes where the bushes go with some red rubber grease. I used my vice and some of the adaptors from my pressing kit to push them, even so, the bush seemed to go anywhere but into the tubes. Had to hold the bush, control arm, and the two adaptors with my hand and at the same time tighten up the vice. Once the lip of the bush was in I liberally applied grease to the bush and pressed it fully in, hitting it with a rubber mallet to the final bit. After many attempts I finished the top control arms. Only the lower front control arms and all the rear ones to go. With hindsight it might have been better to fit the ball joints after I had got the bushes in, but it's progress and the build has started! 12 January 2021 Kit delivery day! Dunt Barn logistics did a great job of collecting the kit and delivering it safely to me. They didn't get back until late so it was a case of unpacking it from their trailer and storing it safely in the garage. Andy had left the wheel arch returns untrimmed so he could drill a hole in them to secure the body to the chassis to stop it moving around during transport. All the panels where secured in place with tape that I removed the same evening to prevent it bonding too much. On Andy's advice I removed any tape residue with some WD40 and a soft cloth. 16 January 2021 I was hoping to get the bodyshell up into the roof out of the way today but the ladder I need to get into the roof and mount the pulleys hasn't been delivered yet. So I contented myself with wiping the body over with some quick detailer to remove the traces of WD40. I also applied grey Tiger Seal to some of the welds, especially the stitch welded ones along the transmission tunnel, as Andy had advised me. I've wrapped the doors in bubble wrap, just need to find a safe place to store them. I took reference pictures of the kit contents. 17 January 2021 As my ladder is still missing in transit I decide to get on with pressing in the bushes. To be honest I wasn't looking forward to this given the problems I'd encountered with the front lower control arm and the other front control arm didn't disappoint. It didn't seem to matter what I did I could not get them started. After a lot of messing about I found the best way was to squeeze the bush into an ever so slightly larger tube which I found in one of my press kits and then use it as a guide to pull the bush into the control arm with a long bolt and a nut. I also found a second use for my ultrasonic cleaner, as it has a heater element for the bath I could put some water in it, drop the bushes in there and keep them nice and warm (the heater operates separately from the ultrasonic function). After finishing off the second front control arm all the other bushes went a lot easier, when warm they were quite pliable and I was able to push most of them in by hand. I was able to get all the control arm bushes and the rear hub bushes fitted in the afternoon. 9 January 2021 Spent today tidying up and preparing for the kit delivery on Tuesday. Swept and generally cleaned up the floor, and bench areas, my airline and blower is proving really helpful with this. Moved a few more redundant things over to the shed. The TVR was moved out on to the drive as I think, initially at least I will need all the space. Looking at options for putting it into temporary storage seeing as I won't be driving it in the near future with lockdown in full effect. 10 January 2021 More cleaning up, I never imagined that I would be mopping the garage floor, but that is what I did today. Just getting the worst of the muck off before the build up starts in earnest in the hope that I can keep the build clean. Once I had finished with the floor I officially started the build by getting the control arms down and pressing in the new ball joints to the front upper arms with my press tool which worked a treat. I also pressed in the new polybushes to the control arms. It was a fiddly task, I warmed the bushes up in some hot water to make them a bit more pliable. Greased the tubes where the bushes go with some red rubber grease. I used my vice and some of the adaptors from my pressing kit to push them, even so, the bush seemed to go anywhere but into the tubes. Had to hold the bush, control arm, and the two adaptors with one hand and tighten up the vice with the other. Once the lip of the bush was in I liberally applied grease to the bush and pressed it fully in, hitting it with a rubber mallet to push the lip out the other side. I greased the metal crush tubes and slid those inside the bush. After many attempts I finished the top control arms. Only the lower front control arms and all the rear ones to go. With hindsight it might have been better to fit the ball joints after I had got the bushes in, but it's progress and the build has started! 4 January 2021 Had a chat with Andy today and the kit is very nearly ready, only problem is that I can't go and pick it up with the Covid lockdown just announced! So I have contacted some friends and got names of some recommendations for transport companies that might be able to help. The transport really needs to be a covered vehicle as the body is not attached to anything and strapping it down might damage it. 6 January 2021 Contacted a few of the firms recommended for transporting the kit up from Plymouth. Struck lucky with Lee Hill at Dunt Barn Logistics who are just up the road from me; they are going down to that area next week to deliver a car and could pick up the kit and bring it back. That would mean I could split the day rate with their other customer. Andy confirmed that the kit will be ready by then, so it is all booked in for Tuesday 12 January. Andy sent me some photos of the body straight out of the mould before it was trimmed, and pictures of the freshly powder coated chassis. Time to get the garage ready for it - need to put the body somewhere safe while I work on building the chassis up. |
AuthorThis is my first kit car although I've messed about with cars all my life. Archives
November 2023
Categories |


 RSS Feed
