|
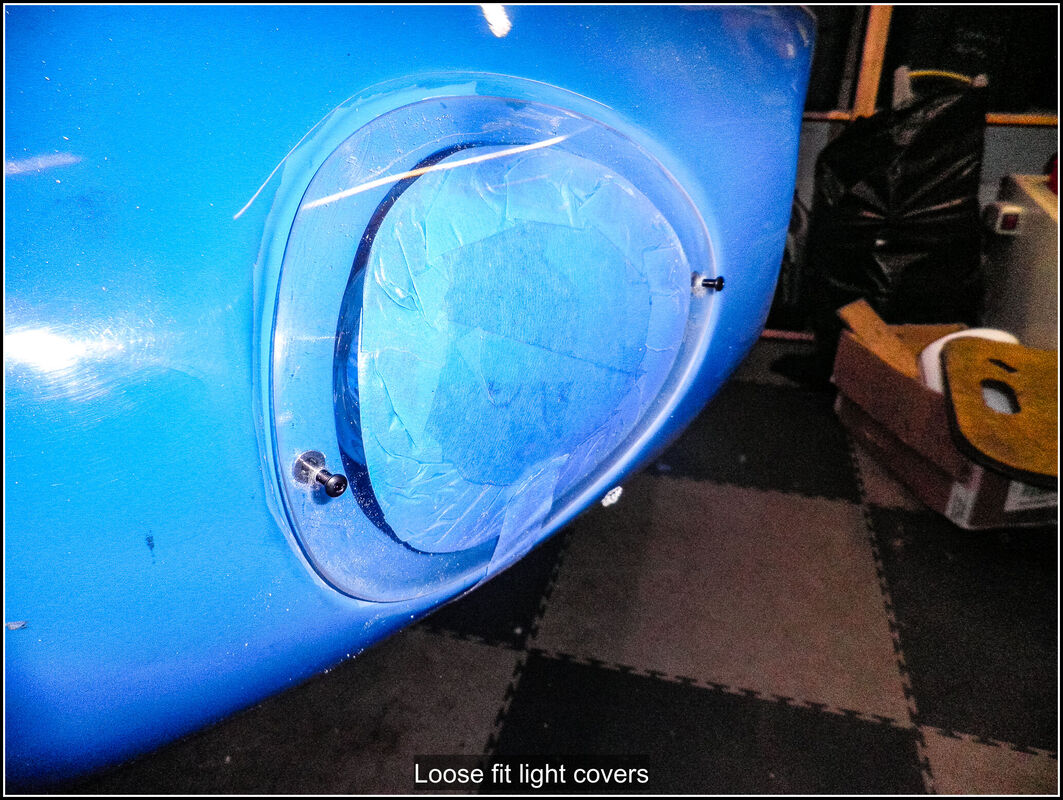
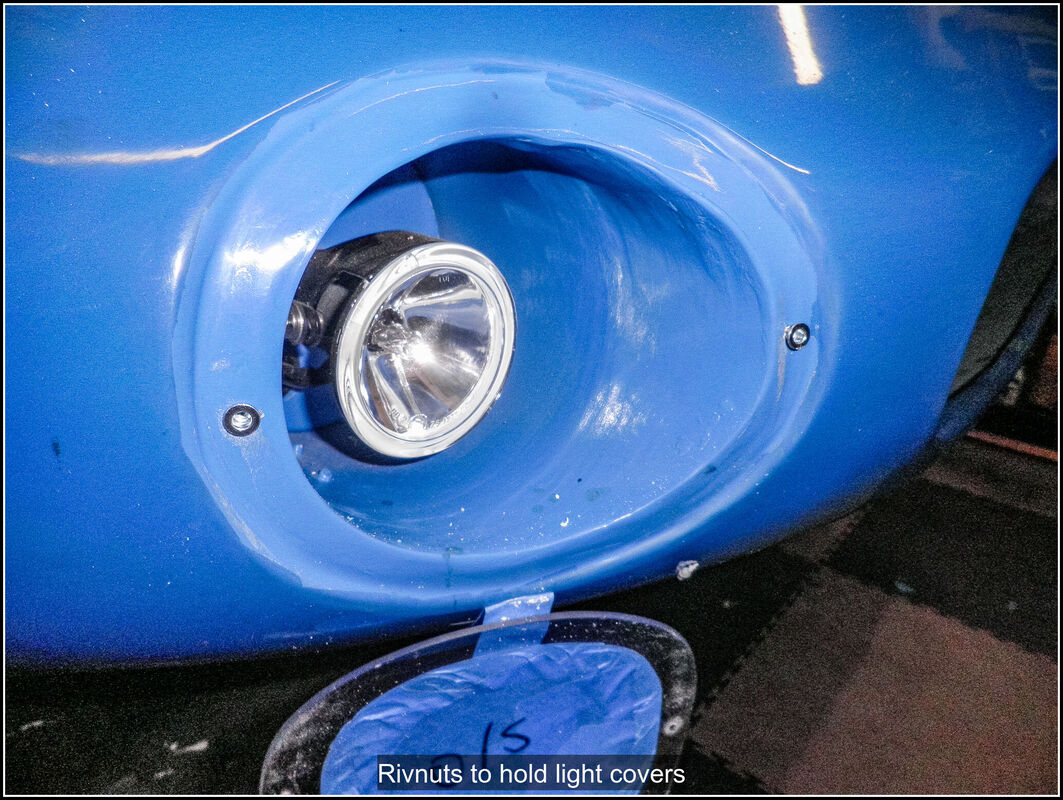
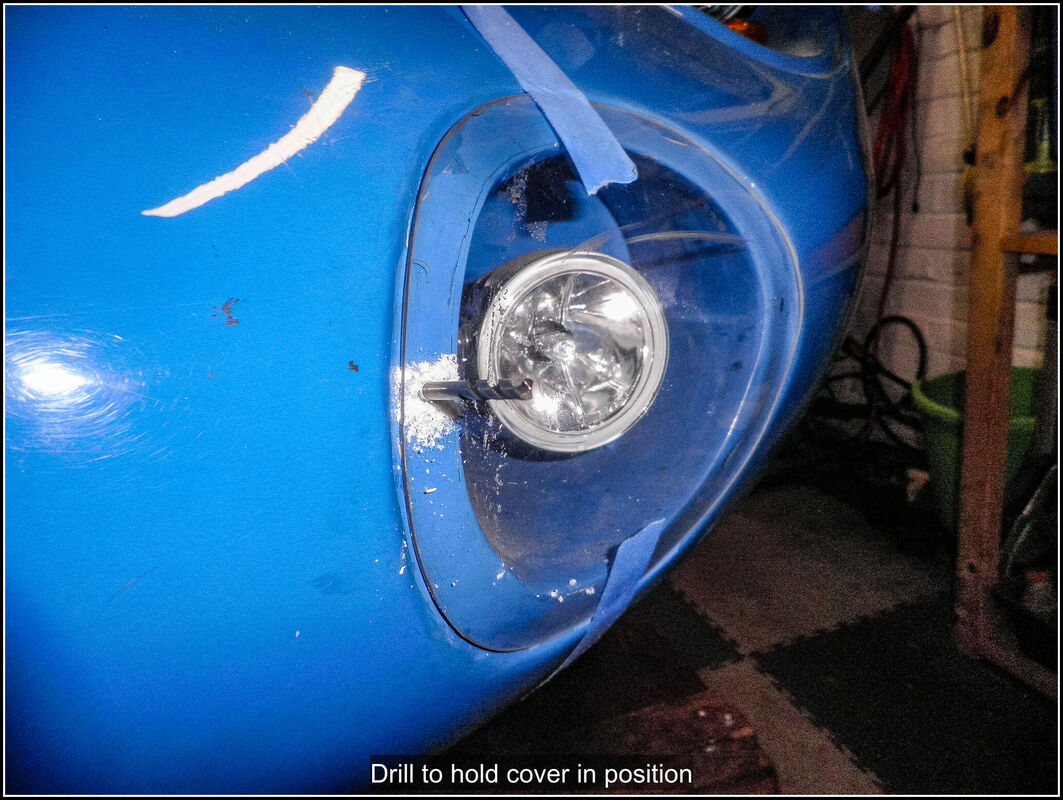
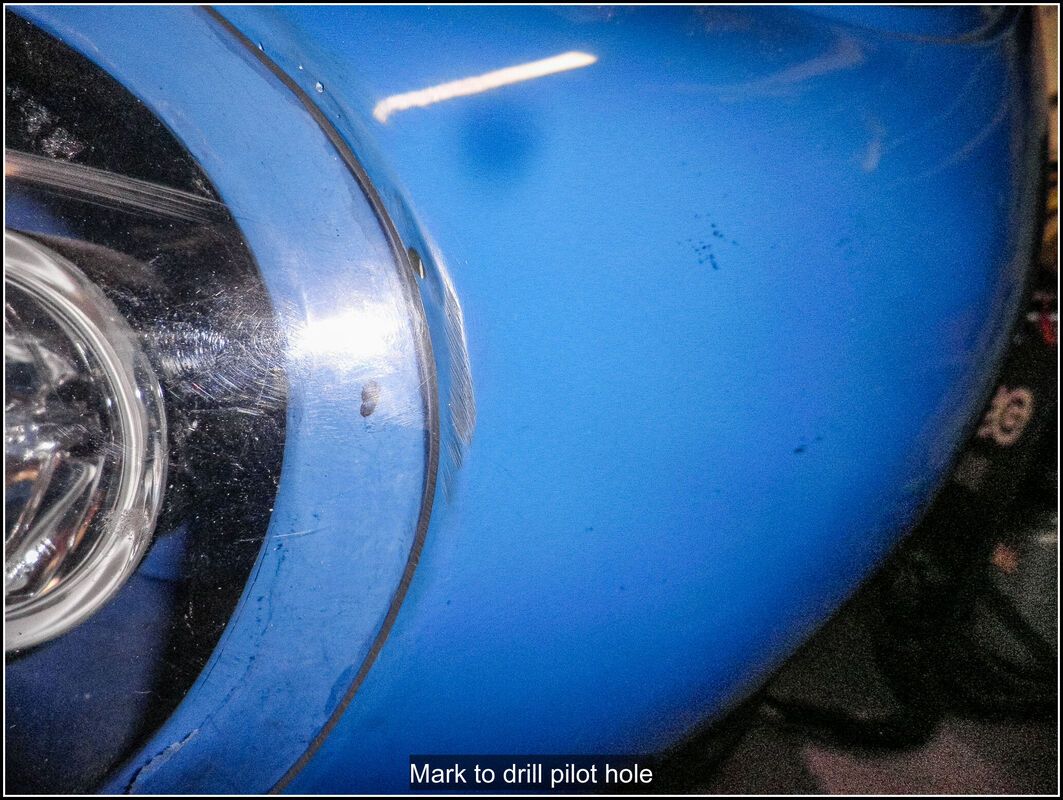
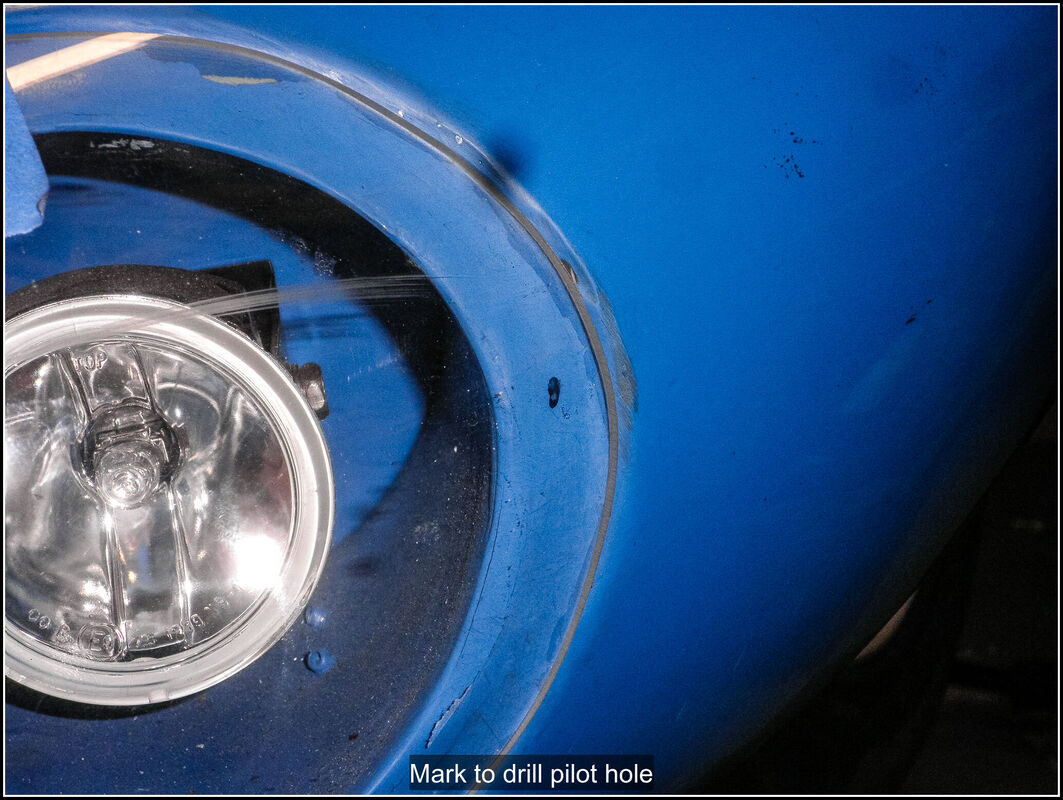
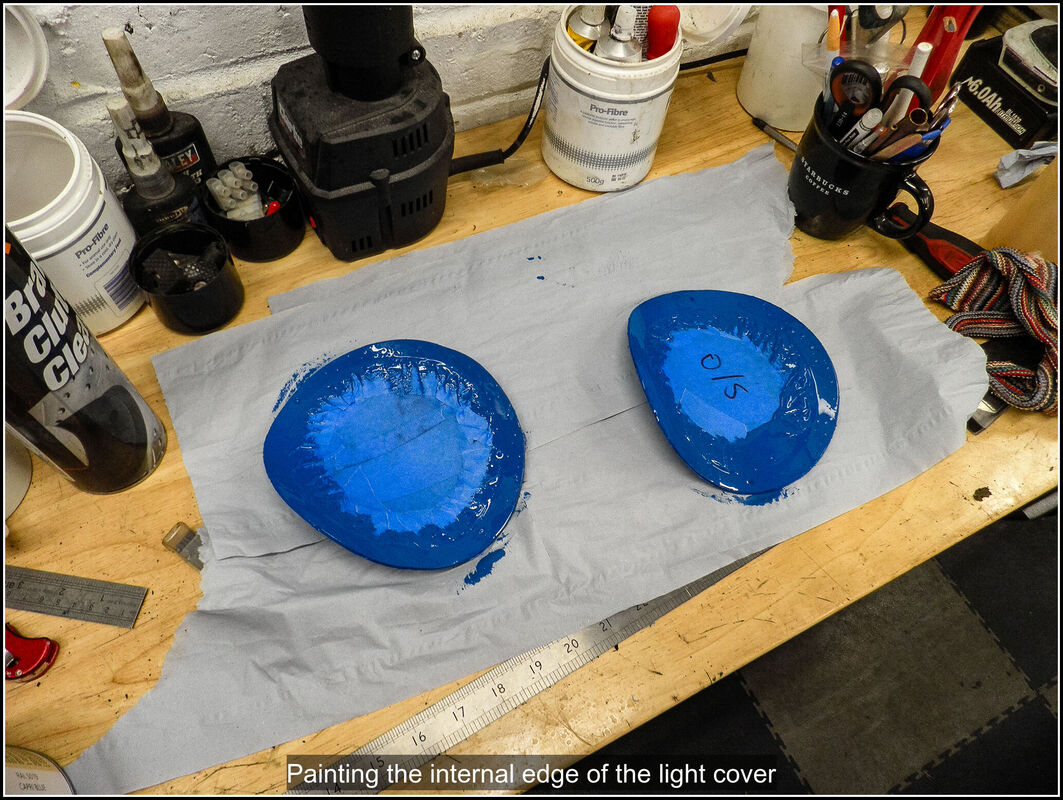
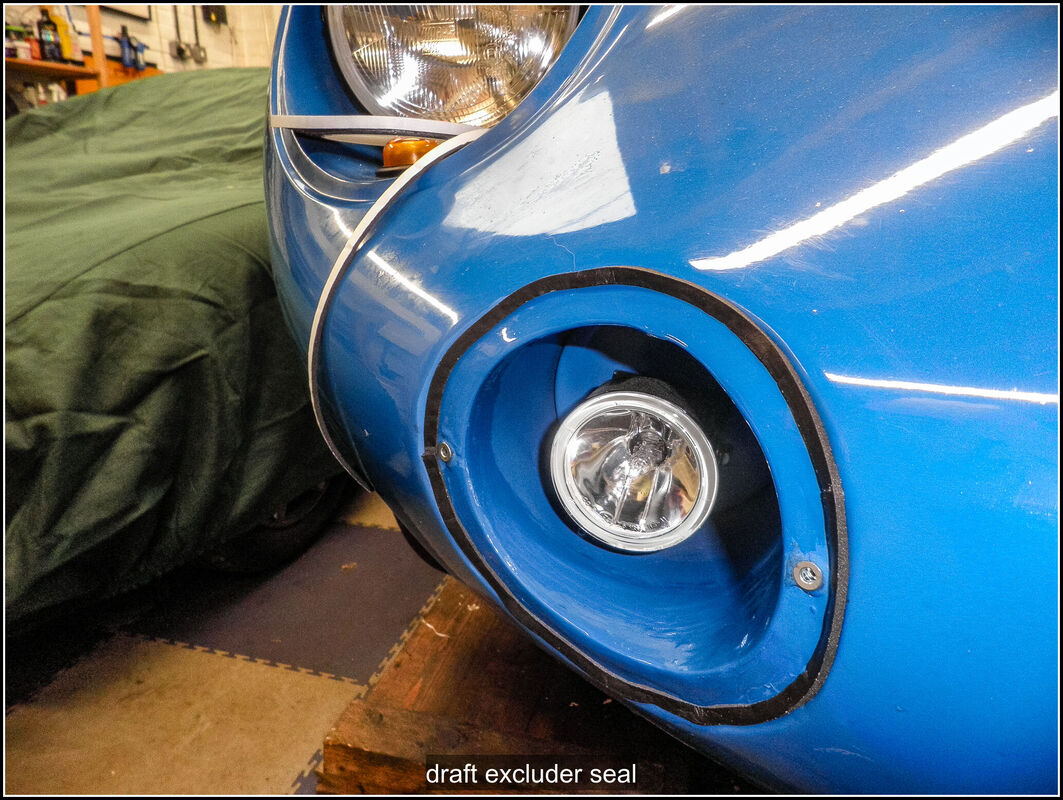
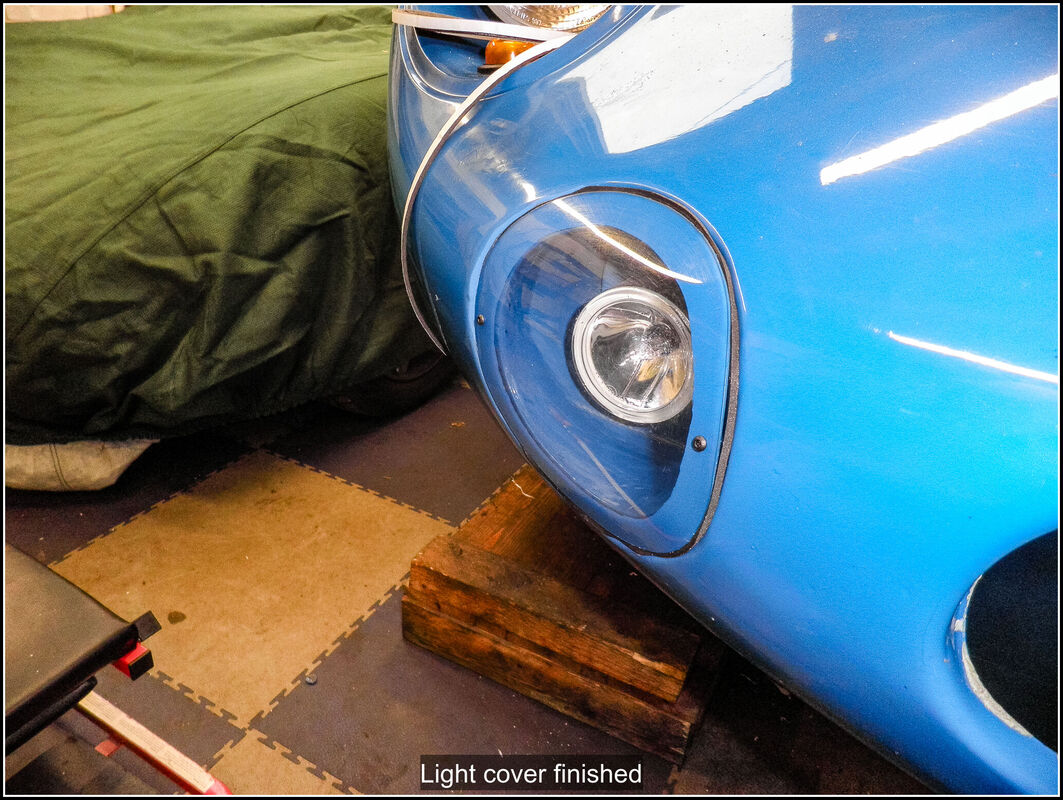
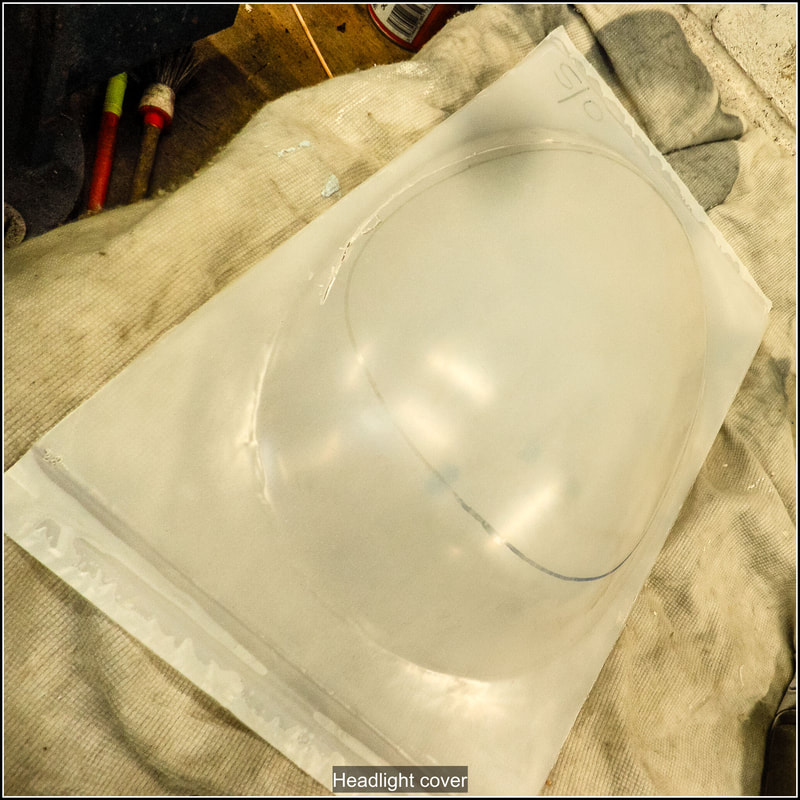
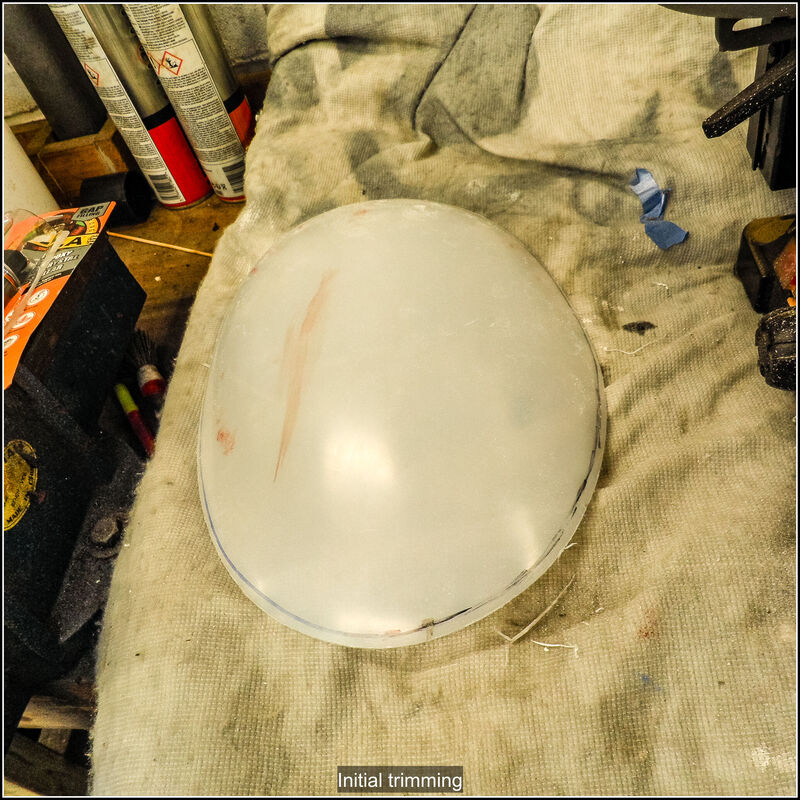
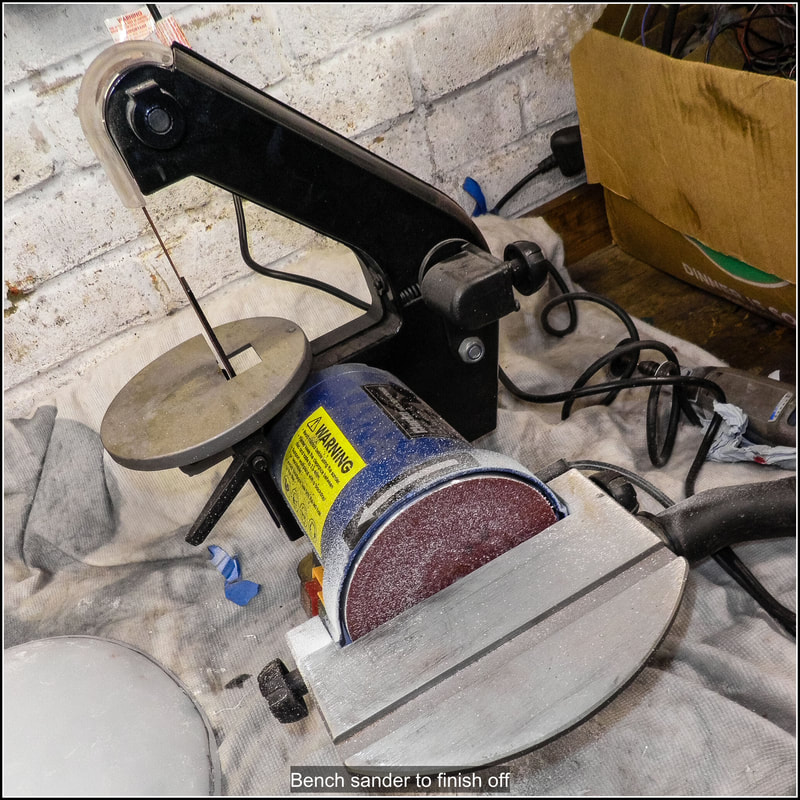
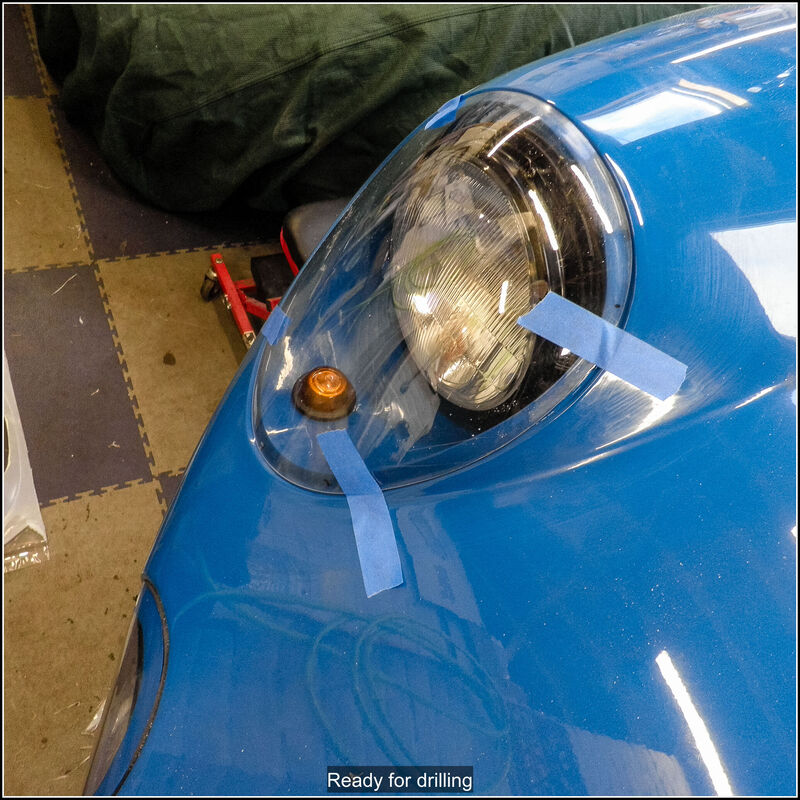
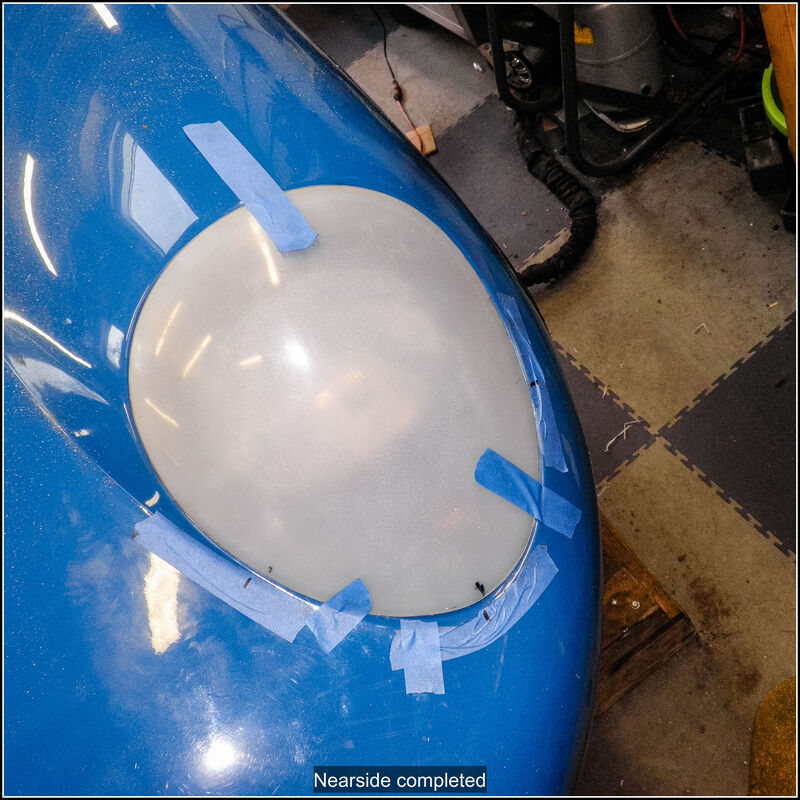
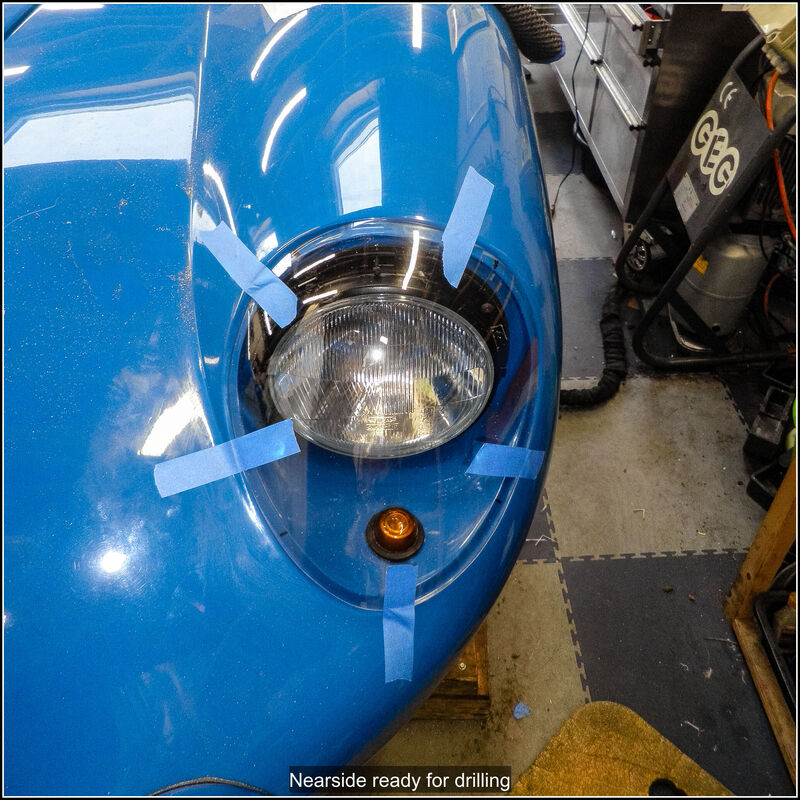
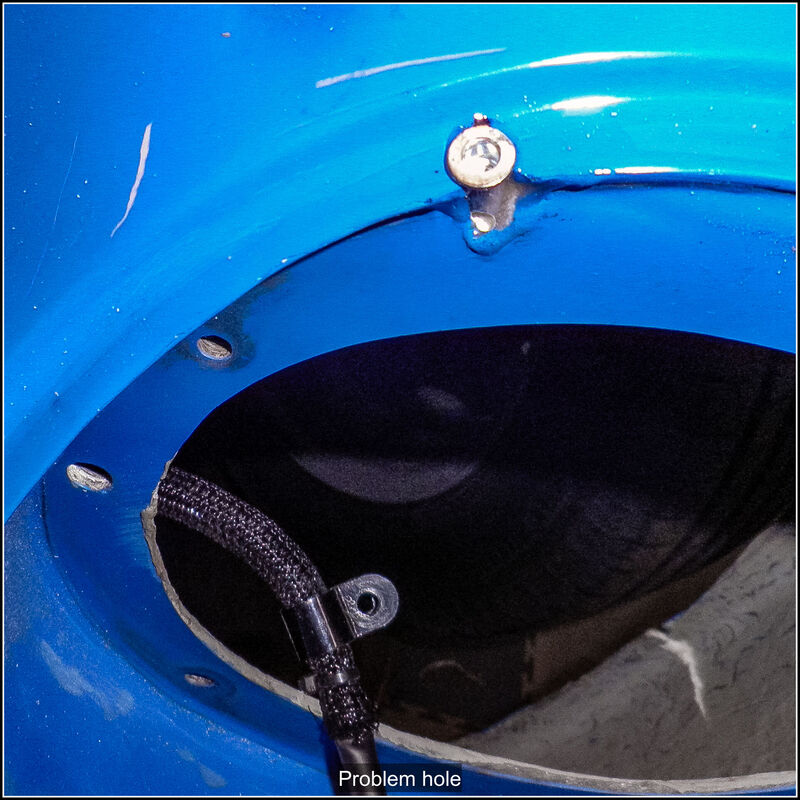
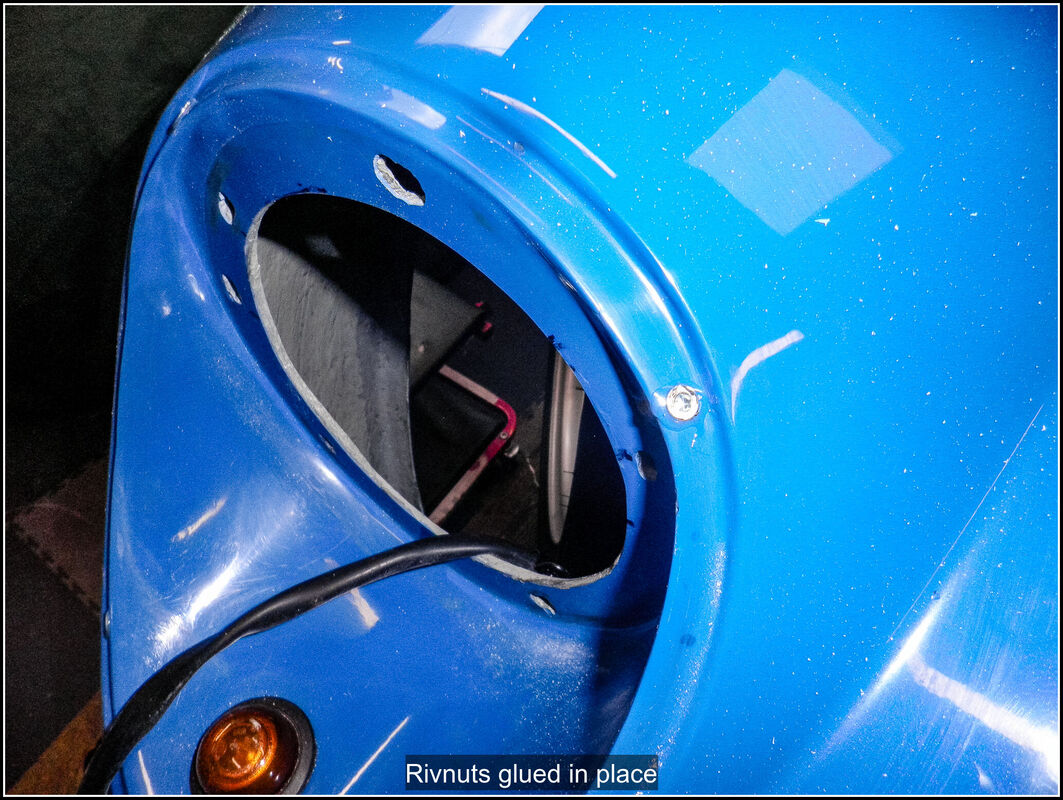
19 February 2024 Wow, it's already ahalfway through February and this is my first post of 2024! The Replicar has taken a bit of a backseat over the last few months. A few of my family's cars have needed my attention, and my other weekend car (TVR Griffith) has been treated to some tlc recently. To ease myself back into the kit I started with something easy and decided to work on the driving light covers. I'd made the covers a long time ago but procrastinated how to secure them to the car. After a few test fits, I settled on glueing some rivnuts into the body of the car (I didn't like the idea of trying to compress them into the GRP) and screwing the covers on that way. I spent some time deciding how many to use and where to position them. This was mostly dictated by the space behind the body where the rivnuts would go. In the end I settled on two fixings spaced horizontally, M3 alloy rivnuts and dome headed cap screws. I marked the body where I was drilling and then put the cover in place, secured with tape, and drilled through both at the same time. I put a drill bit in the first hole to keep the alignment and drilled the second hole. I drilled the hole in the body to take the rivnut body and then glued them in position with epoxy. Once the epoxy set, I test fitted everything again. I wanted to paint the inside of the lens round the edge to smarten it up a bit. I applied masking tape to the inside face of the cover and also on the outside round the edge and then brushed on some body colour enamel, I also touched up the apertures on the car. 21 February 2024 Once the paint was dry I applied some small closed cell draft excluder round the edge of the aperture on the car and scrwed the covers in place. I adjusted the position of the excluder to try and even out the edge. Very satisfied with how they turned out. Flushed with that success I got the main headlight covers down and roughly cut the offside cover out, I assumed the line drawn on the cover was a rough representation of the size required so I was fairly generous and started to bring it down to the right dimension with my bench sander. 23 February 2023 Finished sanding the offside headlight cover and taped into position. I then did the same for the nearside cover. With them both in place I drilled out 3.2mm holes through the cover into the body. This mostly went OK but a couple of holes broke through the side of the lamp recess. I removed the headlights and bowls so I could get to the holes that broke through. I glued the rivnuts into the holes with a bit extra to fill in the bits that broke through. I'll have to sand those down and touch them up with some paint, once the glue has dried.
0 Comments
Leave a Reply. |
AuthorThis is my first kit car although I've messed about with cars all my life. Archives
November 2023
Categories |

 RSS Feed
