|
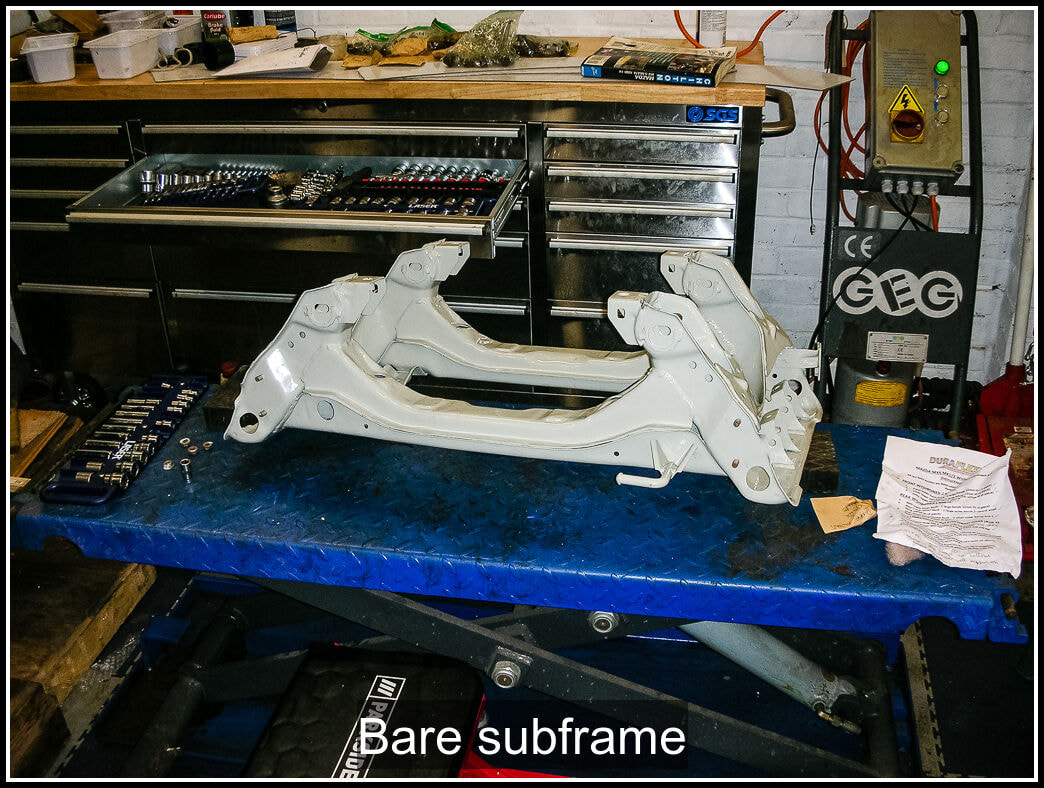
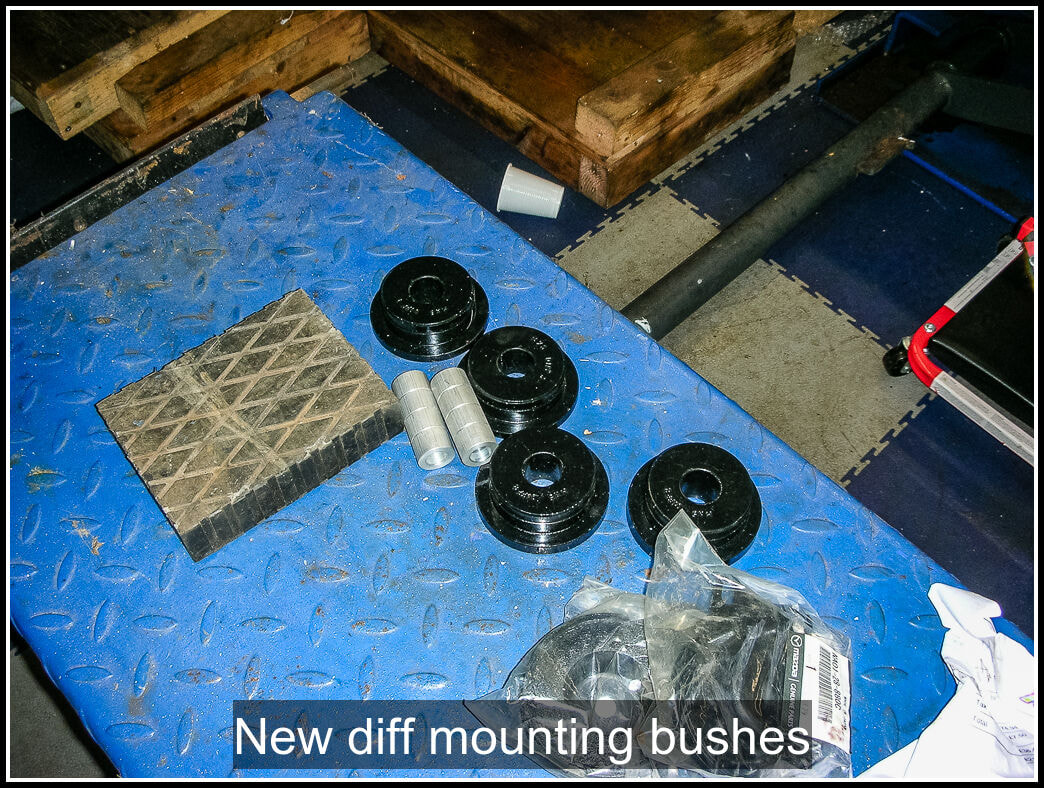
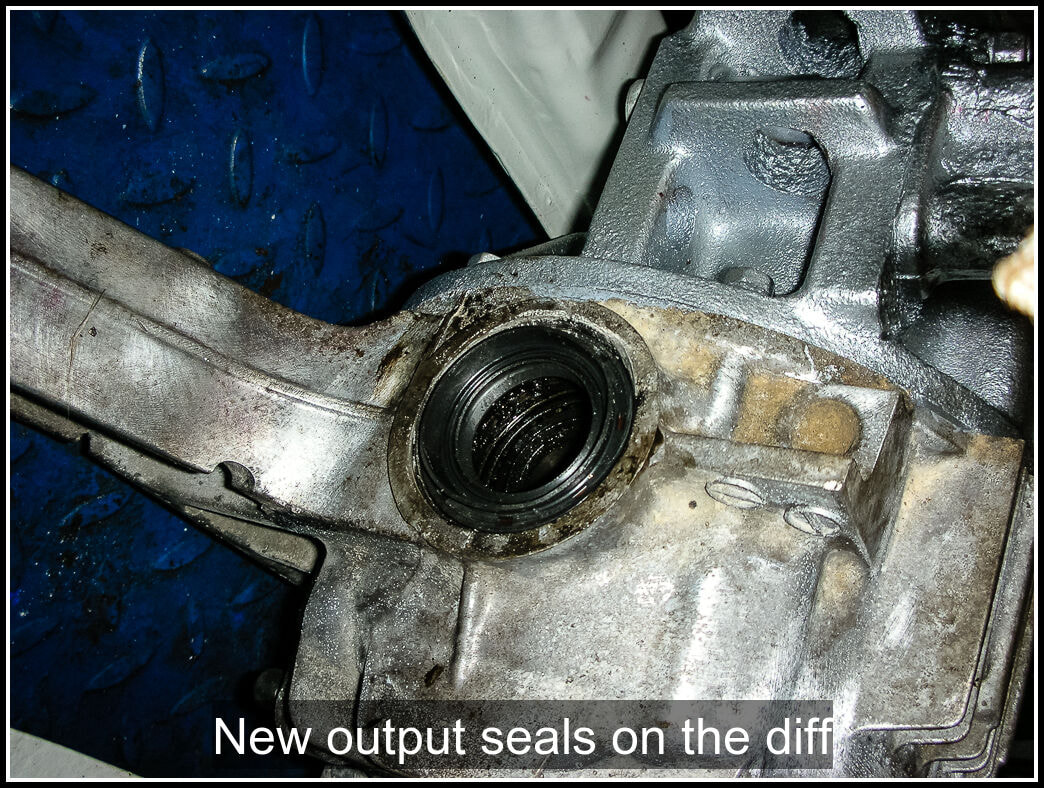
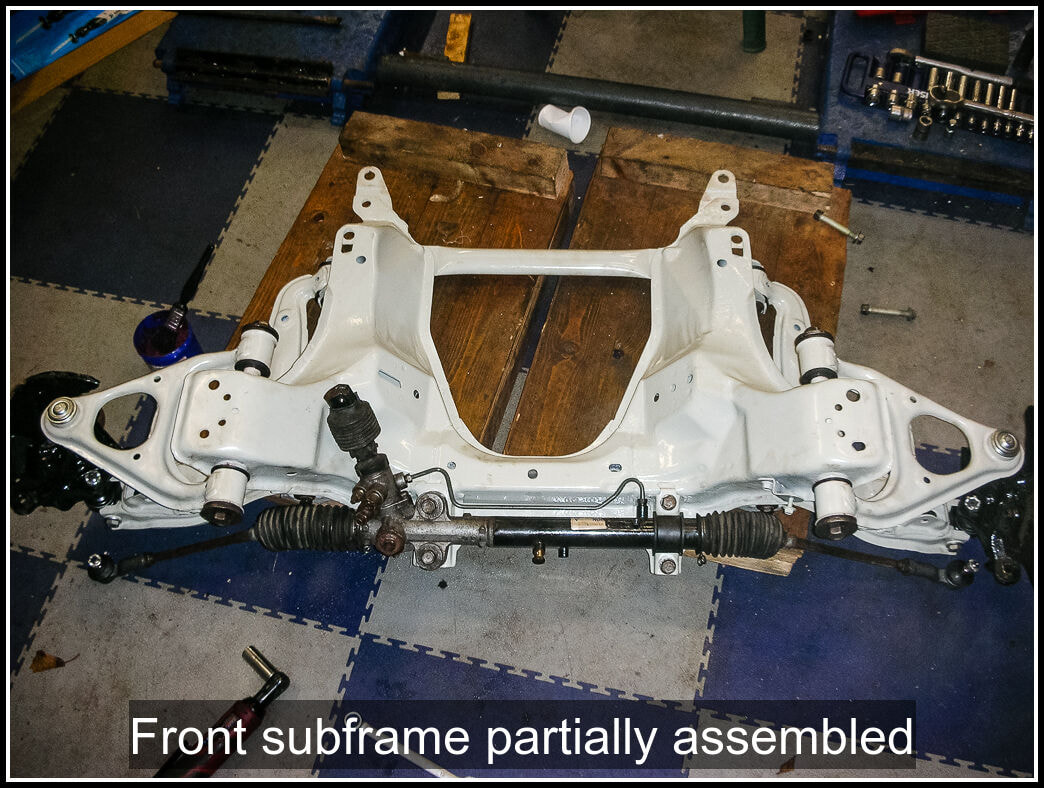
19 January 2021 My ladder finally turned up. Frances gave me hand lifting the bodyshell out of the garage. I tried a few combinations of pulleys but couldn't get a set up I was entirely happy with so moved the bodyshell back into the garage, retired indoors and ordered a few more pulleys and some metal loops. Did some more googling about various pulley configurations. 23 January 2021 Back out to the garage, moved the bodyshell out again and added some more pulleys and some fixings on the wall to tie the rope to. I have set up a plank of wood at each end of the car that will sit in the wheel arches. This was the advice from Rob about where to lift the bodyshell. I tie wrapped some pipe insulation to the planks to sit the wheel arches on. The rope was attached to the ends of the plank via a pulley secured with a u-bolt. I used my Griffith car cover to protect the bodyshell from dirt and hoisted it up. I moved the chassis off the lift and sat it on the floor under the body. Then I could start assembling the rear subframe in the lift area. I got the differential mounted and both pairs of control arms. They all slipped in nice and easily and the cleaned nuts and bolts were greased and pushed through the mountings. At this point I only did the nuts up finger tight. 24 January 2021 We had snow today, so it was pretty chilly in the garage. Despite that I had a productive day in the garage. I fitted the new output seals to the differential and fitted the hub and driveshaft assemblies. I cleaned up the control arm nuts and bolts and bolted the hubs to the control arms, again just finger tight at the moment. Next I started on the front subframe. I cleaned up the control arm nuts and bolts. The most effective process seems to be put them in the ultrasonic cleaner for 20 minutes or so, take them out and dry them, then a quick rub over on the bench grinder wire wheel to remove any rust that hasn't been cleaned off already. I bolted the control arms to the subframe, bolted the new ball joint to the lower control arms and then fitted the front hubs on. I've been very happy with the fitment of the polybushes, apart from the lower front control arms everything has gone together nicely. I put the tie rod ends on the steering rack and cleaned up the steering rack mounting bolts. Then I loosely positioned the steering rack and put the long mounting bolts to hold it in place. The metal bracket that secures the other end needed painting so I cleaned that up and applied some paint to it and the 2 anti roll bars. With the cold it will take a while for the paint to dry!
0 Comments
Leave a Reply. |
AuthorThis is my first kit car although I've messed about with cars all my life. Archives
November 2023
Categories |


 RSS Feed
