|
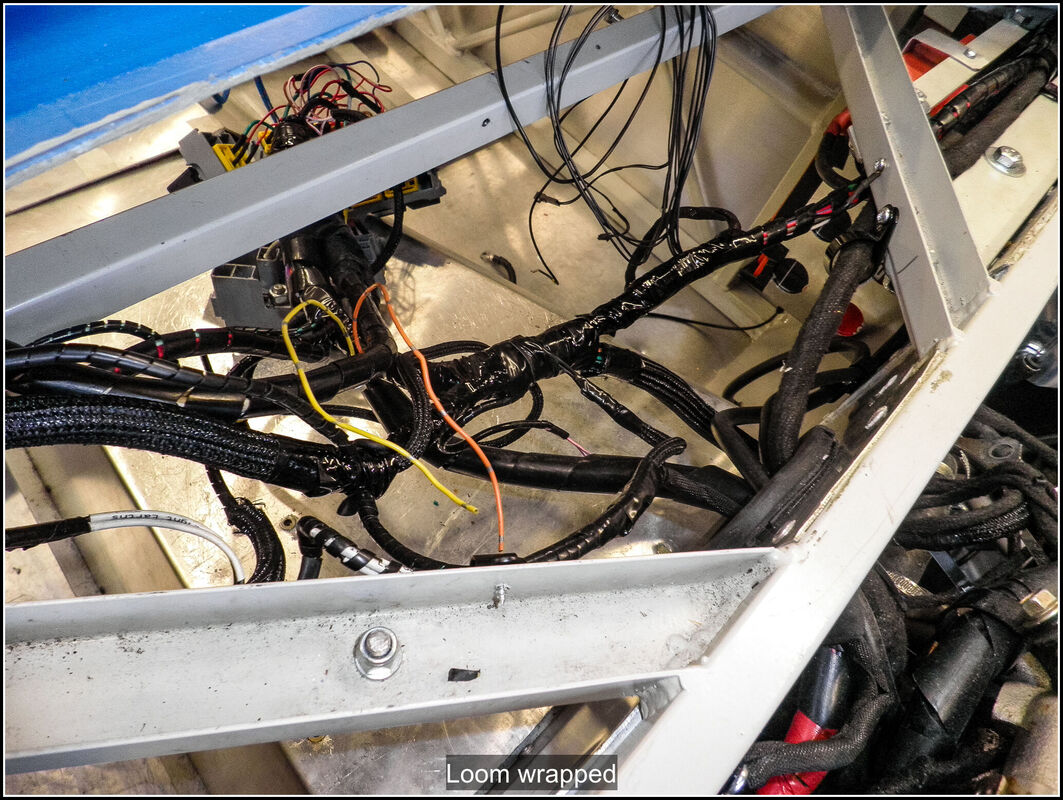
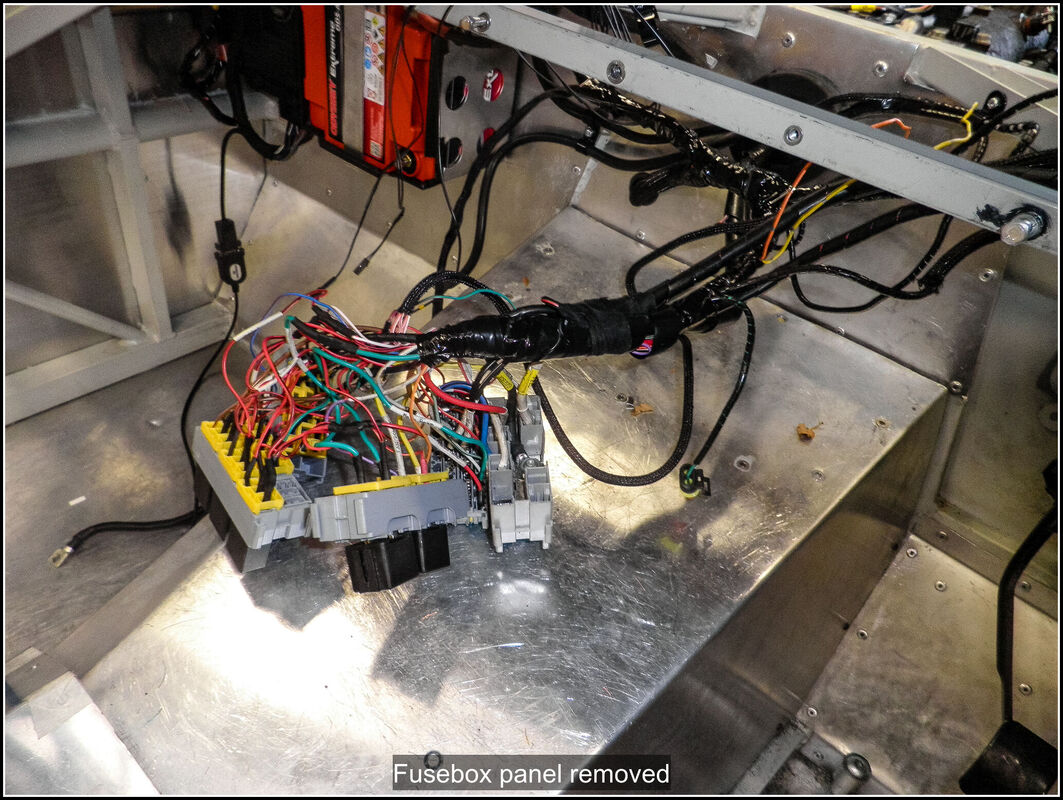
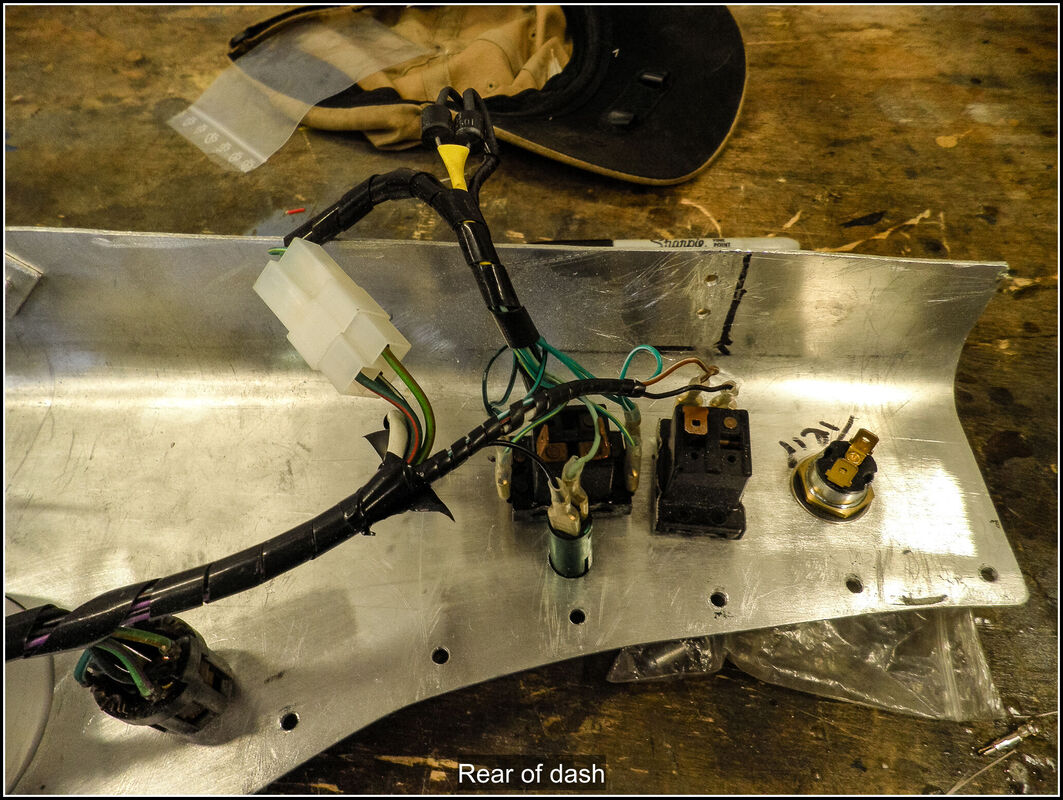
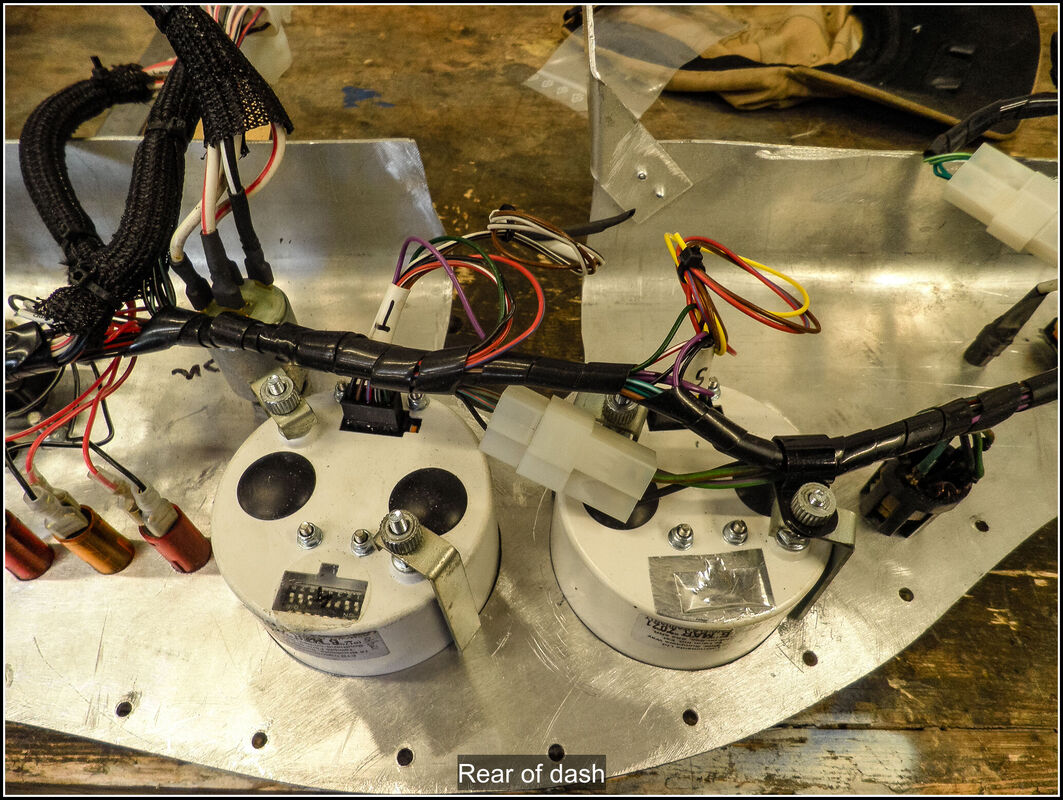
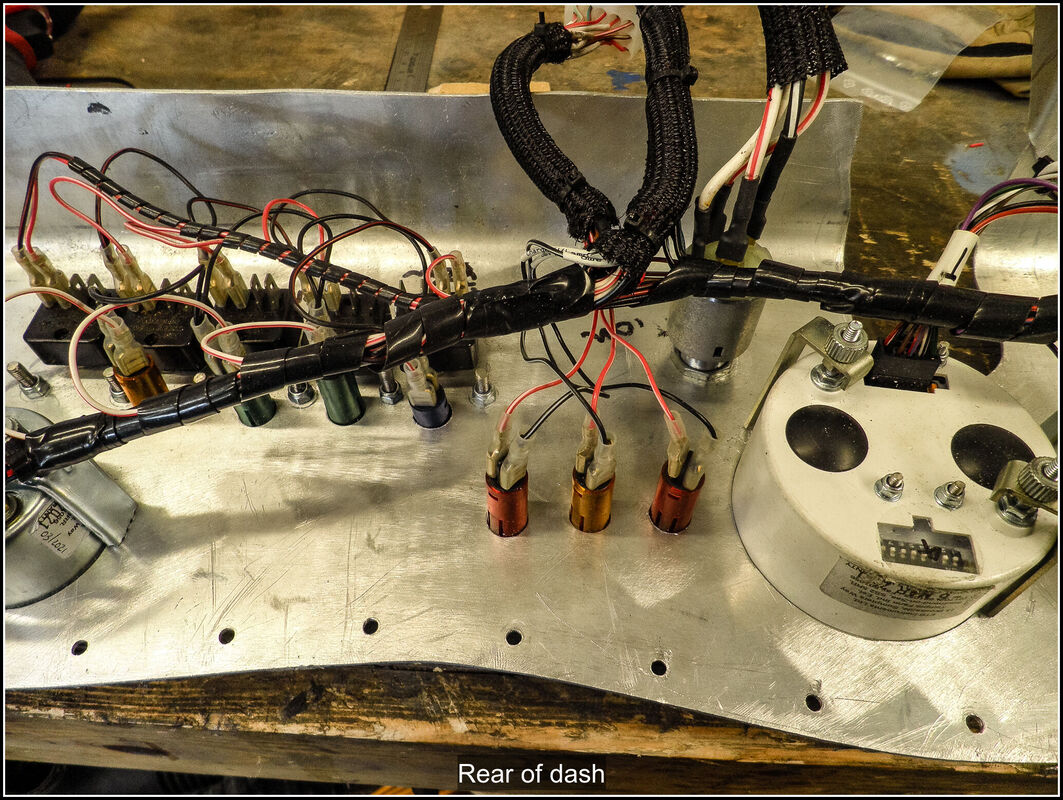
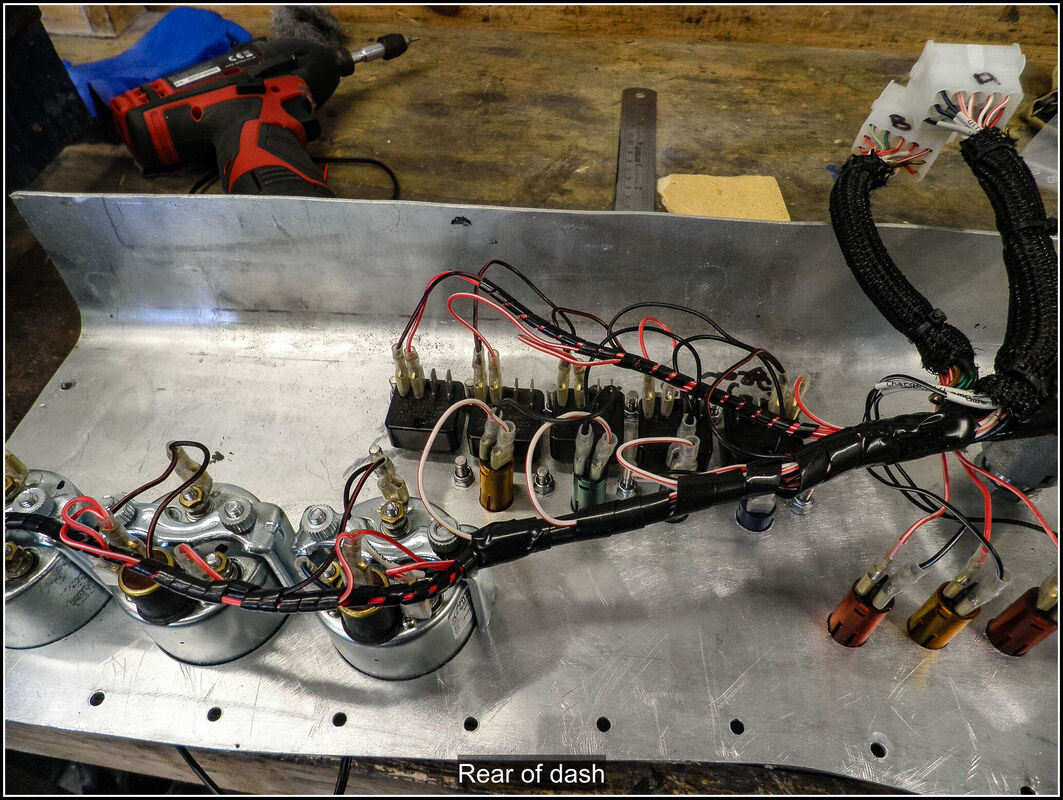
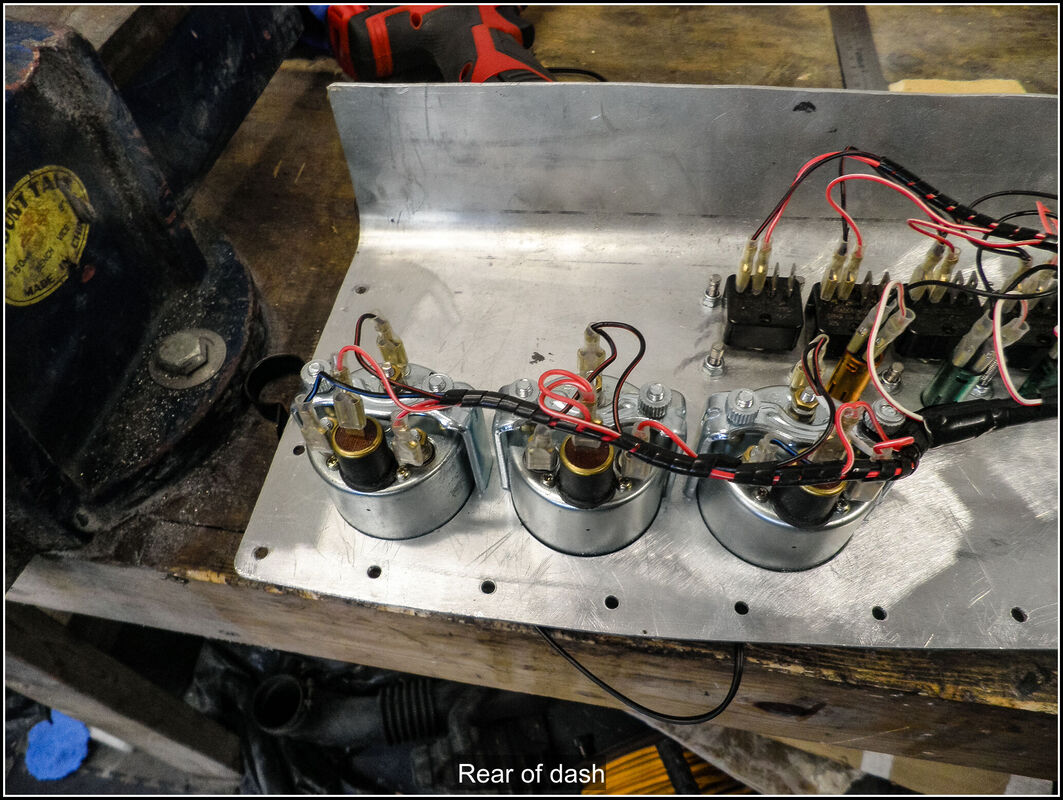
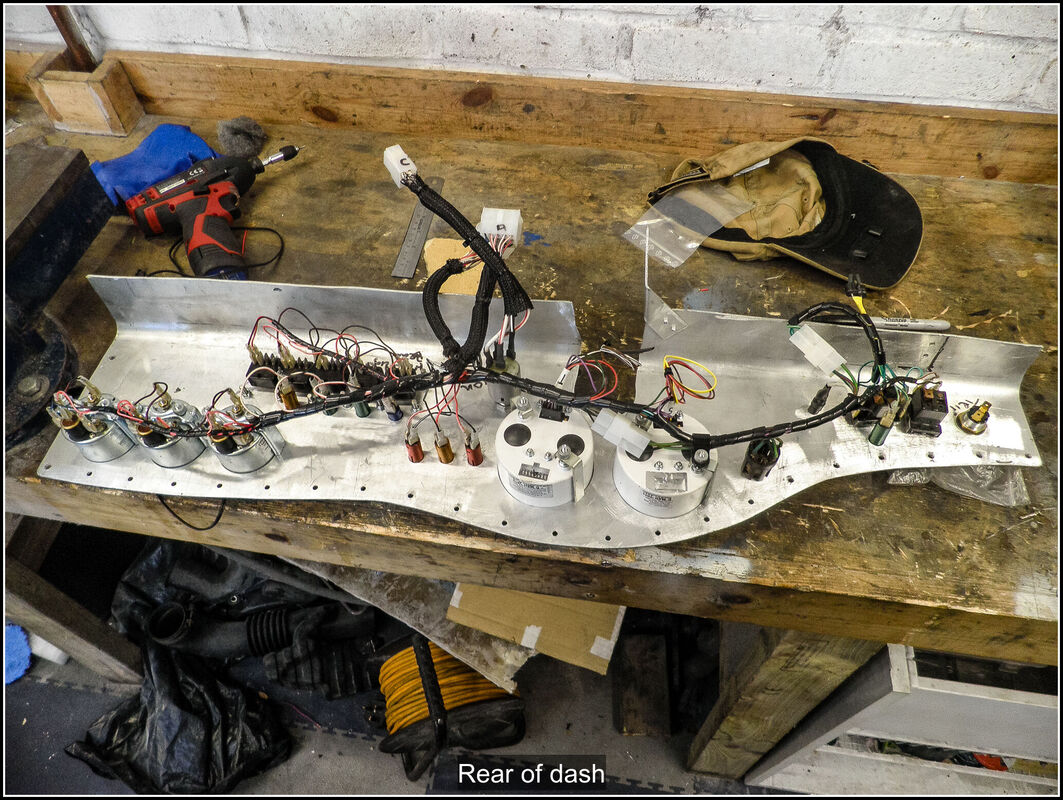
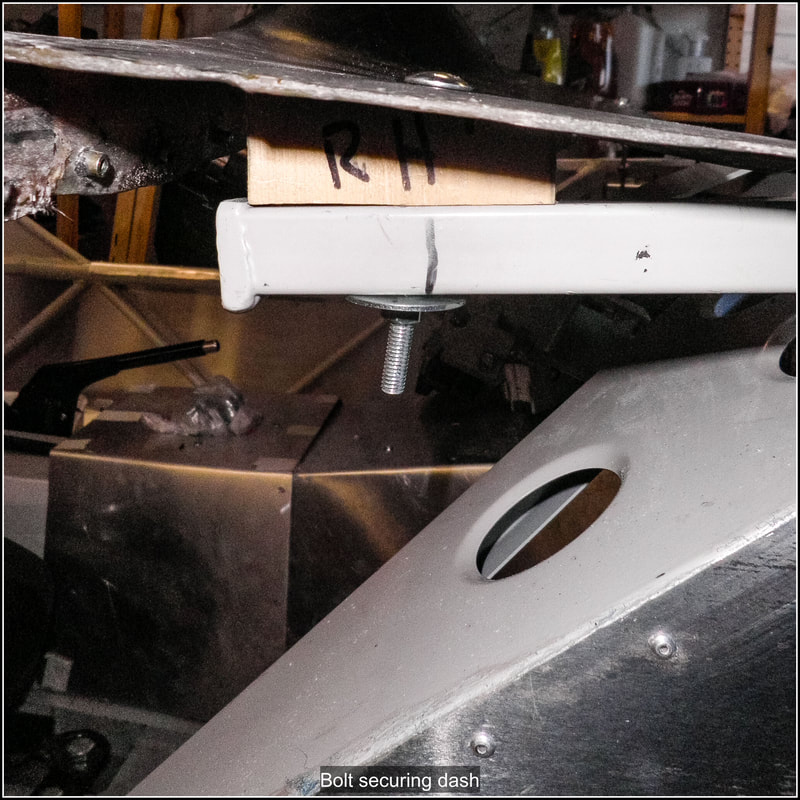
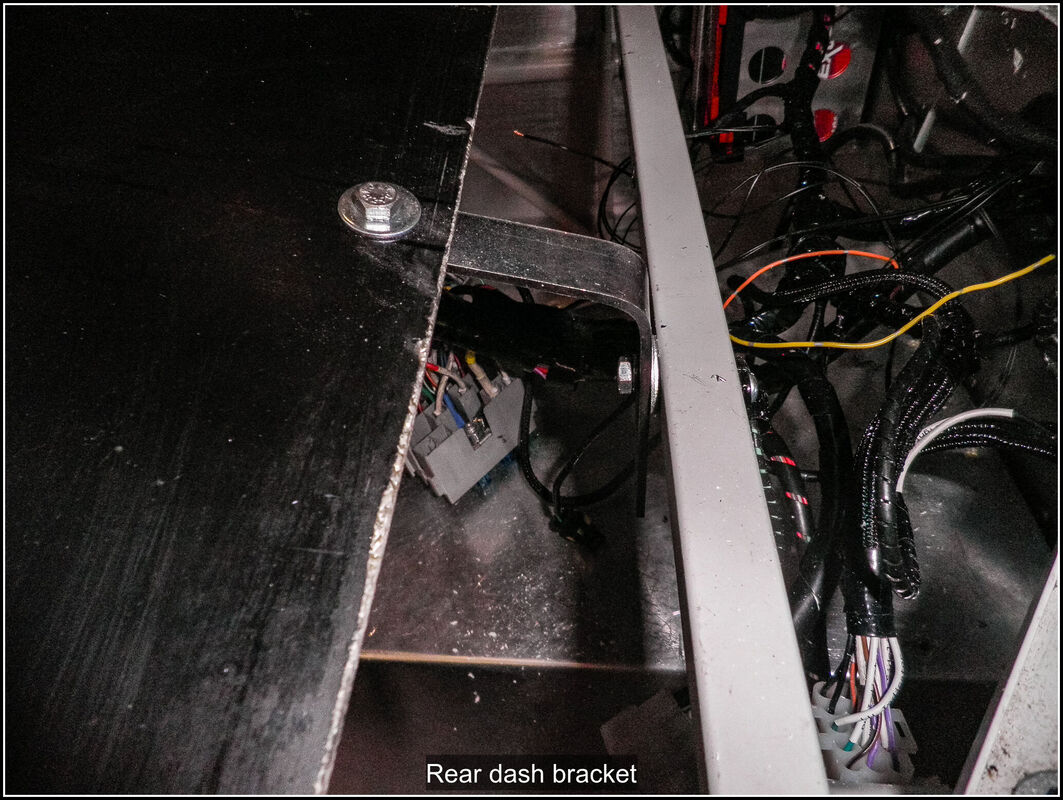
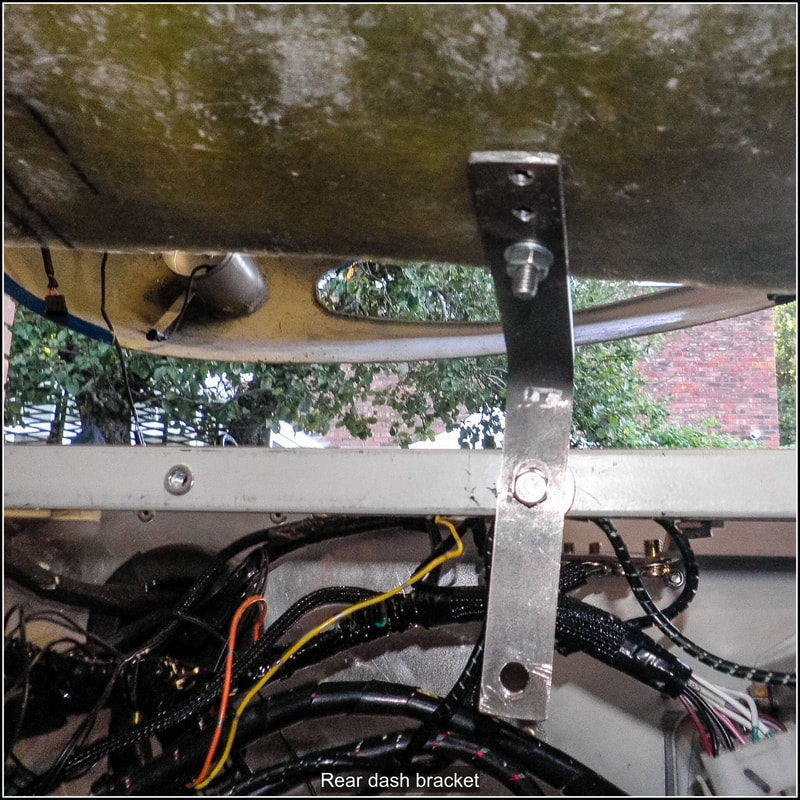
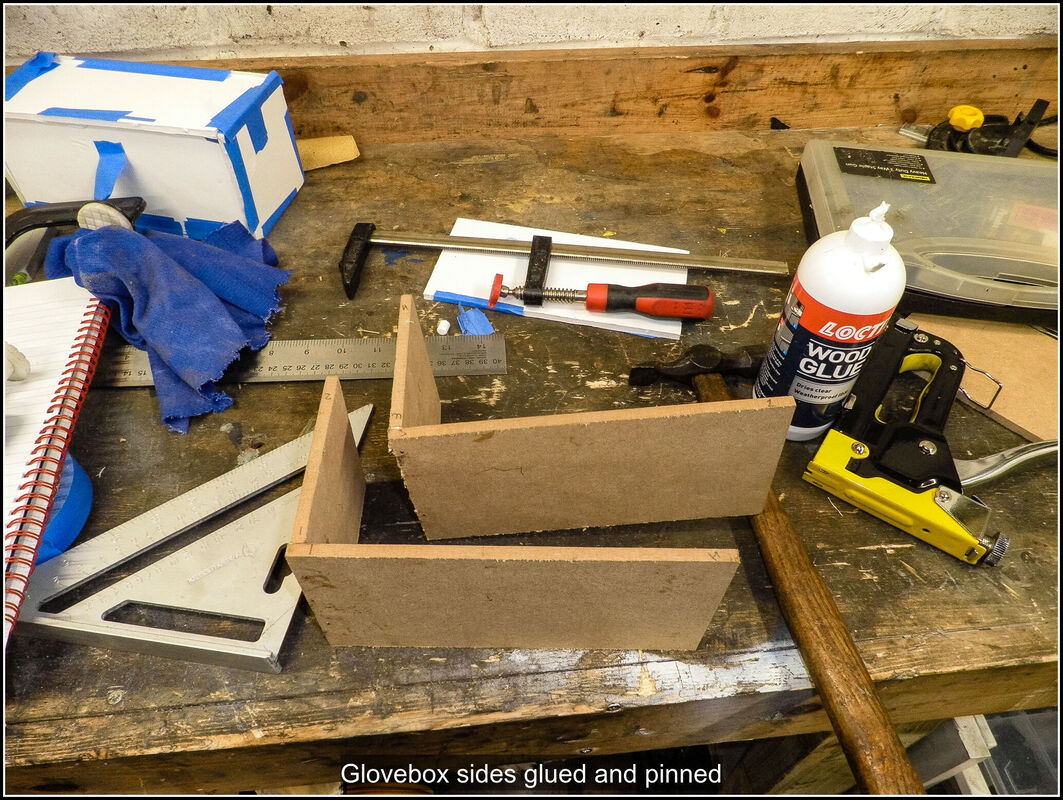
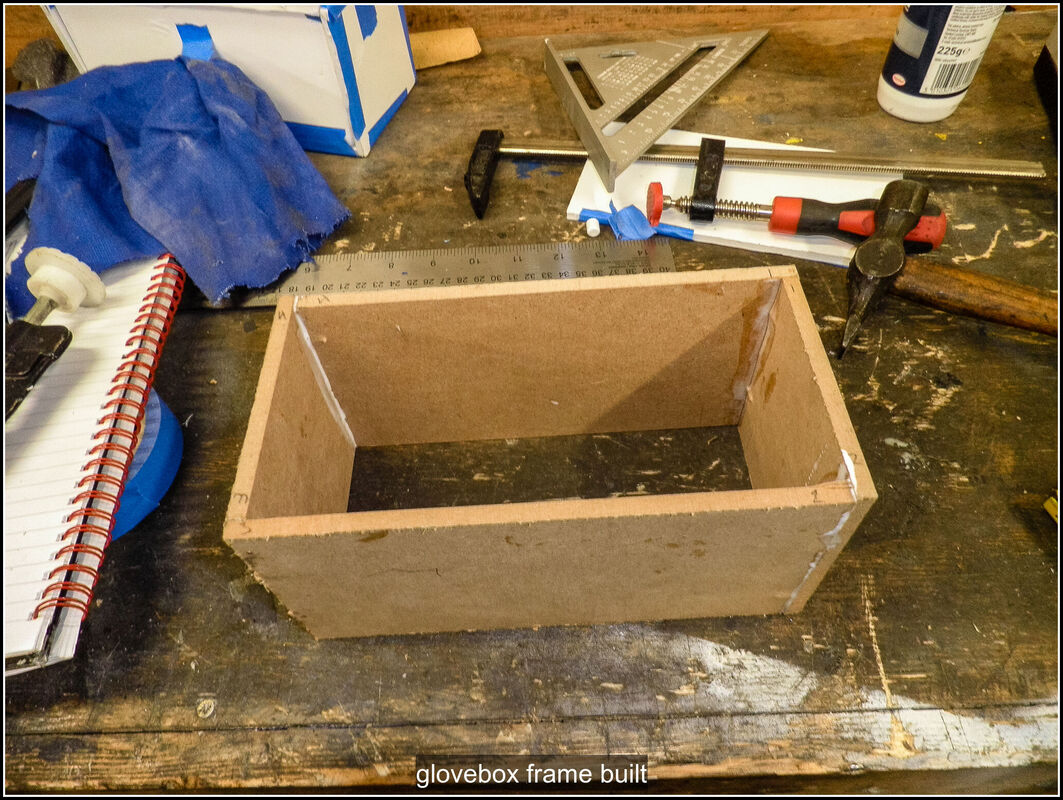
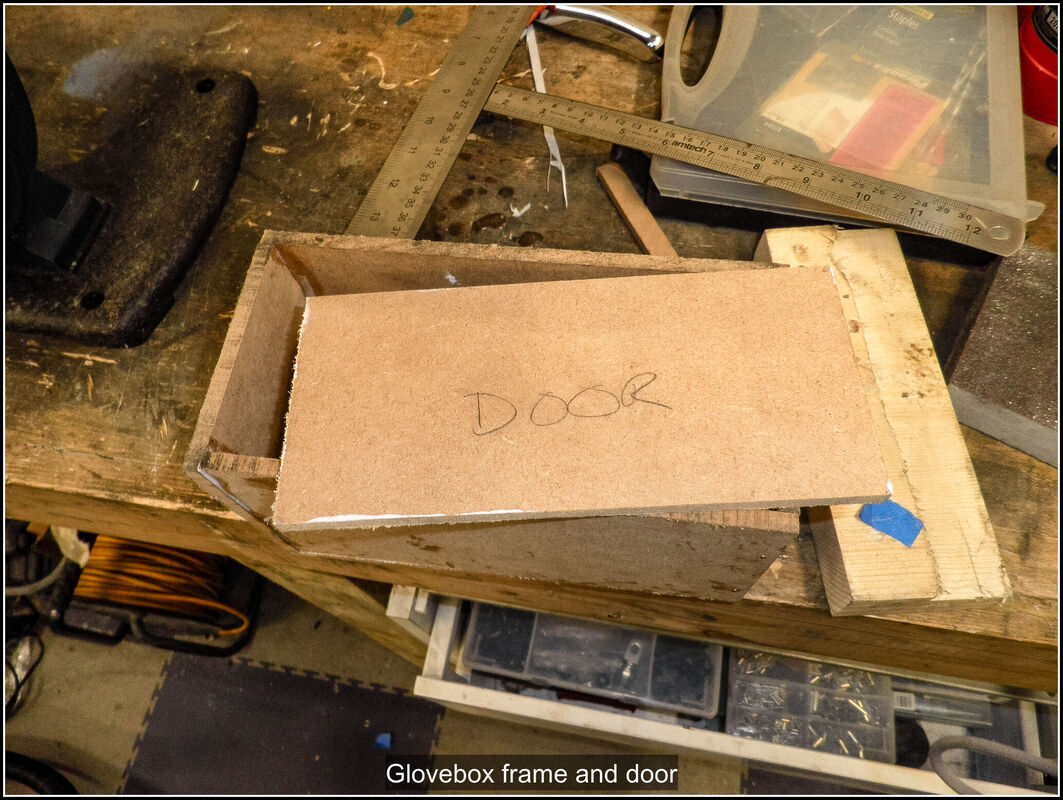
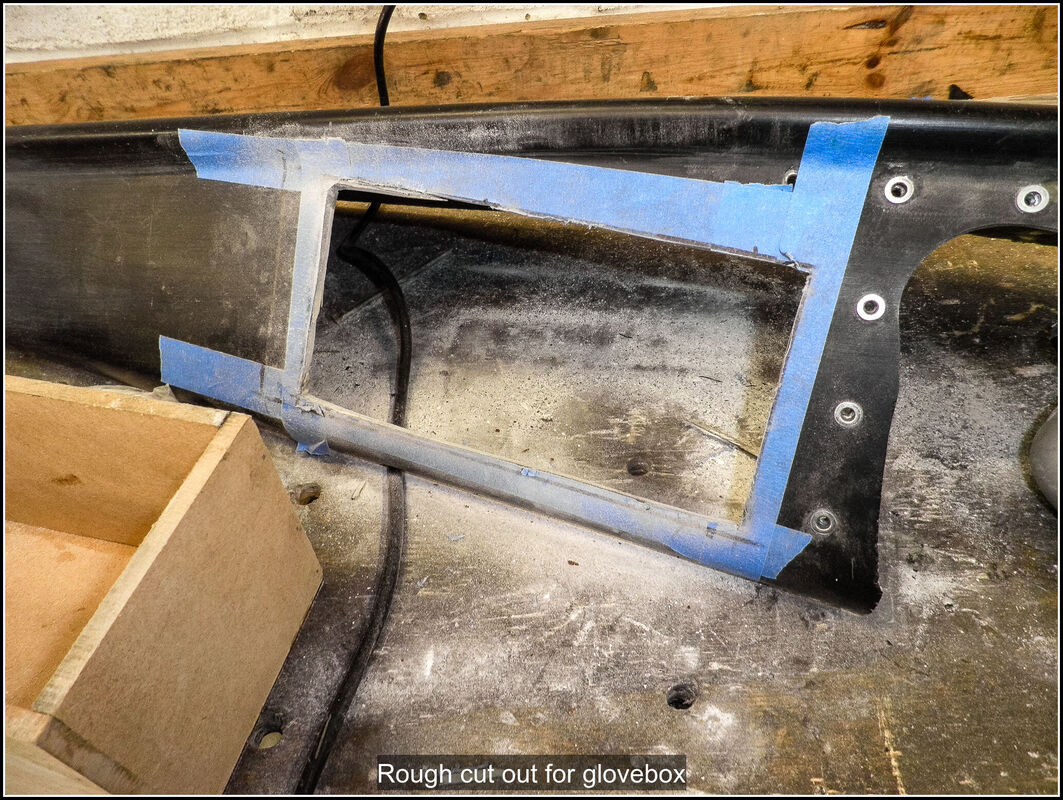
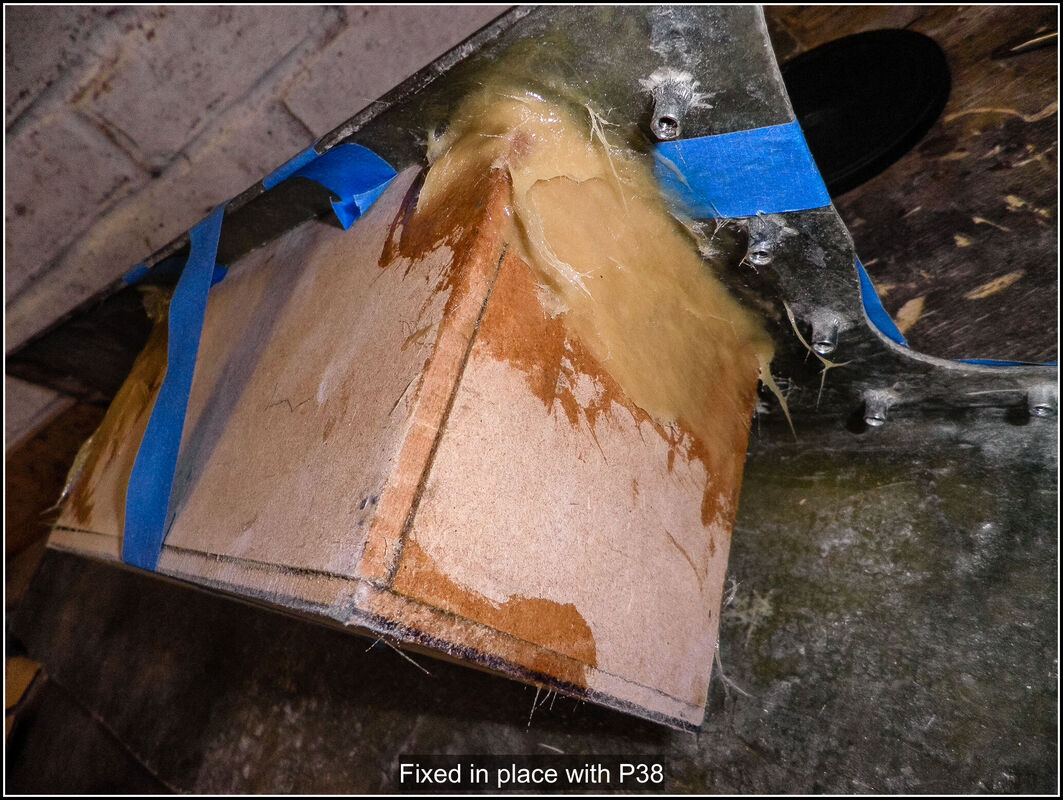
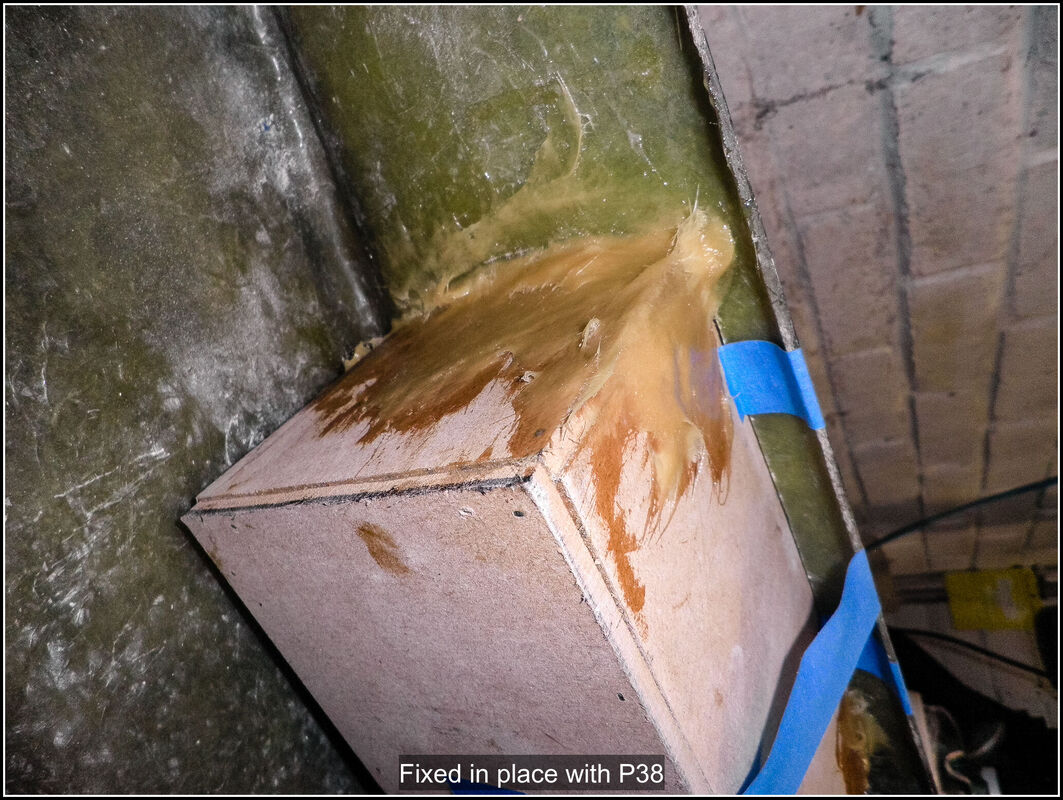
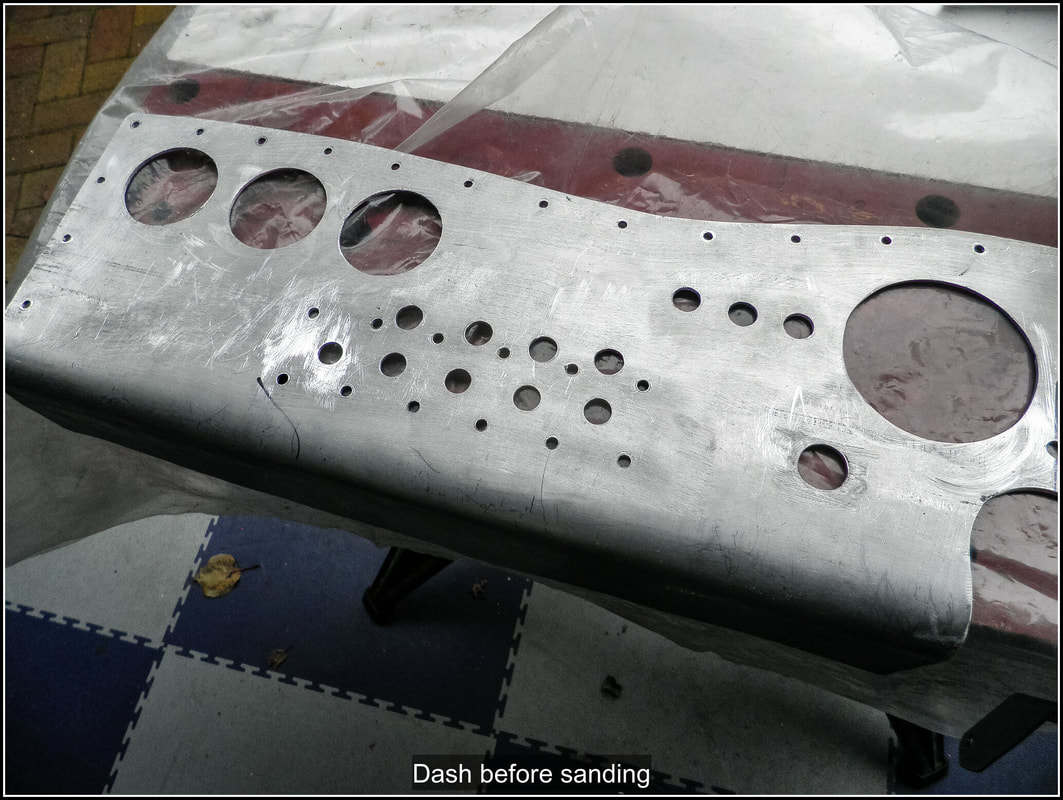
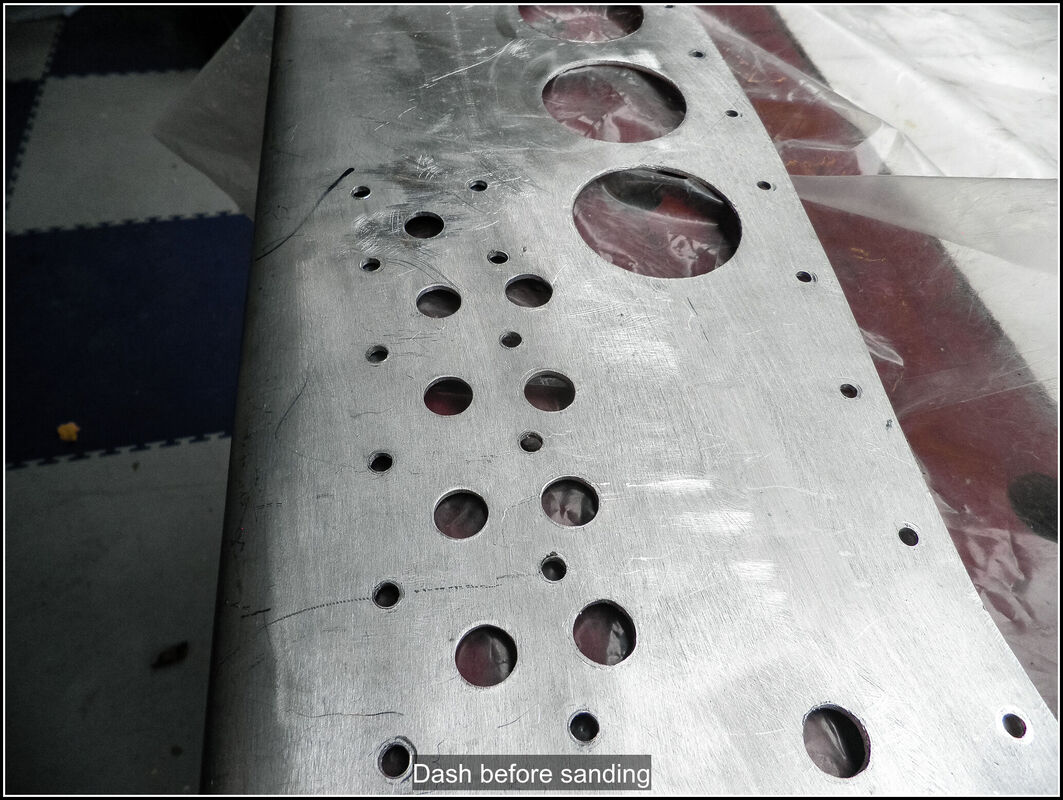
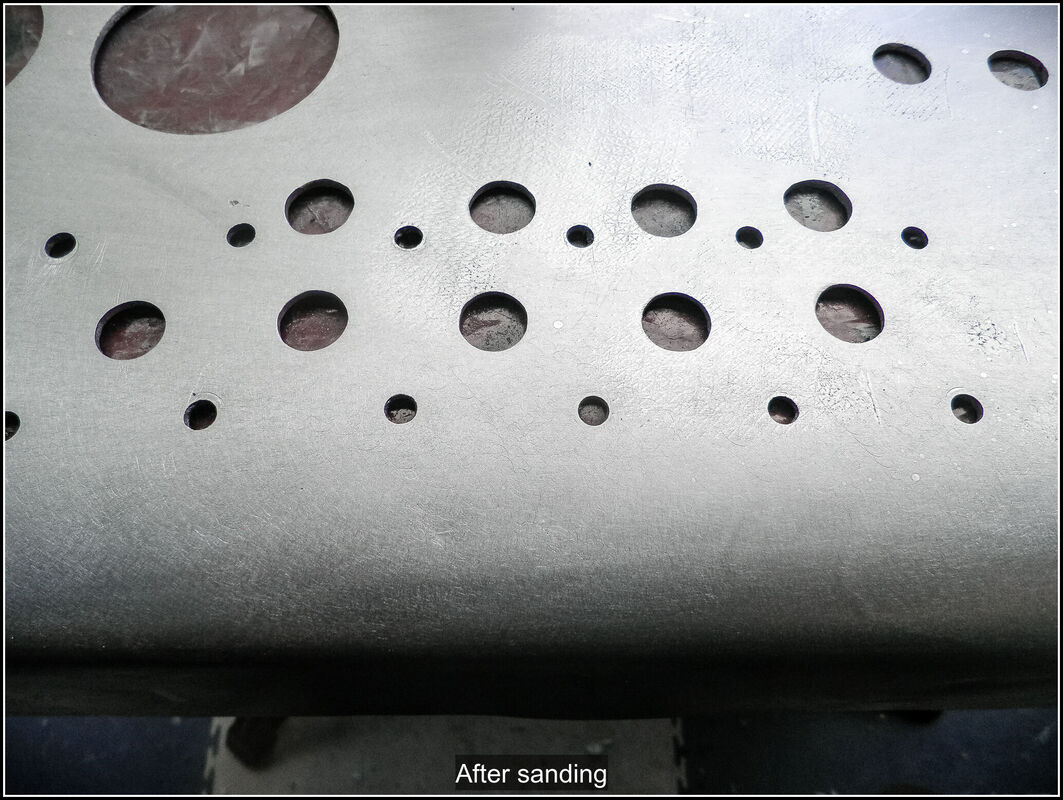
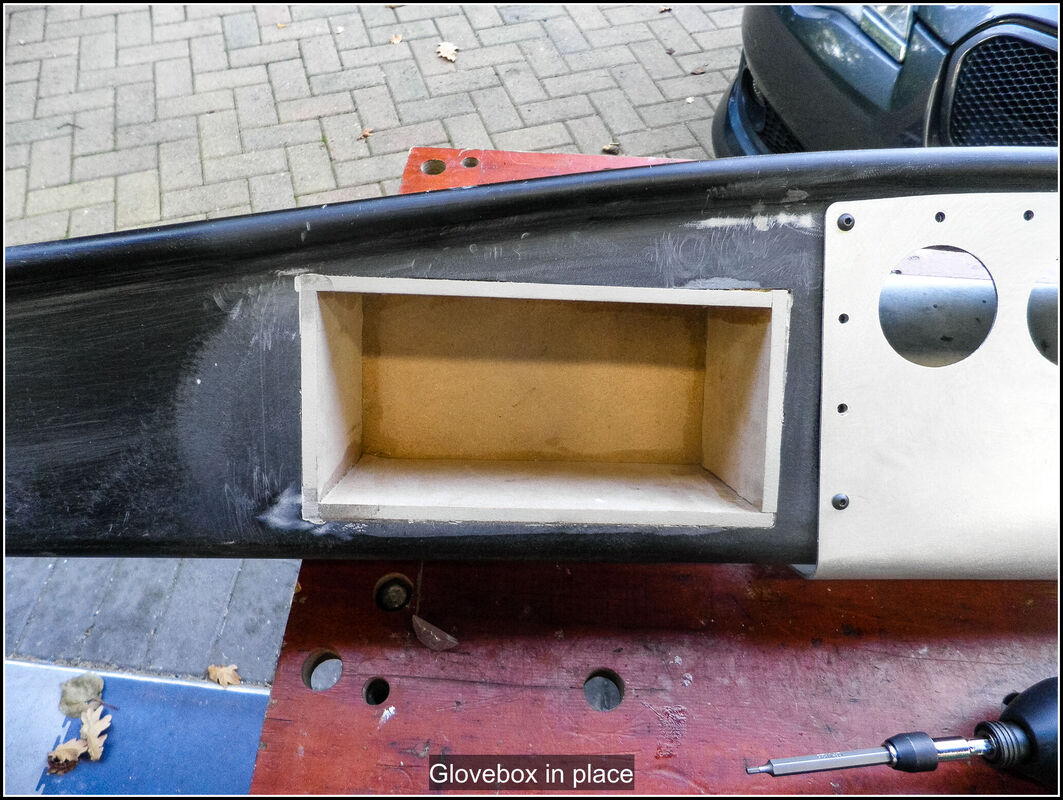
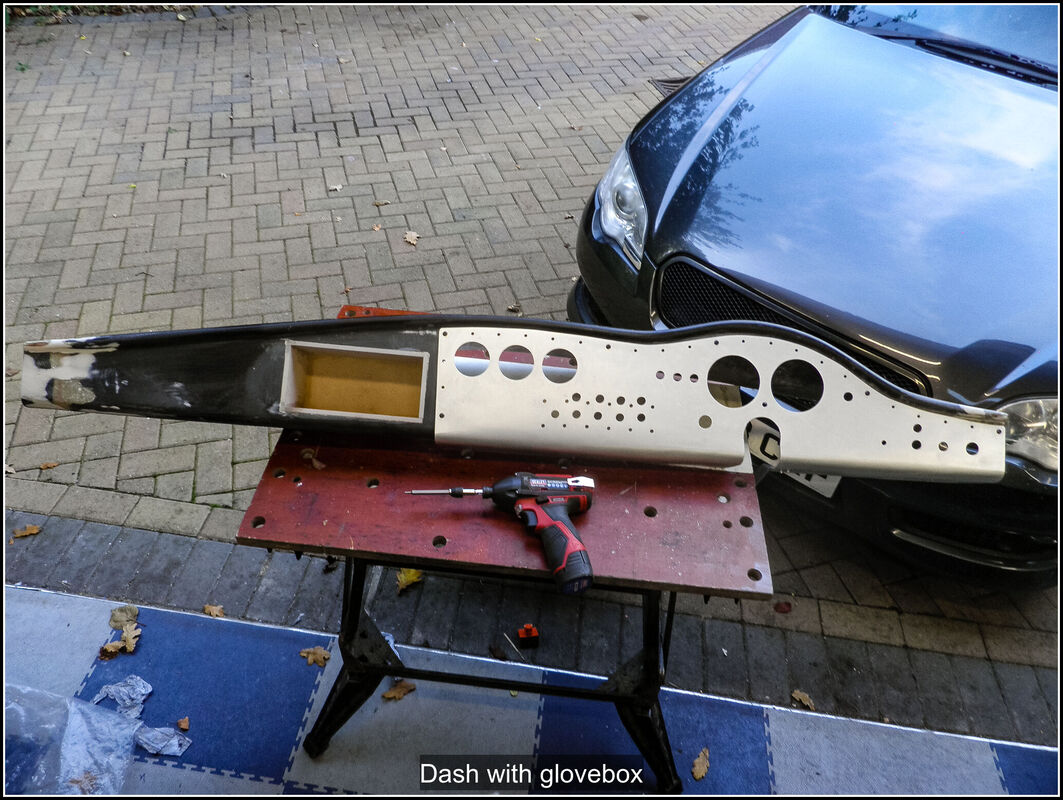
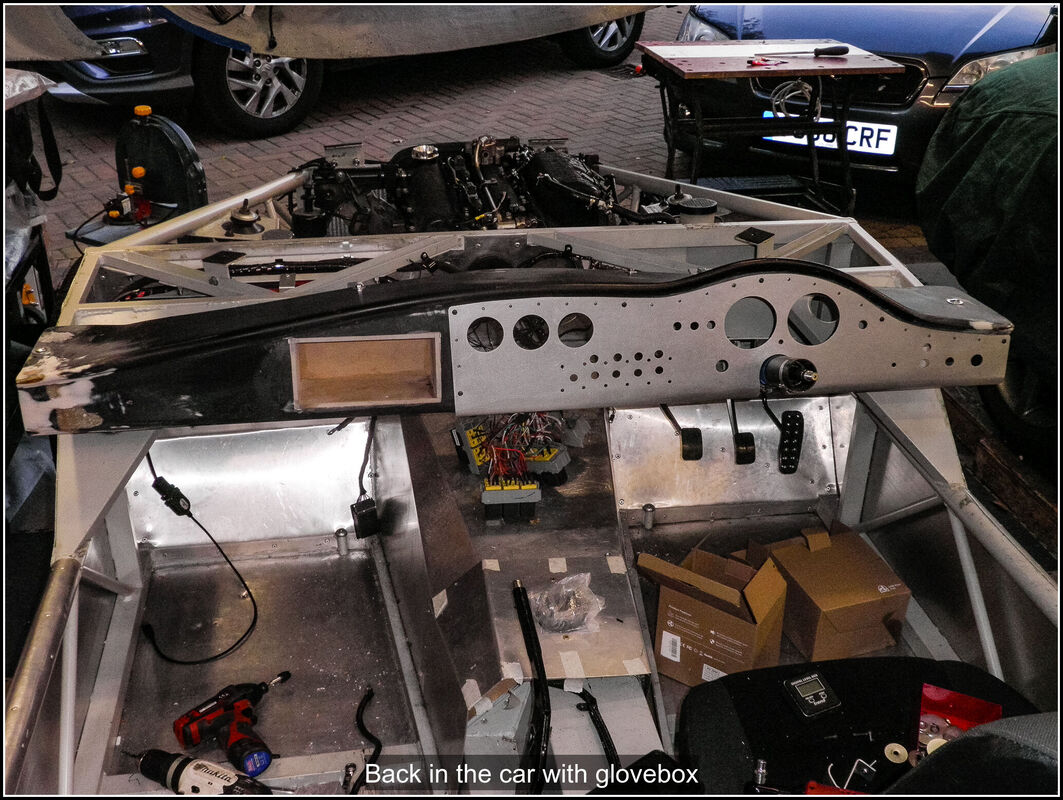
3 October 2022 Fixed the immobiliser unit in place. Wrapped the loom behind the dash with the immobiliser wires. Had to spend a bit of time de-pinning parts to untangle wires and also extended the indicator wires to the dash plug as they were a bit shorter than the other wires to the plug. Spent some time wrapping and clipping the loom behind the dash. Took out the fusebox mounting panel in preparation for doing some work on the interior. Next thing will be to finish the cover for the transmission tunnel around the handbrake and finalise the dash mounting, I want it to sit a little bit lower and the brackets need some work. 8 October 2022 Out to the garage and lifted the body off again (thank god for the electric winch)! I removed all the clocks, switches, lamps, switch guards and the wiring loom from the dash panel. Previously I had fabricated some mounts for the dash but I was not completely happy, the dash needed to be secured at each end and I also wanted to lower it down a little bit. I removed all the existing brackets and spent a lot of time trimming down the wooden blocks I had used to support the dash ends. I checked the fit and position by dropping the body down again. I spent a lot of time thinking about how to secure the ends, finally I decided to keep it simple and drill down through the dashboard top through the wood and then through the metal rail the wood was sat on. It needed to go through at a slight angle to match the tilt of the dashboard top. After some carful measuring and clamping, I drilled the holes through all 3 bits in one go so I would be sure all the holes were aligned. This went very well and I used some coach bolts to secure the ends. I then had to adjust the brackets I had made before to match the slightly adjusted position. I moved one of them from the middle, closer to nearside of the car, and added an additional one on the nearside. I modified the bracket onto the steering column and the bracket securing the lower edge of the dashboard on the nearside. I'm pleased with the way the dashboard is held now and it should not shake too much. Dropped the body back down and lined it up and checked the fit. All looking good, I might trim the offside edge of the dash. 10 October 2022 A chance remark on one of the Facebook groups got me thinking about adding a glovebox to the dash. It would be a good place to hide some of the modern bits on the car like USB charging ports and the ECU diagnostic socket. With that in mind, I measured the dash and mocked up something from some foam board I had. The glovebox is going to be about 200mm x 100mm x 100mm. I spent a long time thinking about and researching how to hinge the door of the glovebox. I want it to fit flush when it is shut and ideally I wanted to hide the hinges. In the end I settled for a simple hinge which would show the pivot pin on the outside when it's shut. I plane to cut a hole in the dash to accommodate the box and bond it in place with fibreglass then I can sand the front edge so it is flush. 13 October 2022 Out to the garage again and I found an off-cut of MDF about 6mm thick. I cut out the boards on my bandsaw and glued and pinned then together. I cut the door to side but it will have to wait until I can get the right hinges. The door will be covered,on the outside, in vinyl like the the dash and the box and door will be lined with some sort of felt or thin carpet. 14 October 2022 Spent some time thinking about how I could make a bonnet badge for my car. I played around with a design idea, I will probably do a 3d print of it and see how it looks, not sure if that will be the final iteration, I would like to make a metal/enamel badge but that might not be practical. 15 October 2022 I positioned the glovebox on the dash where I wanted it to be and checked it was fairly level, in the car. I marked the position then took the dash onto the bench and roughly cut out the shape with a multi-tool. Then I trimmed it with a combination of files and sanders until the glovebox fitted snugly. I taped the glovebox into position then used some P40 to hold it in place, on the rear. Once it was secured I sanded the front flush with the dash. I also spent some time smoothing out some imperfections in the dash from previous work. I had seen on the Facebook group someone using a a sander and WD40 to achieve a nice satin finish on aluminium and I wanted to try this on my dash panel as an alternative to anodising it. I set to with some P100 paper and my random orbital sander until the worst of the scratches were removed, it took several passes. I went over it again with P320 and P400. Very pleased with the resulting finish. I bolted the dash back in place, I had to alter one of the dash brackets so it attached to the the glovebox instead of the dash.
0 Comments
Leave a Reply. |
AuthorThis is my first kit car although I've messed about with cars all my life. Archives
November 2023
Categories |

 RSS Feed
